• Mortise & Tenon Nightstand
    (Spring 2023)

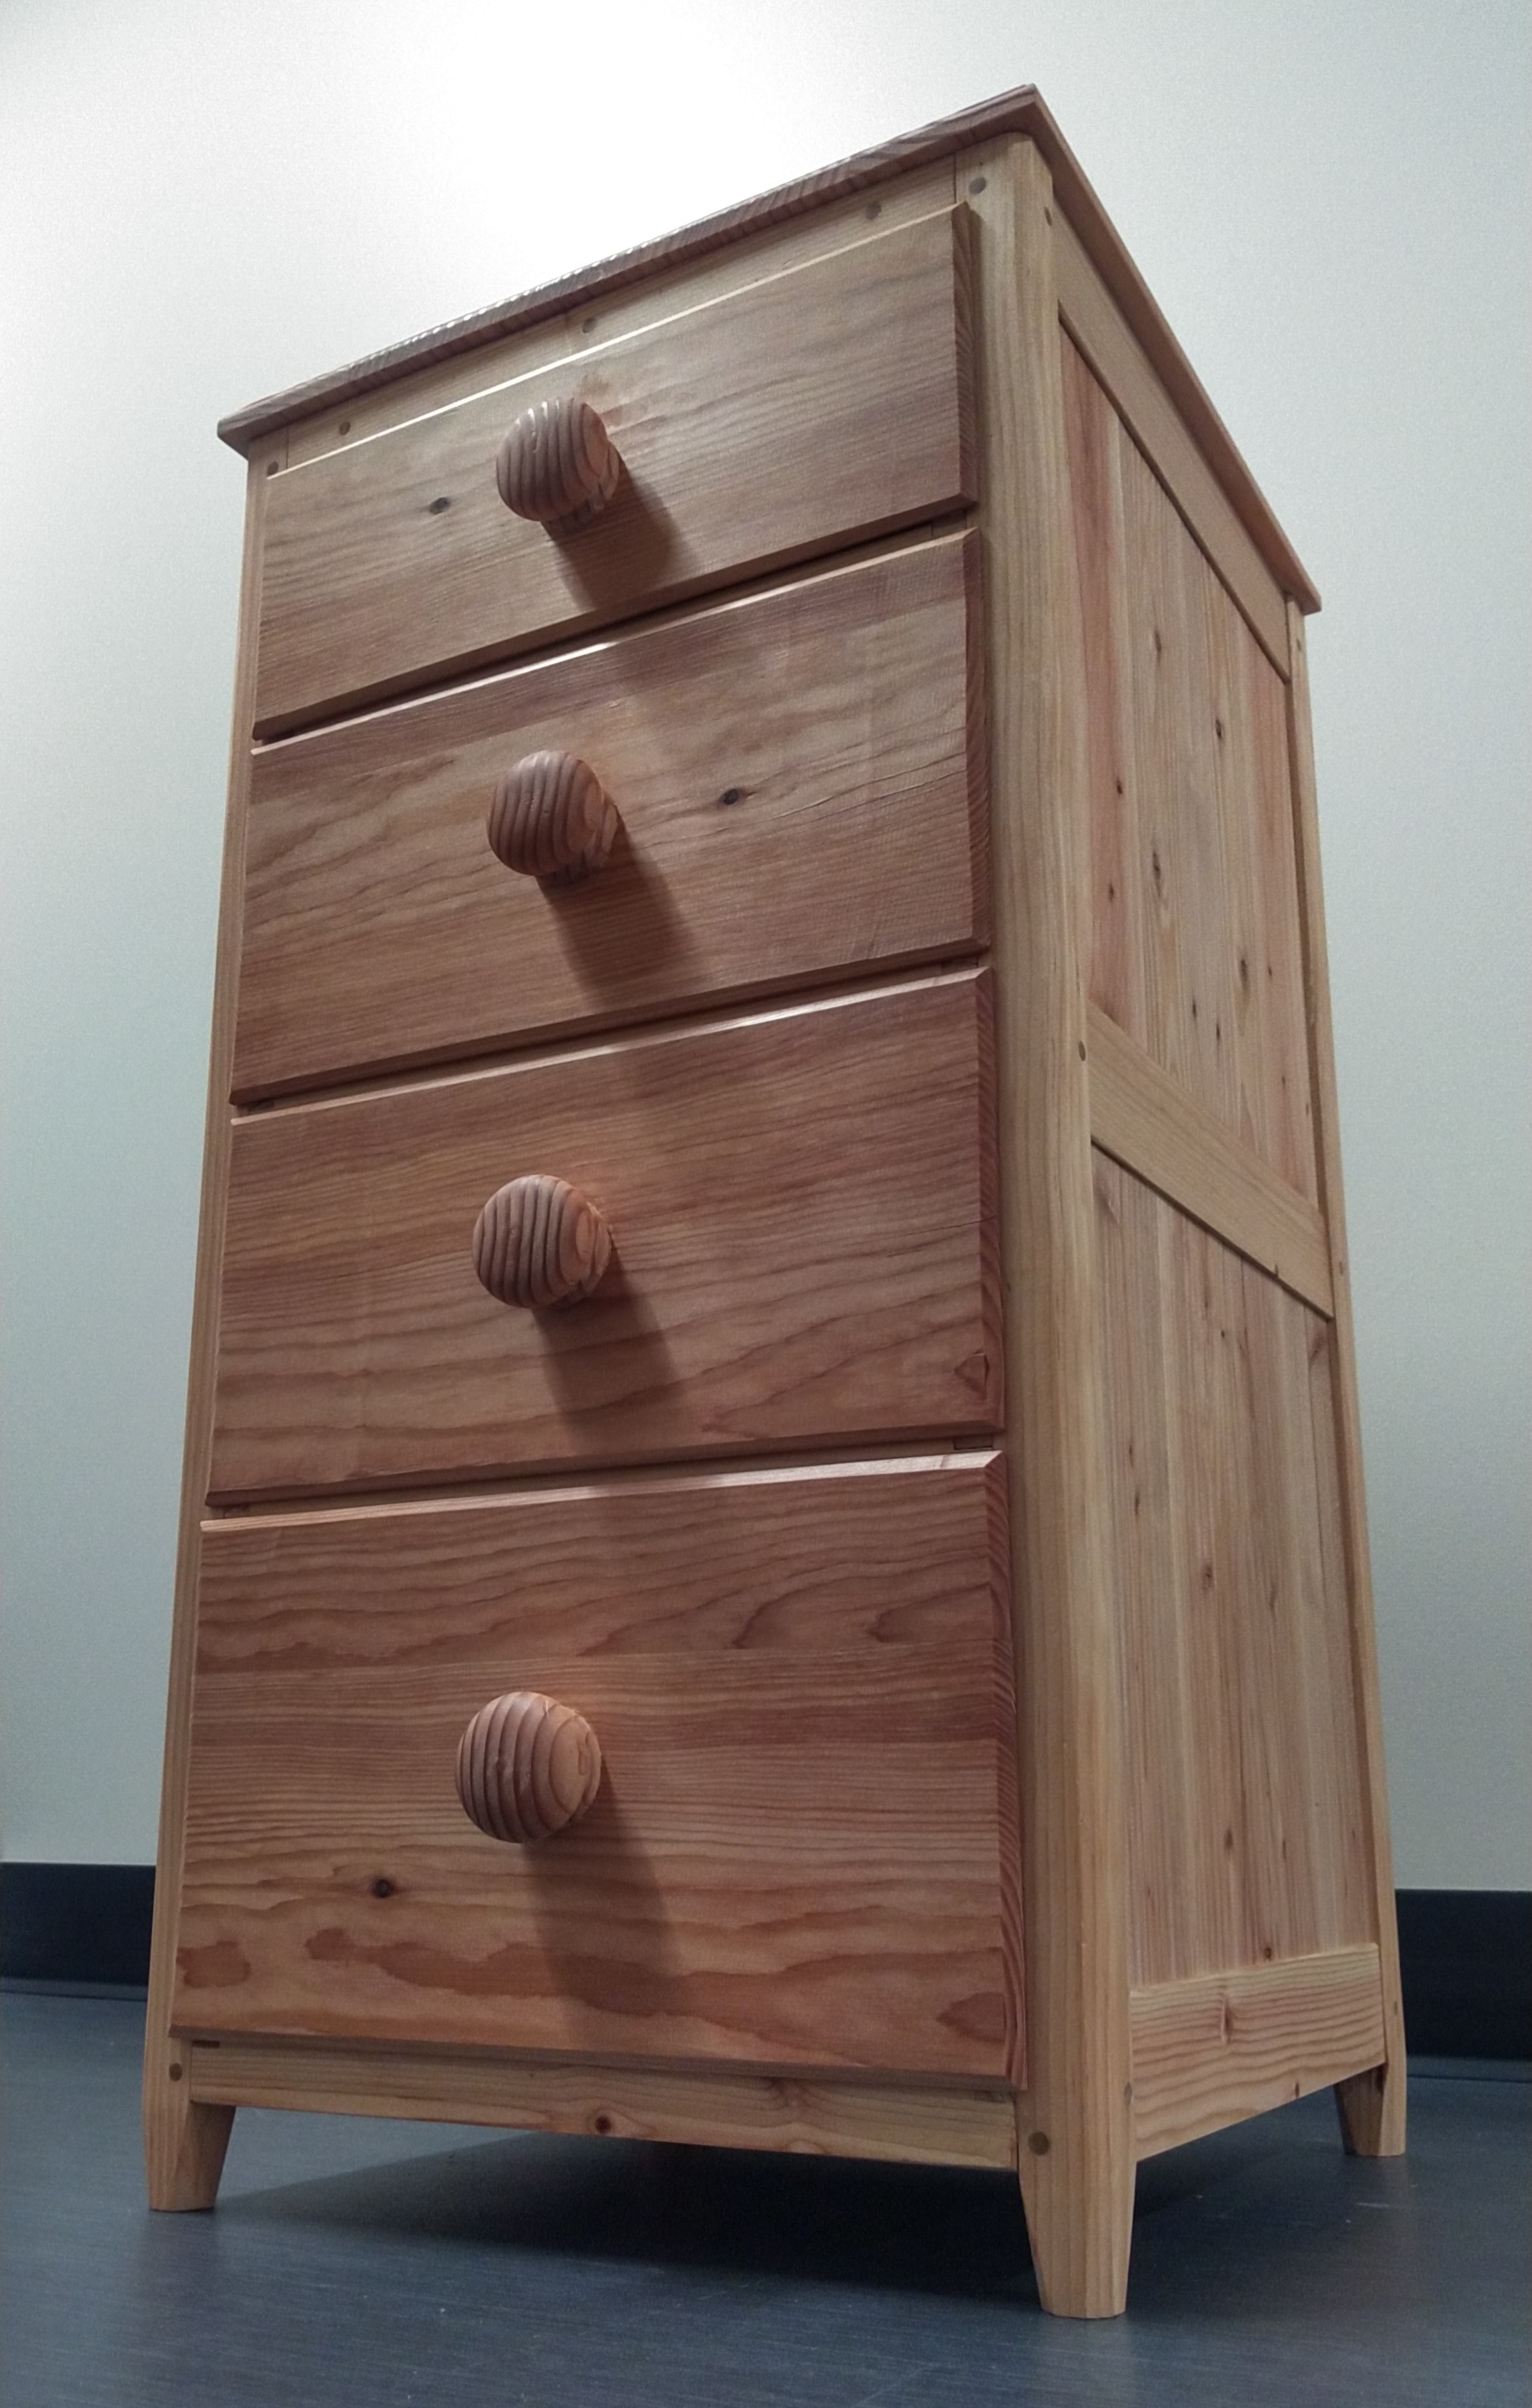
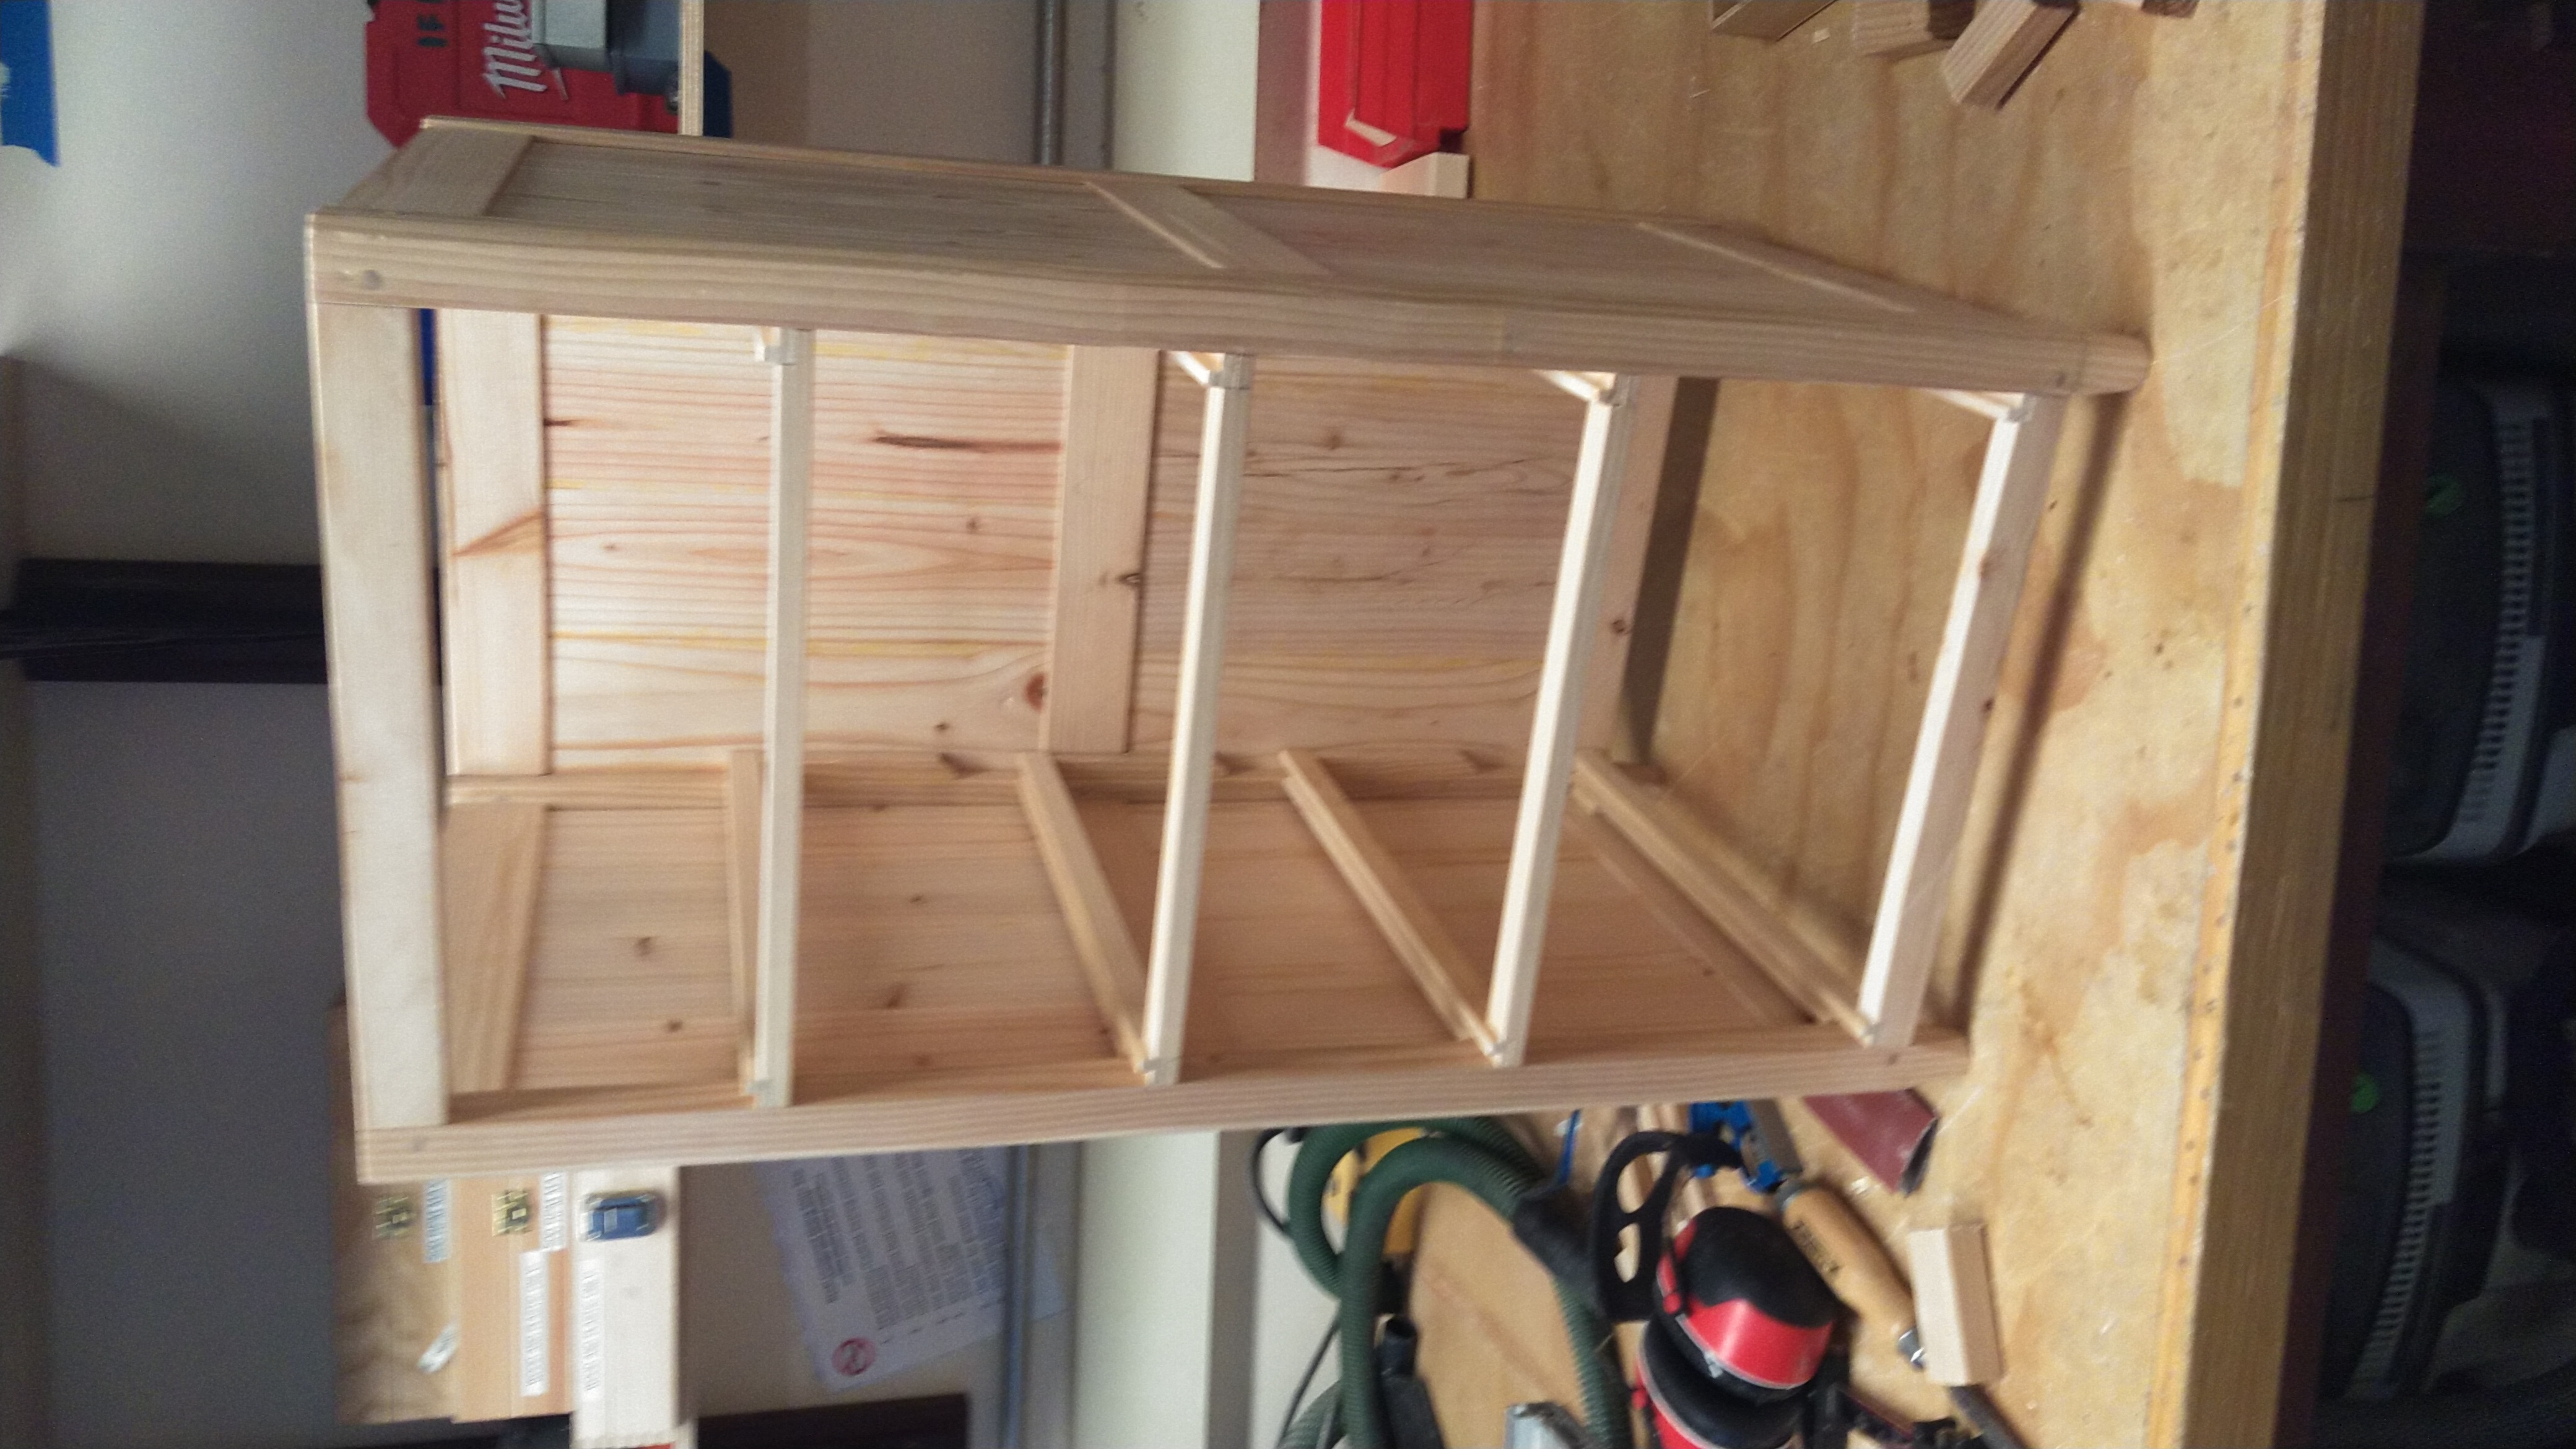
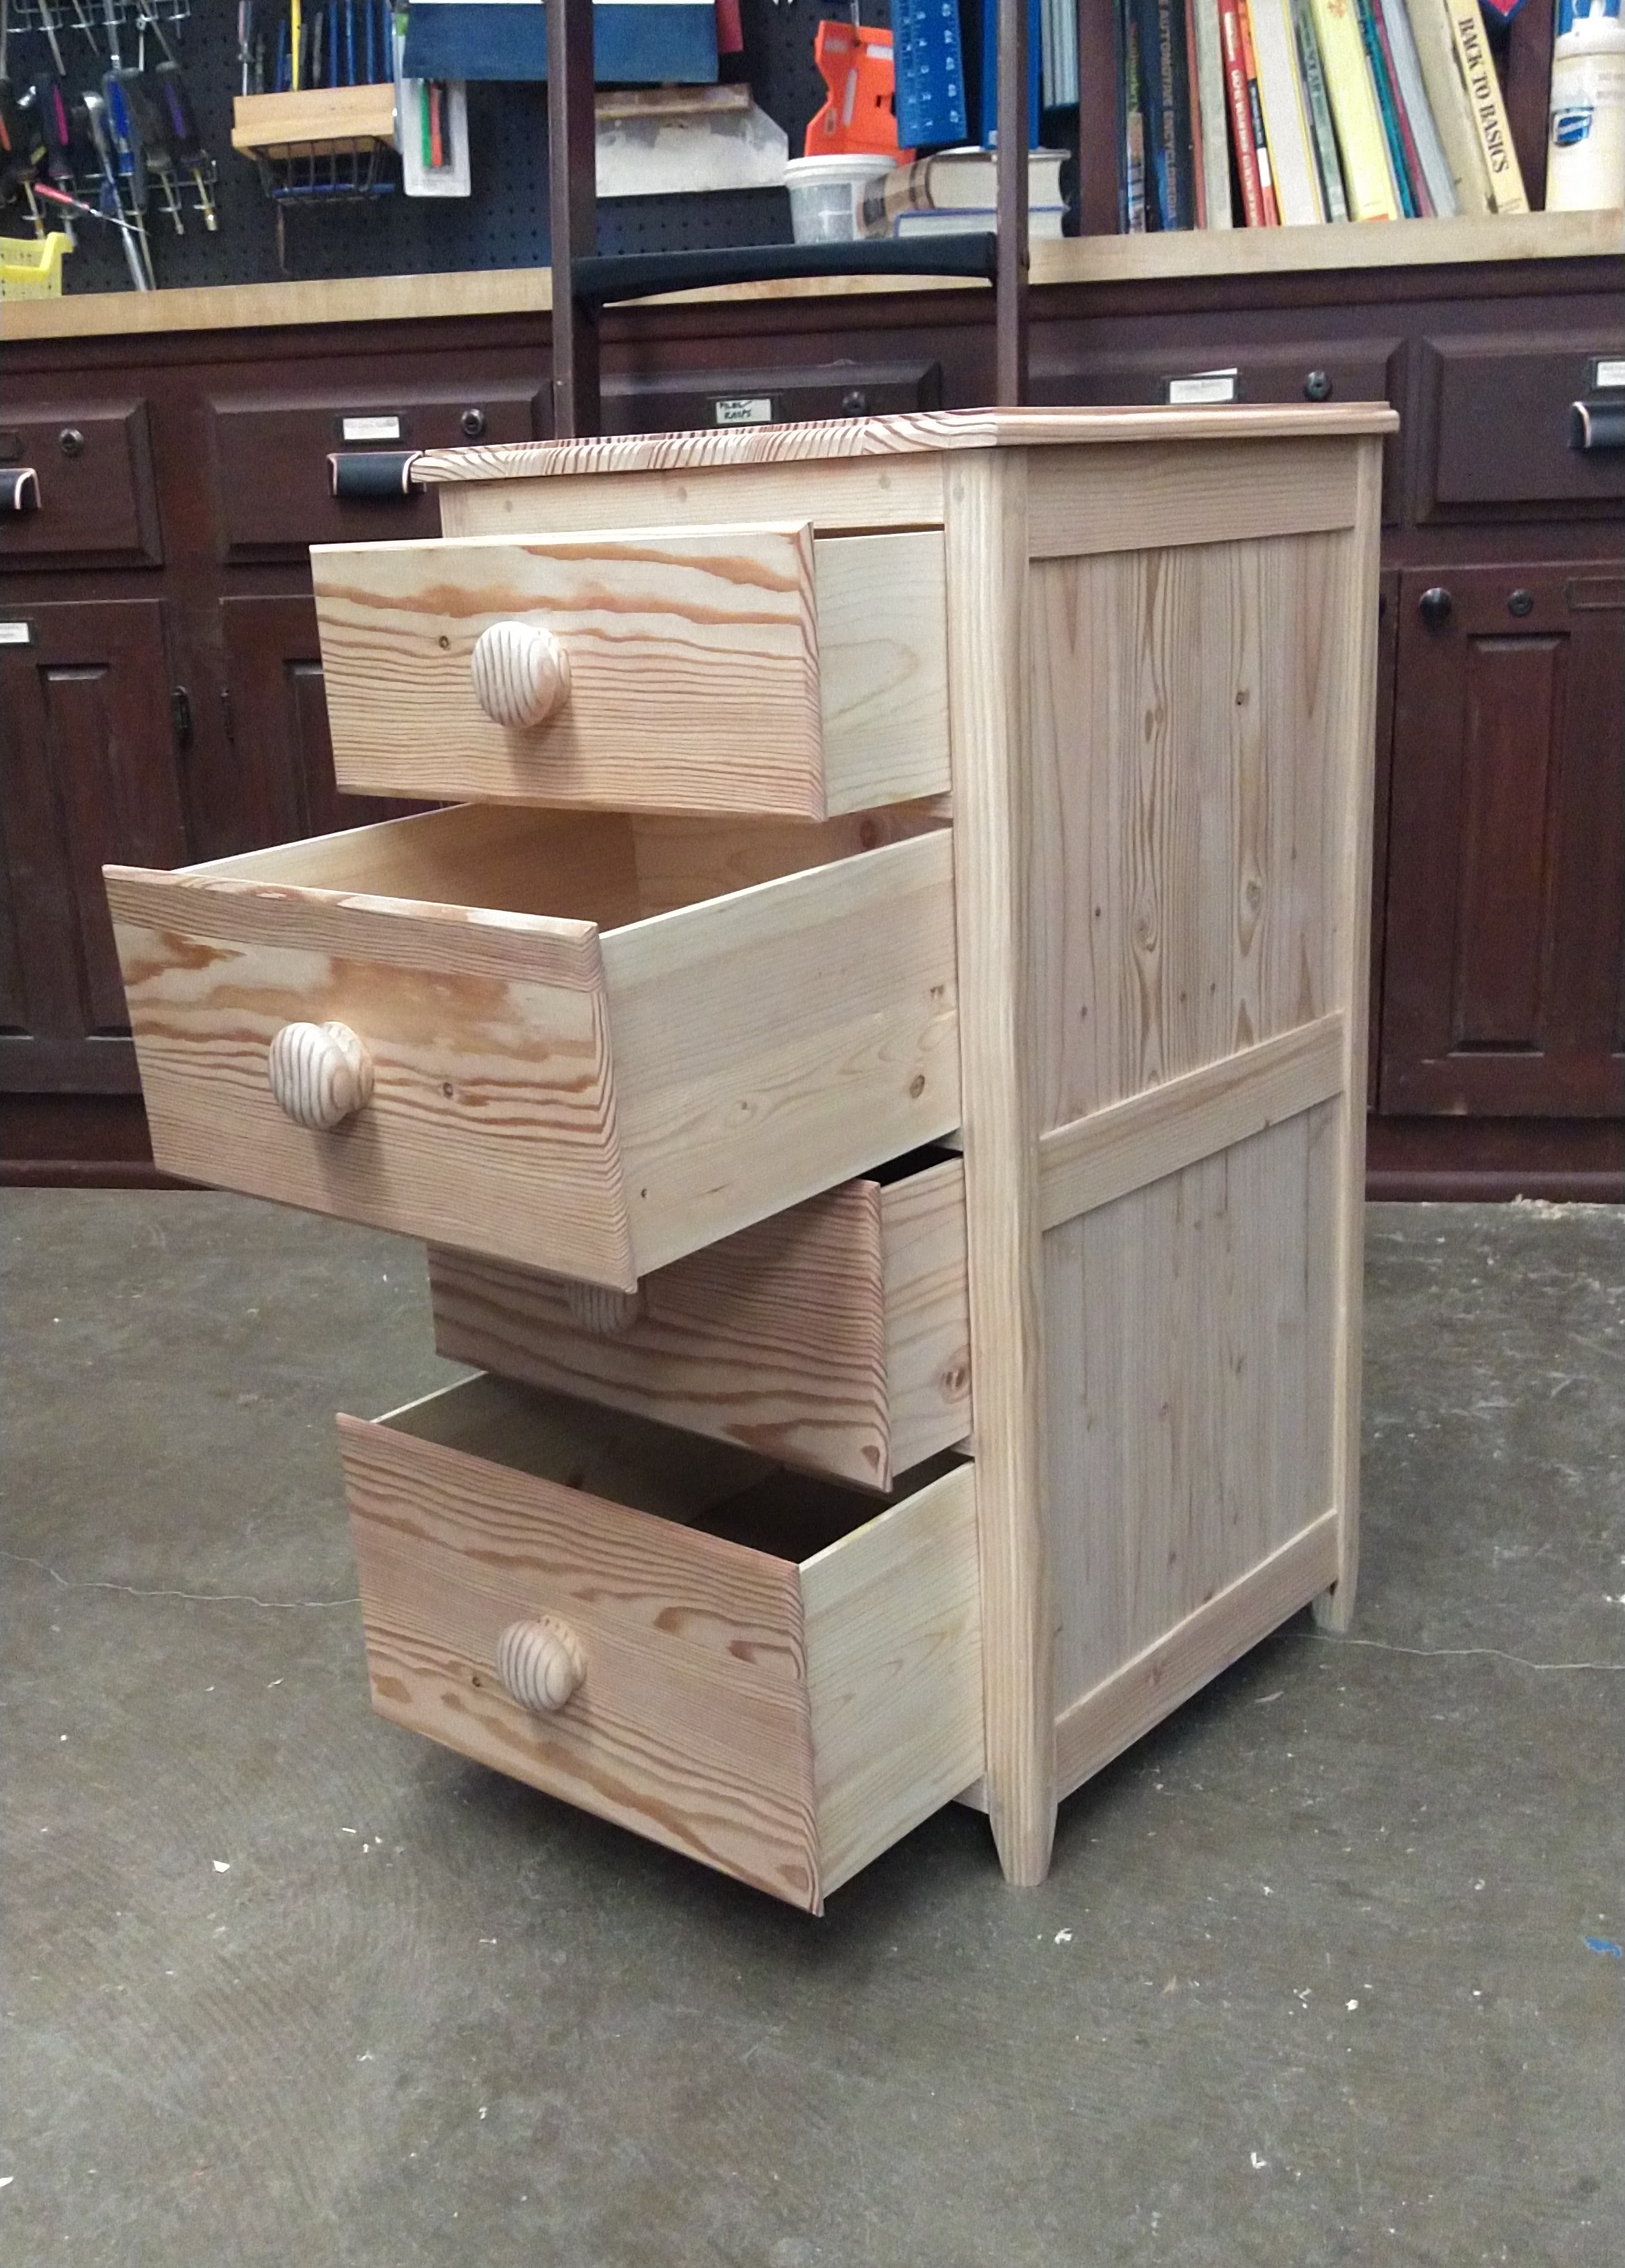
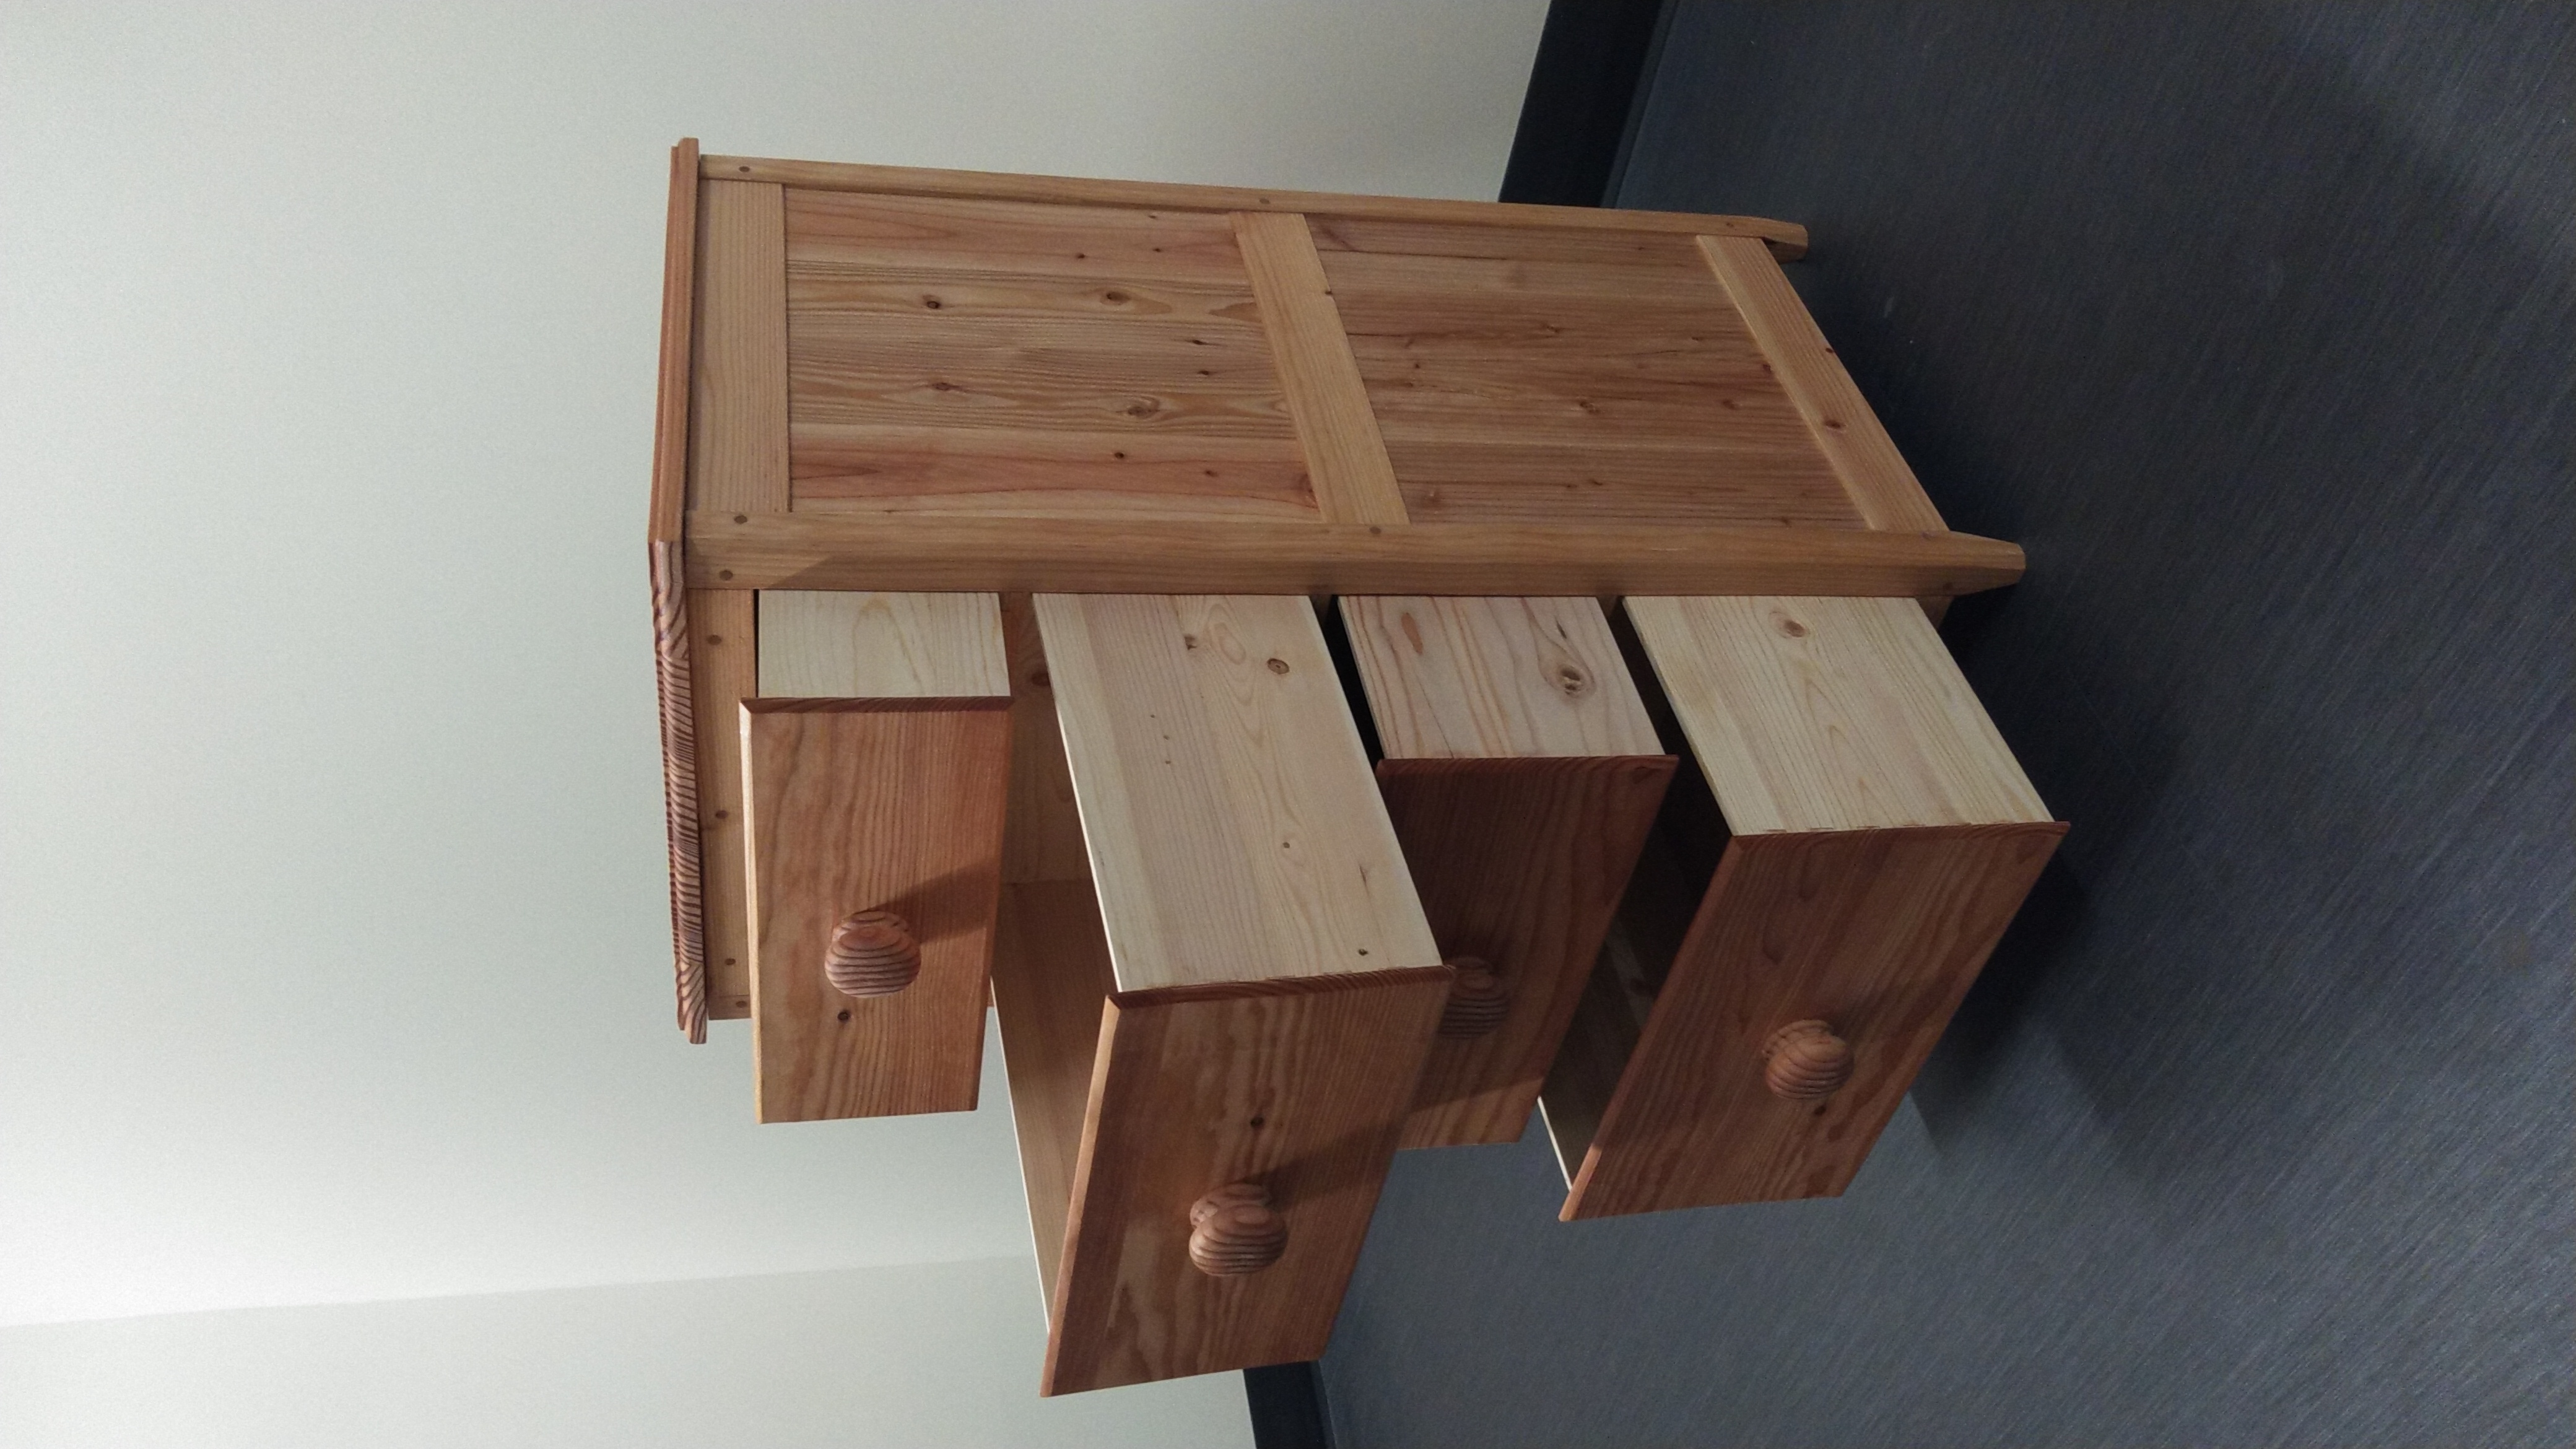
    After building a mortise and tenon chest in 2021, I had all kinds of ideas for how to make a better, slimmer, more complex piece using similar techniques.

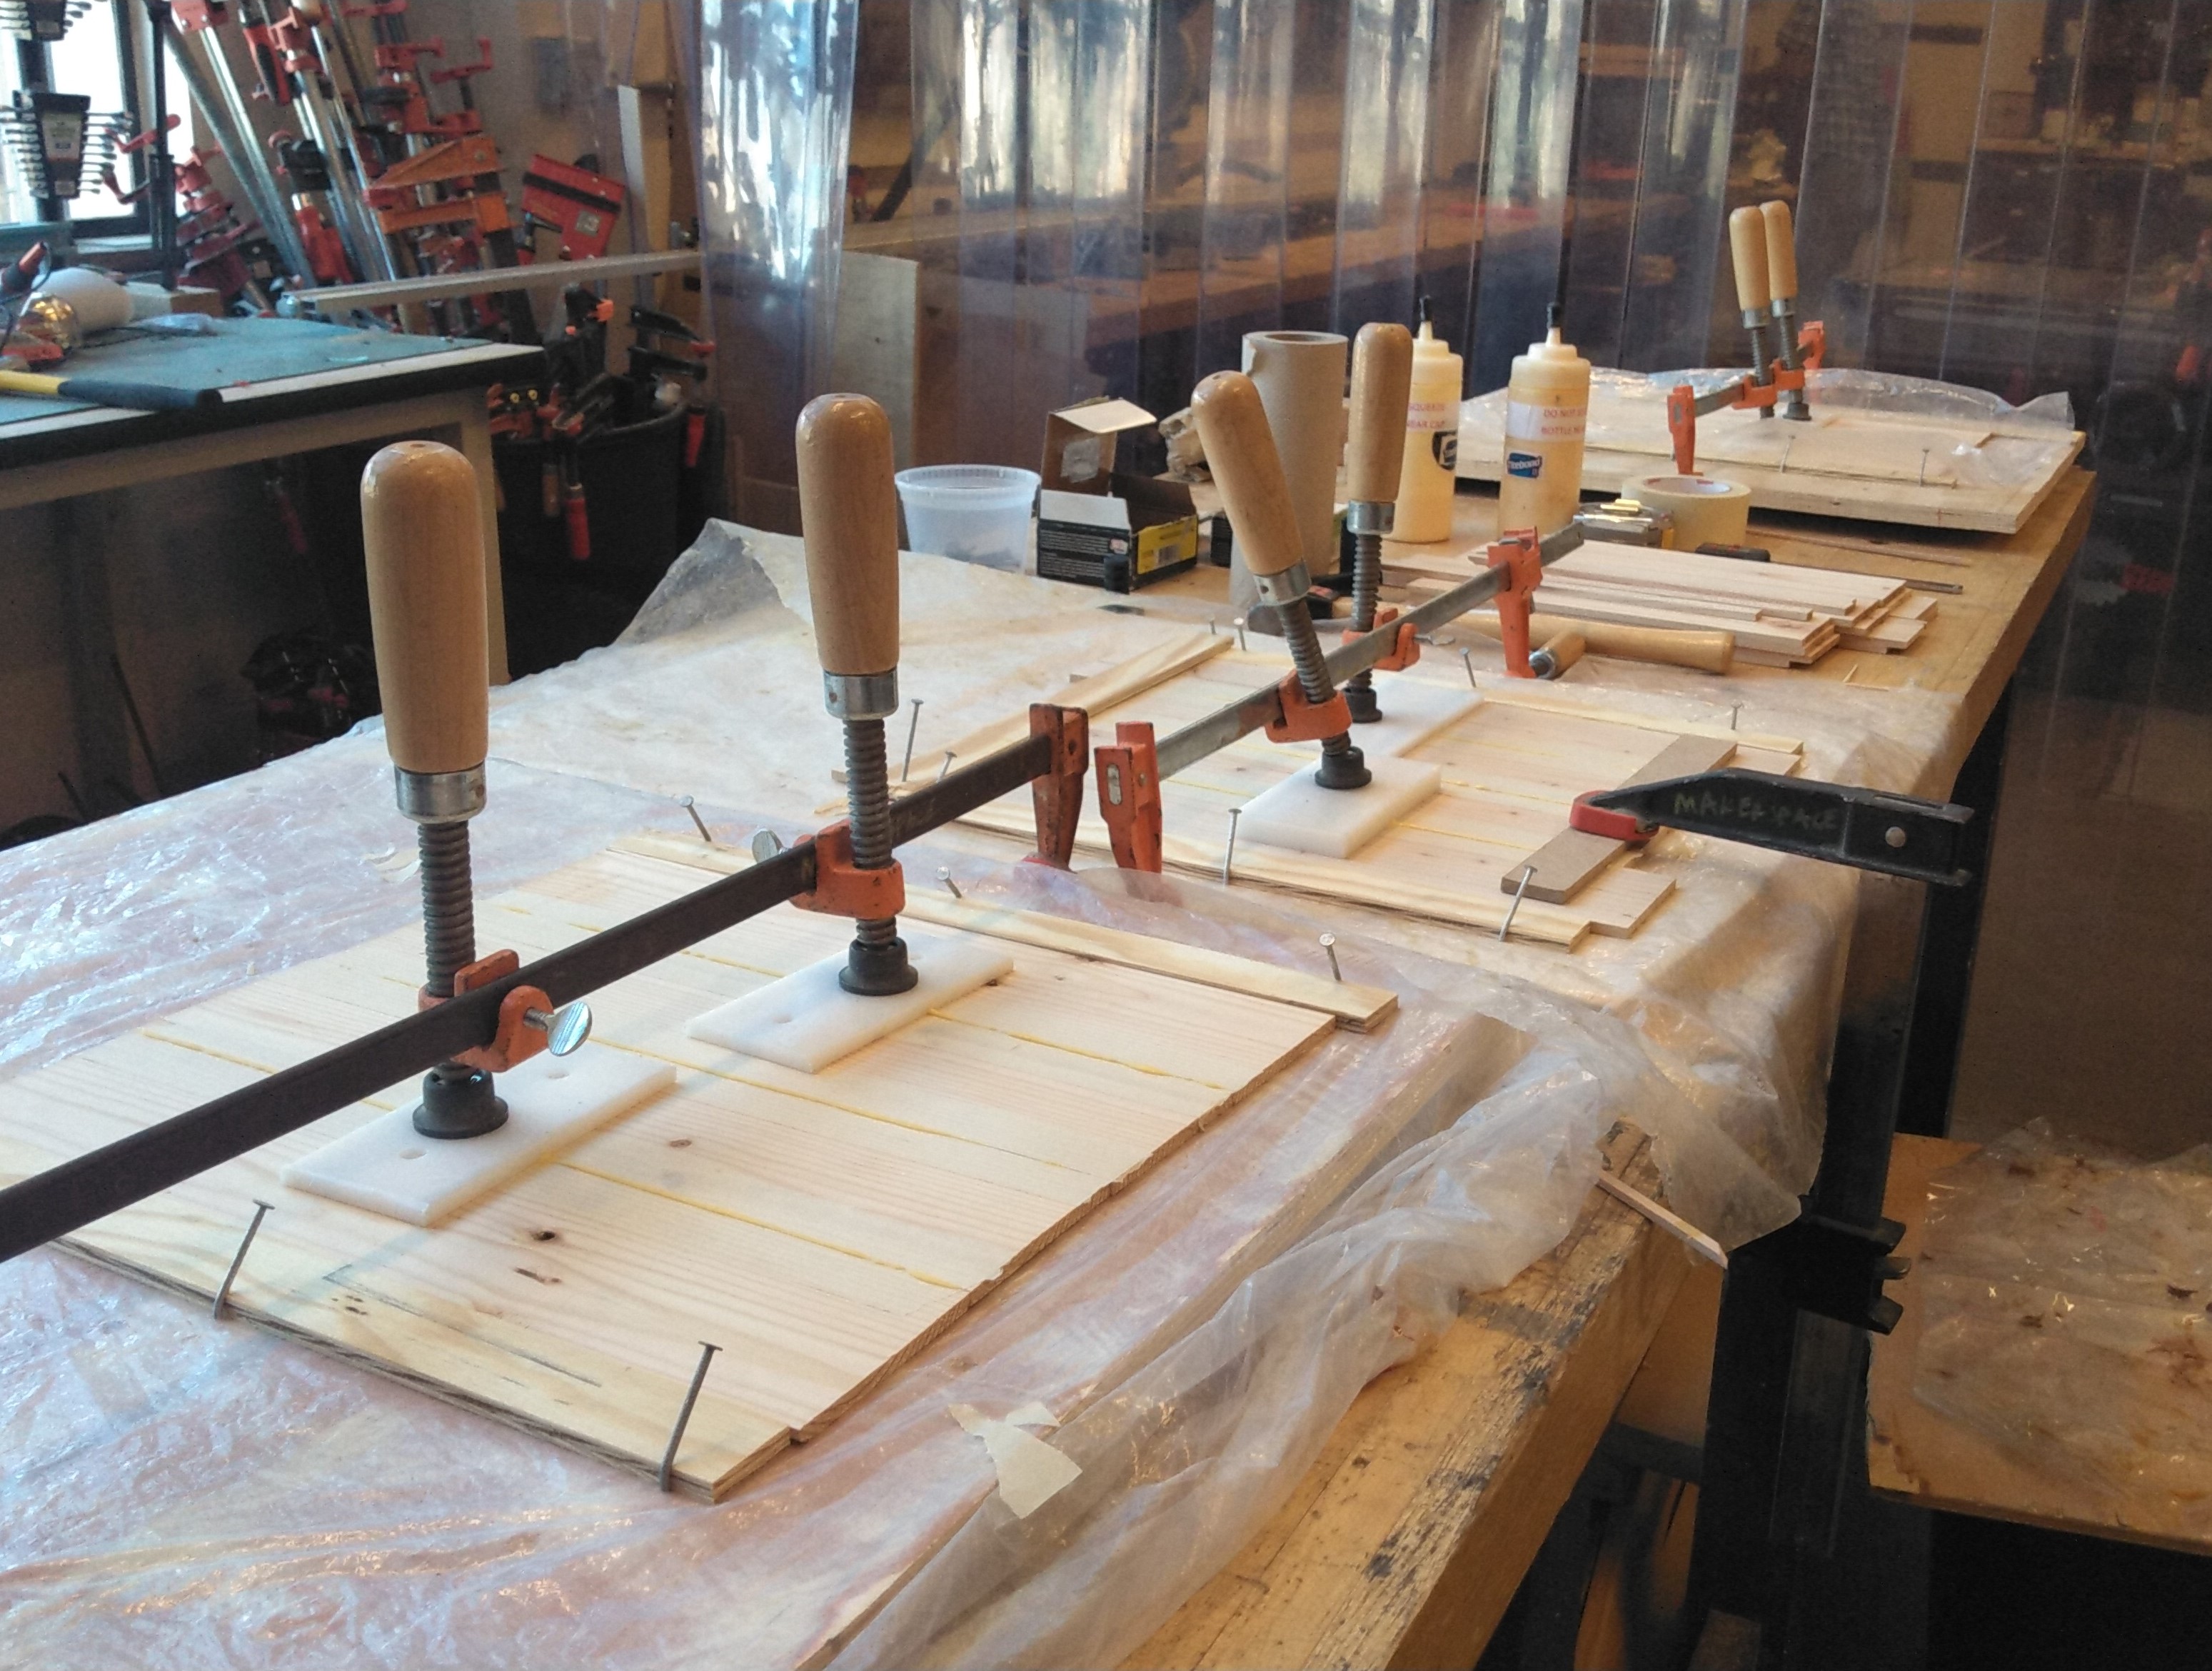
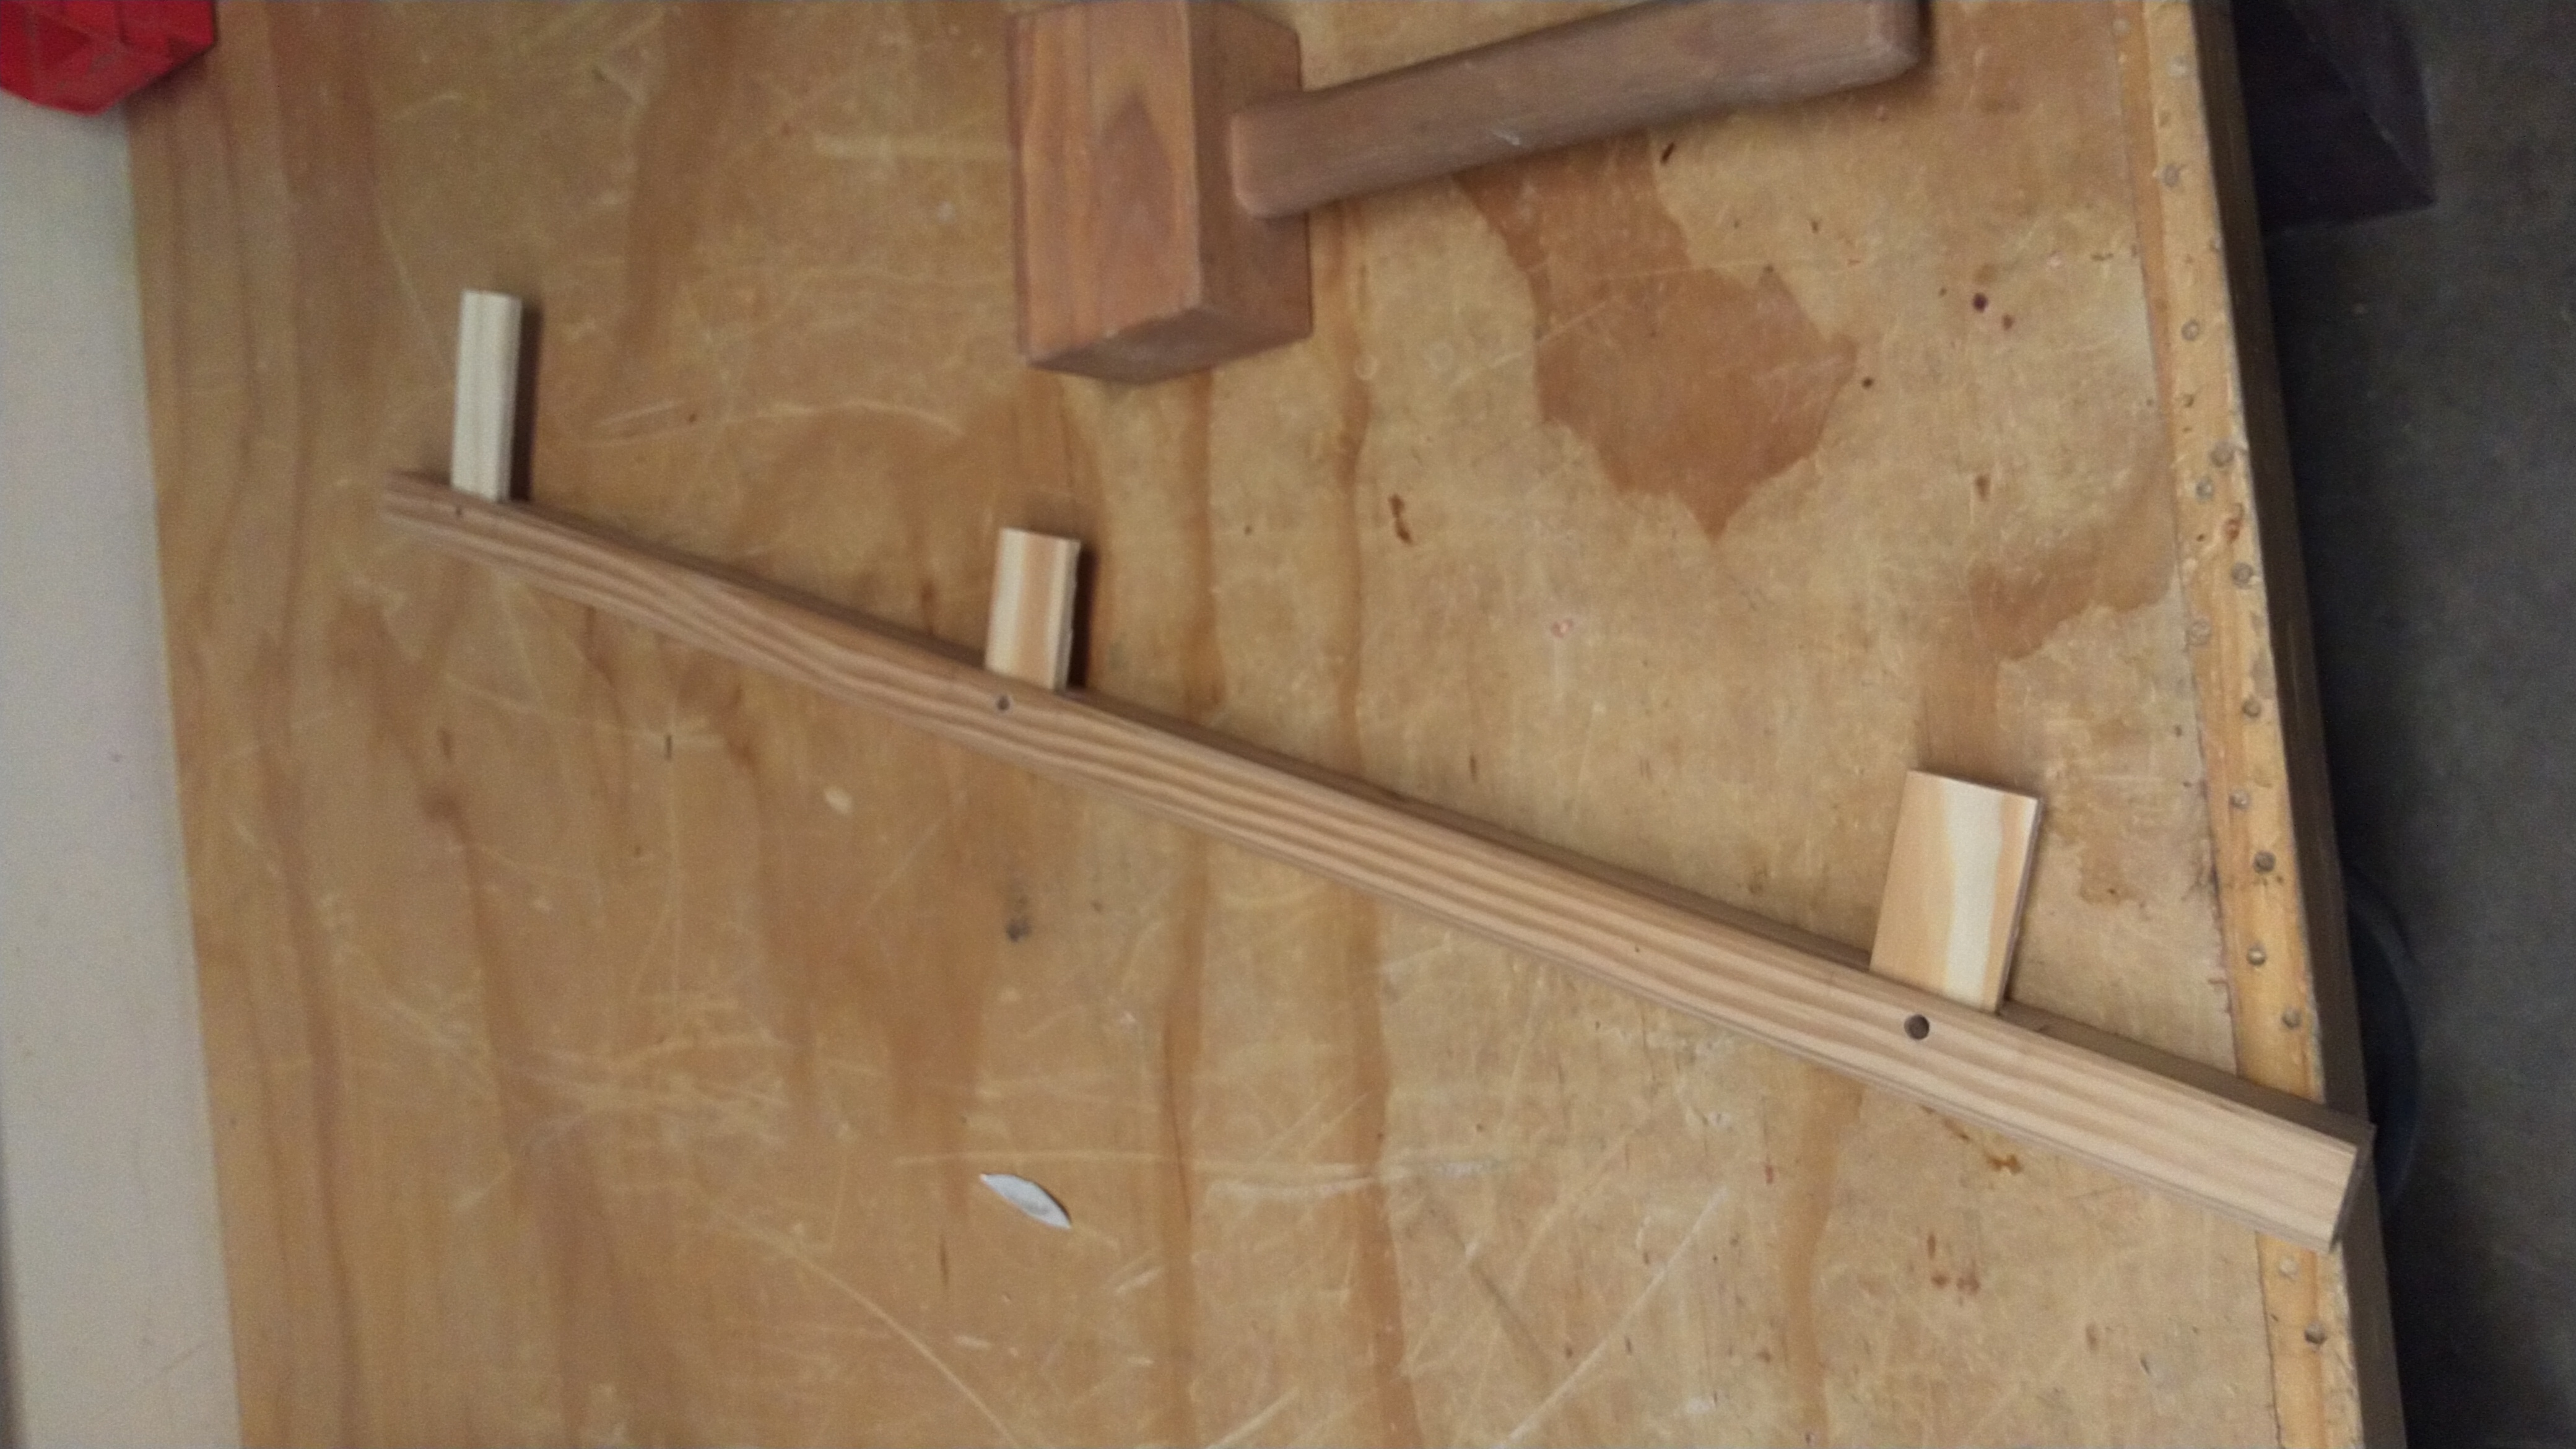
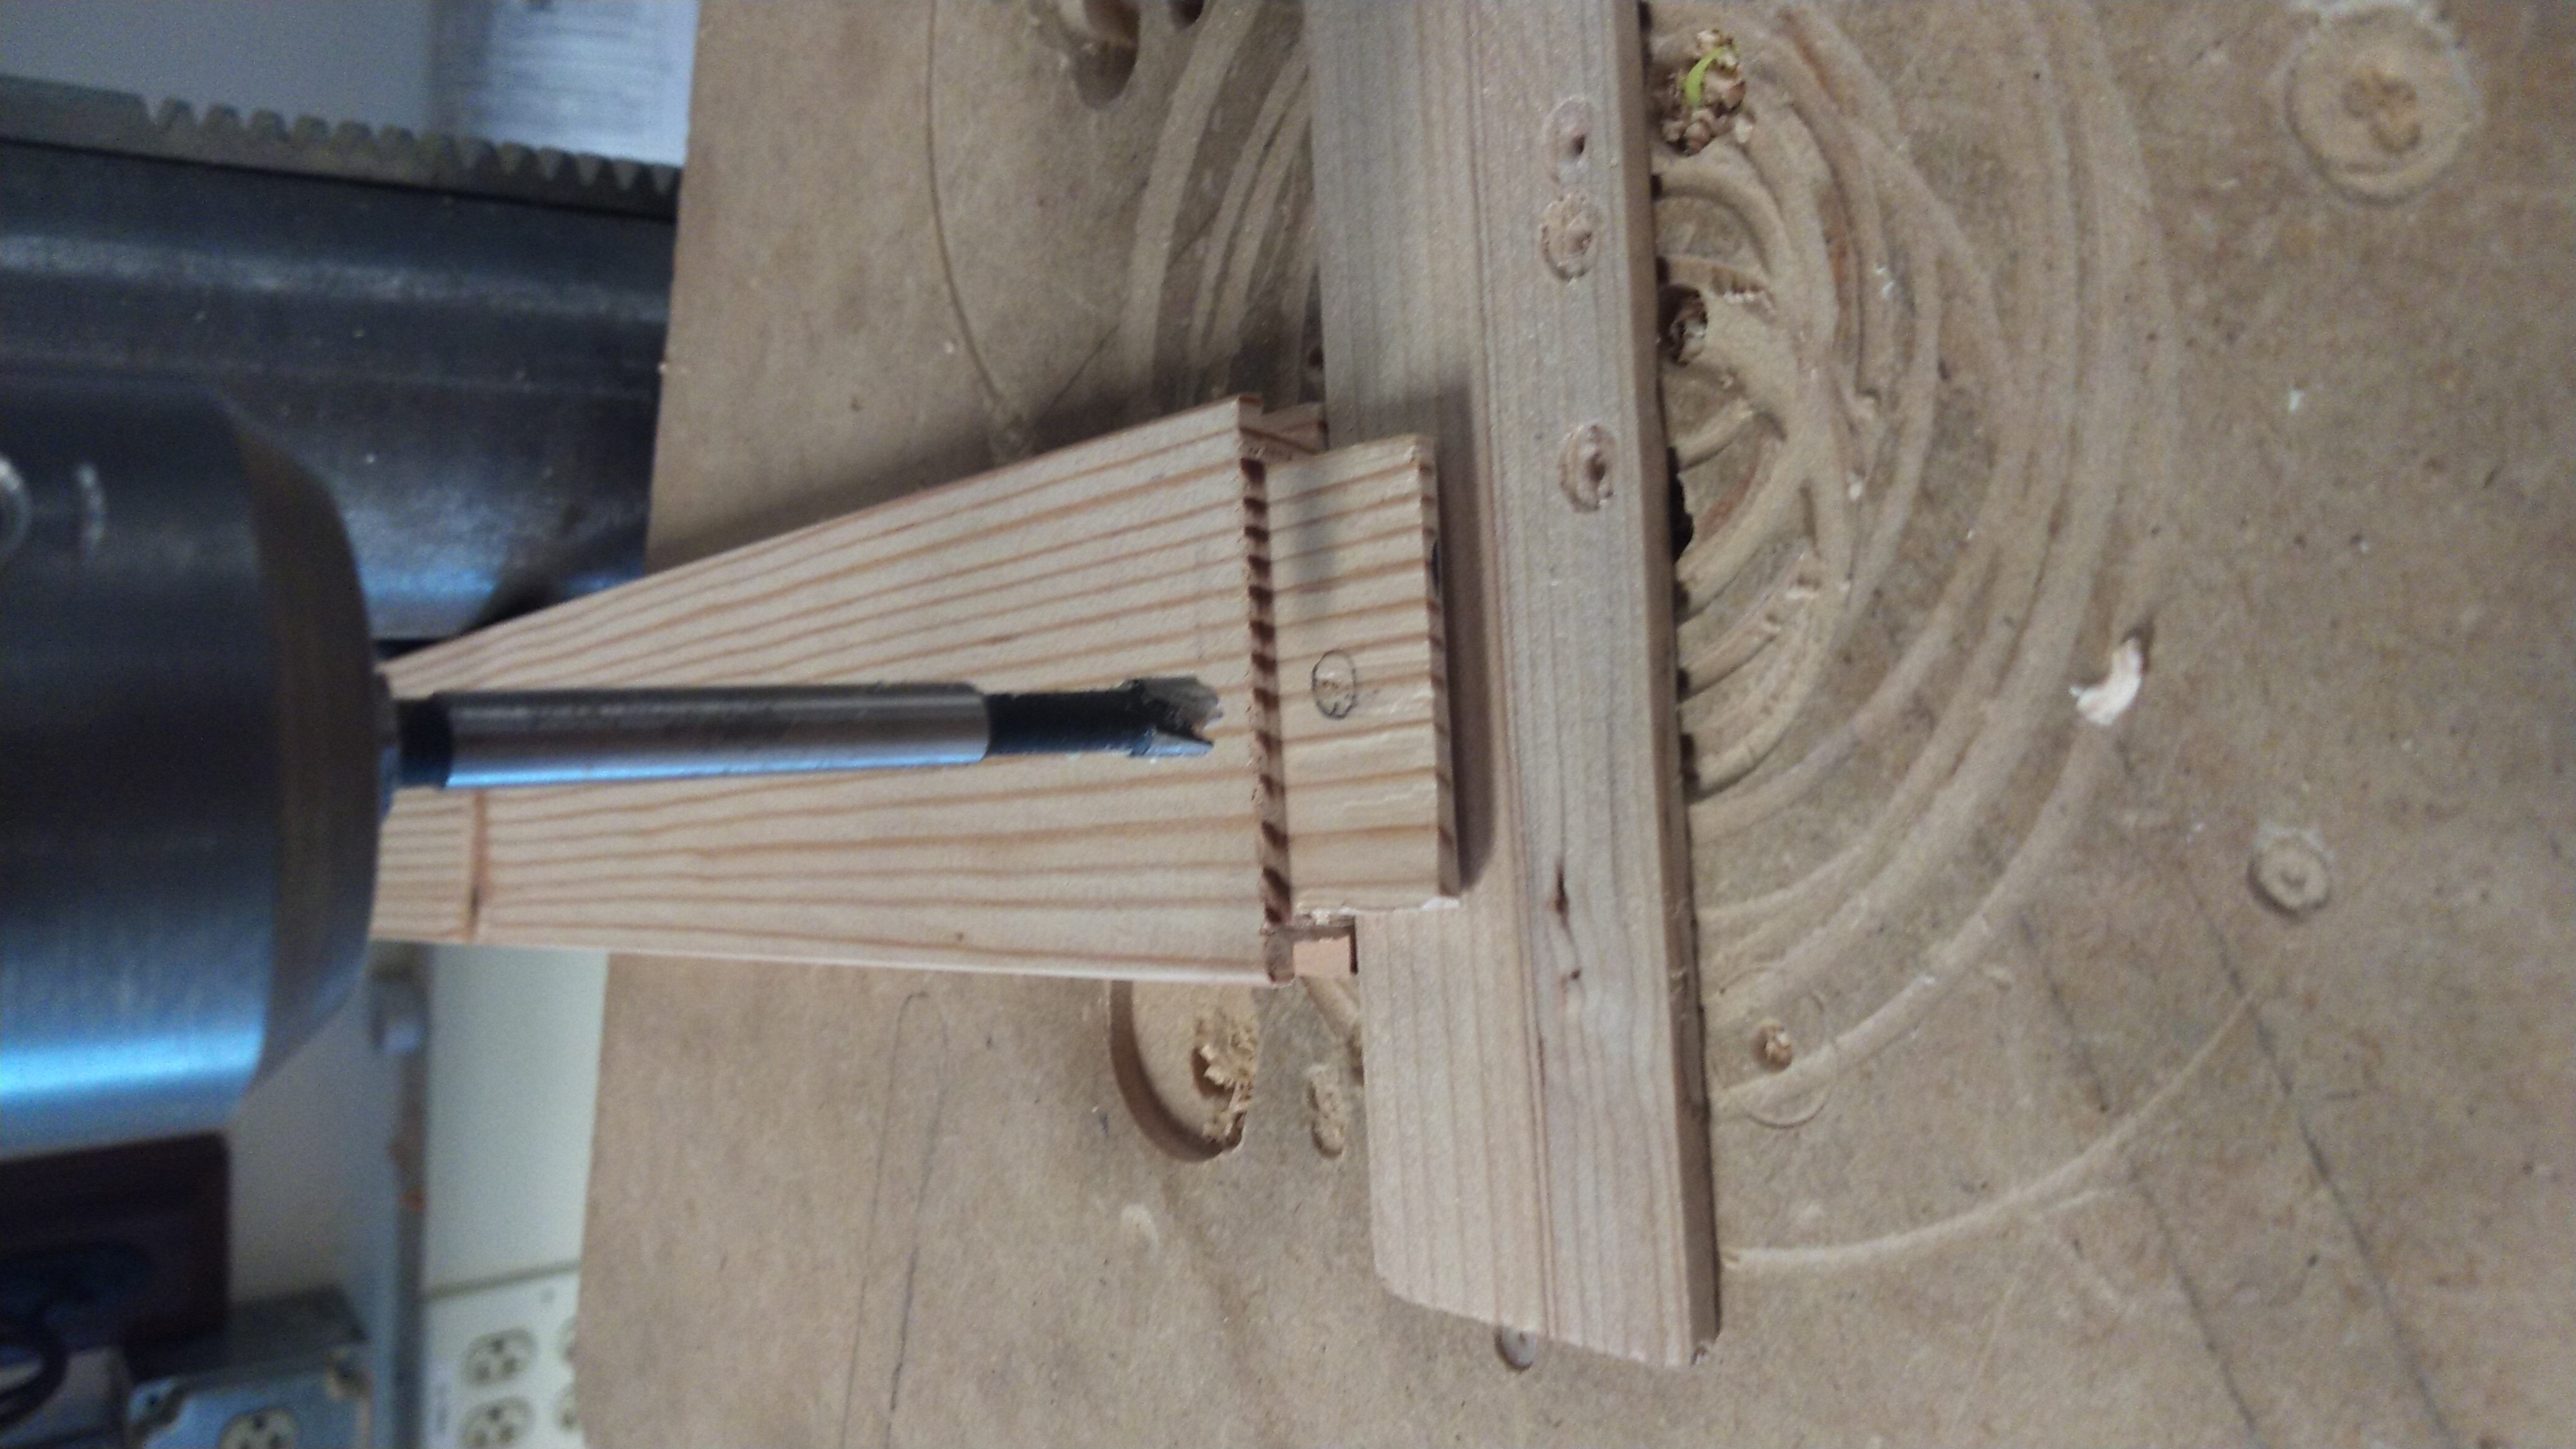
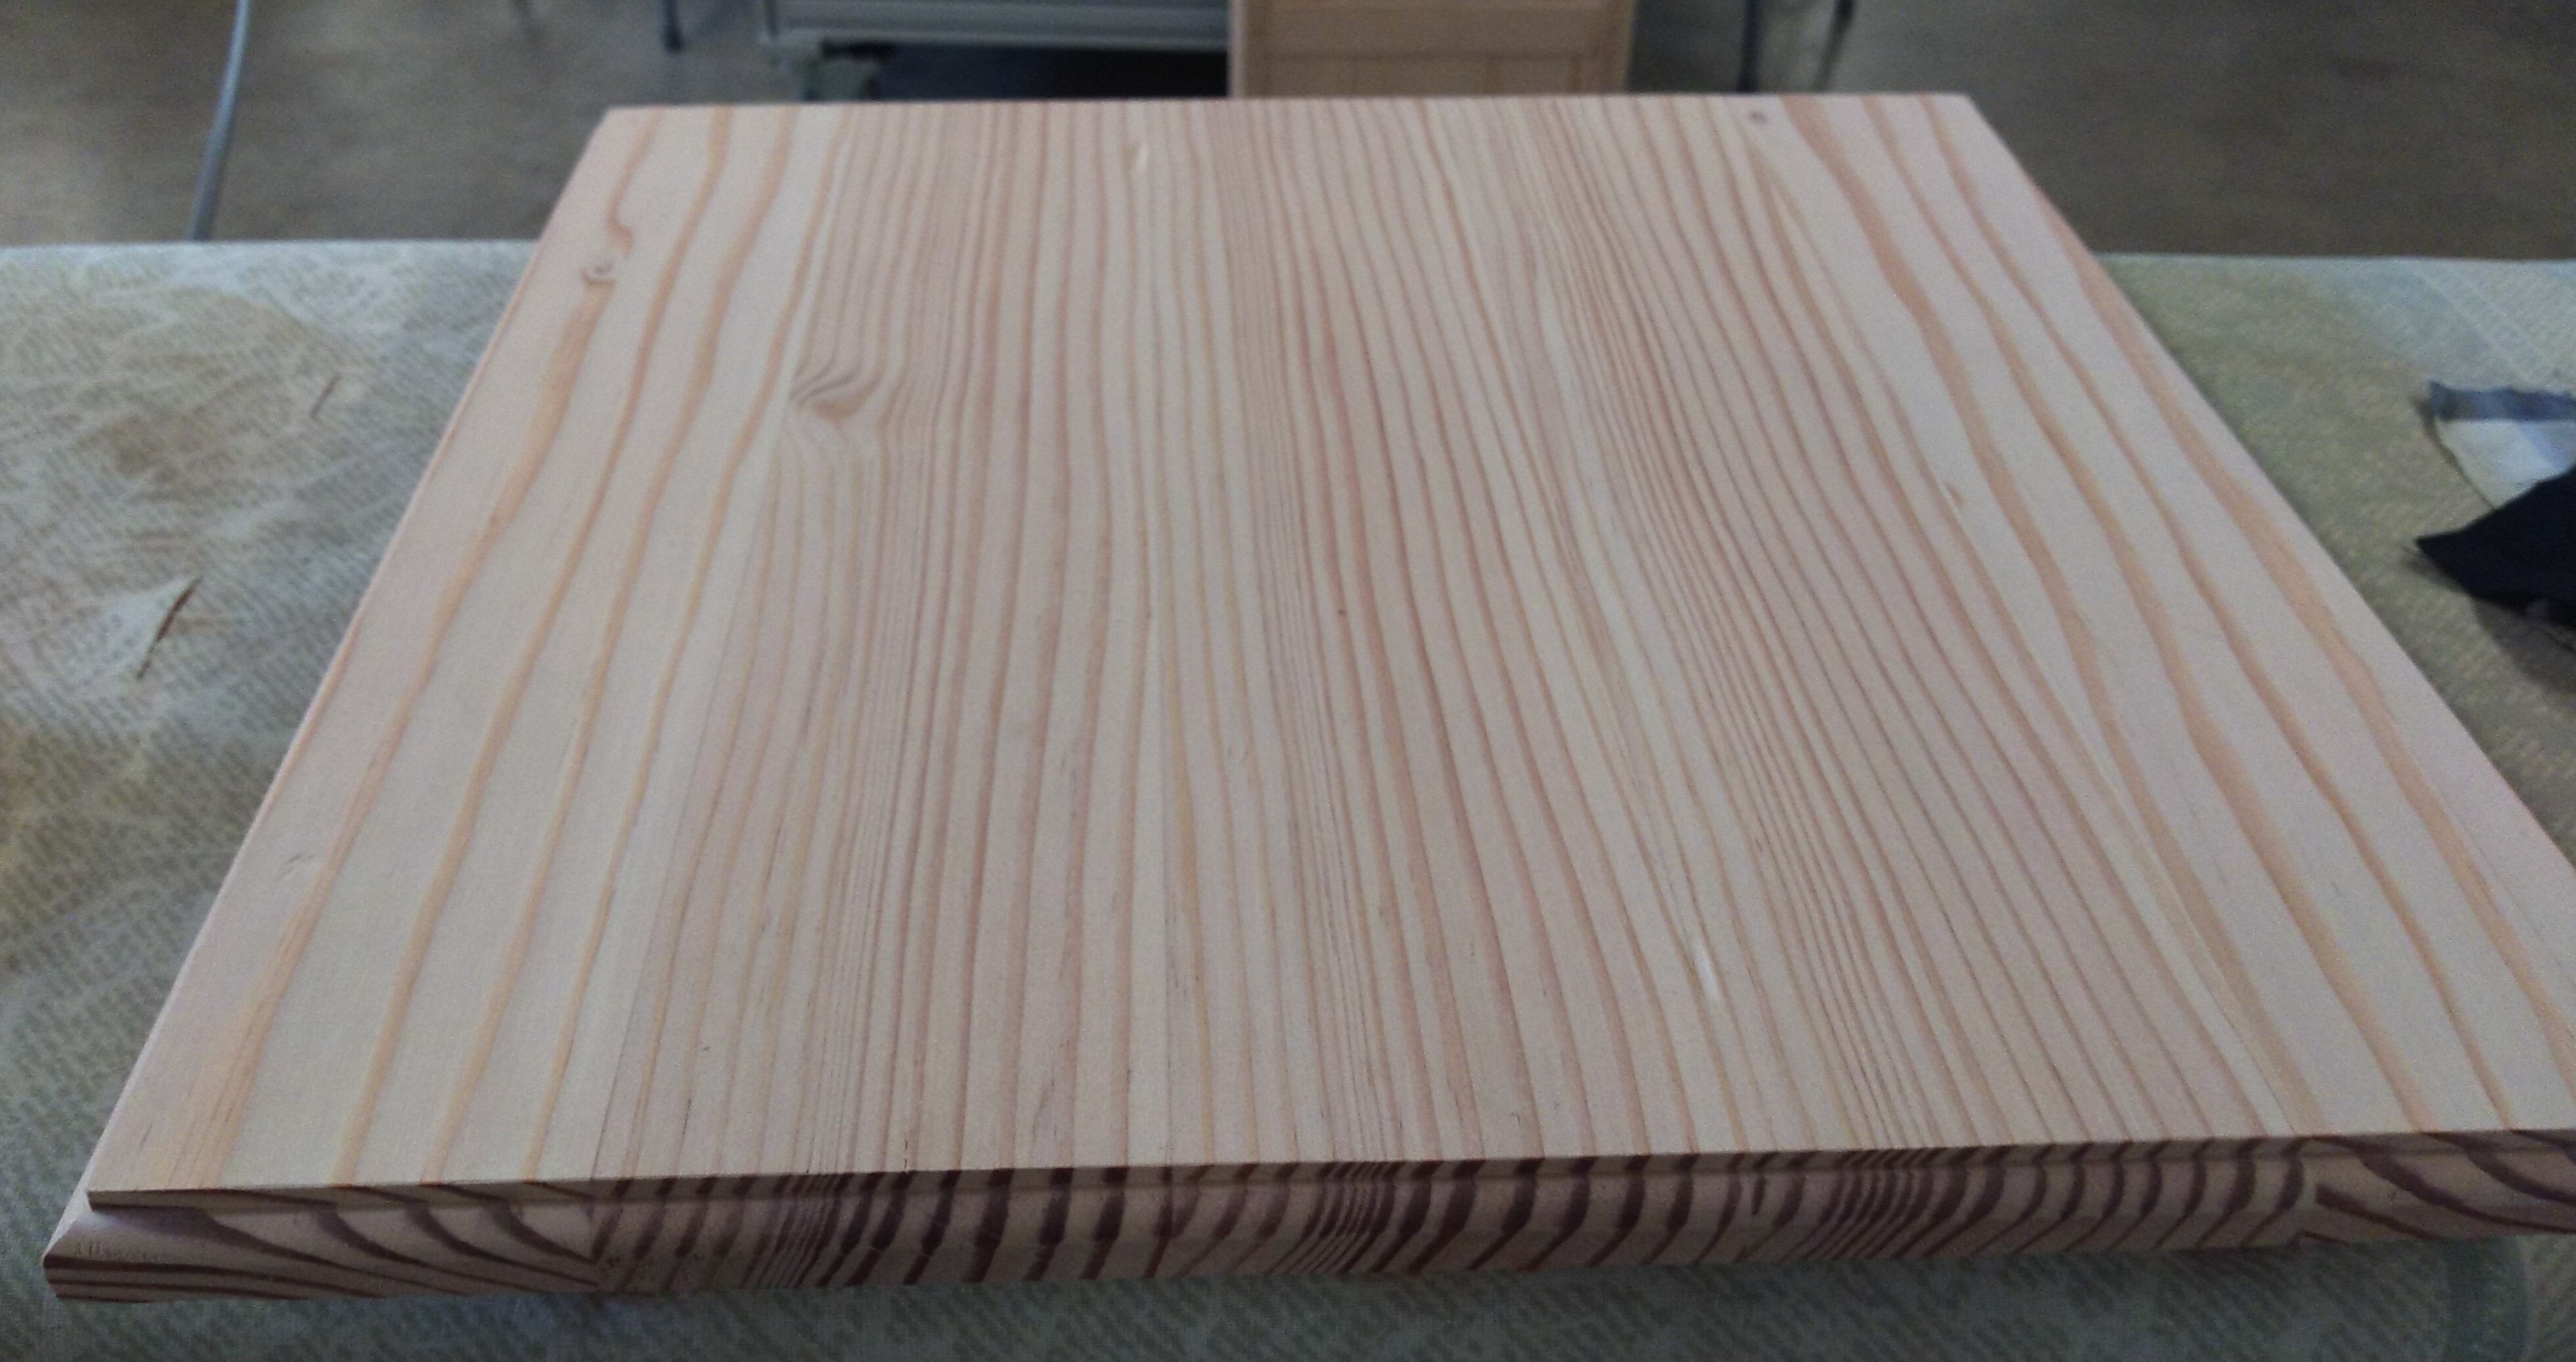
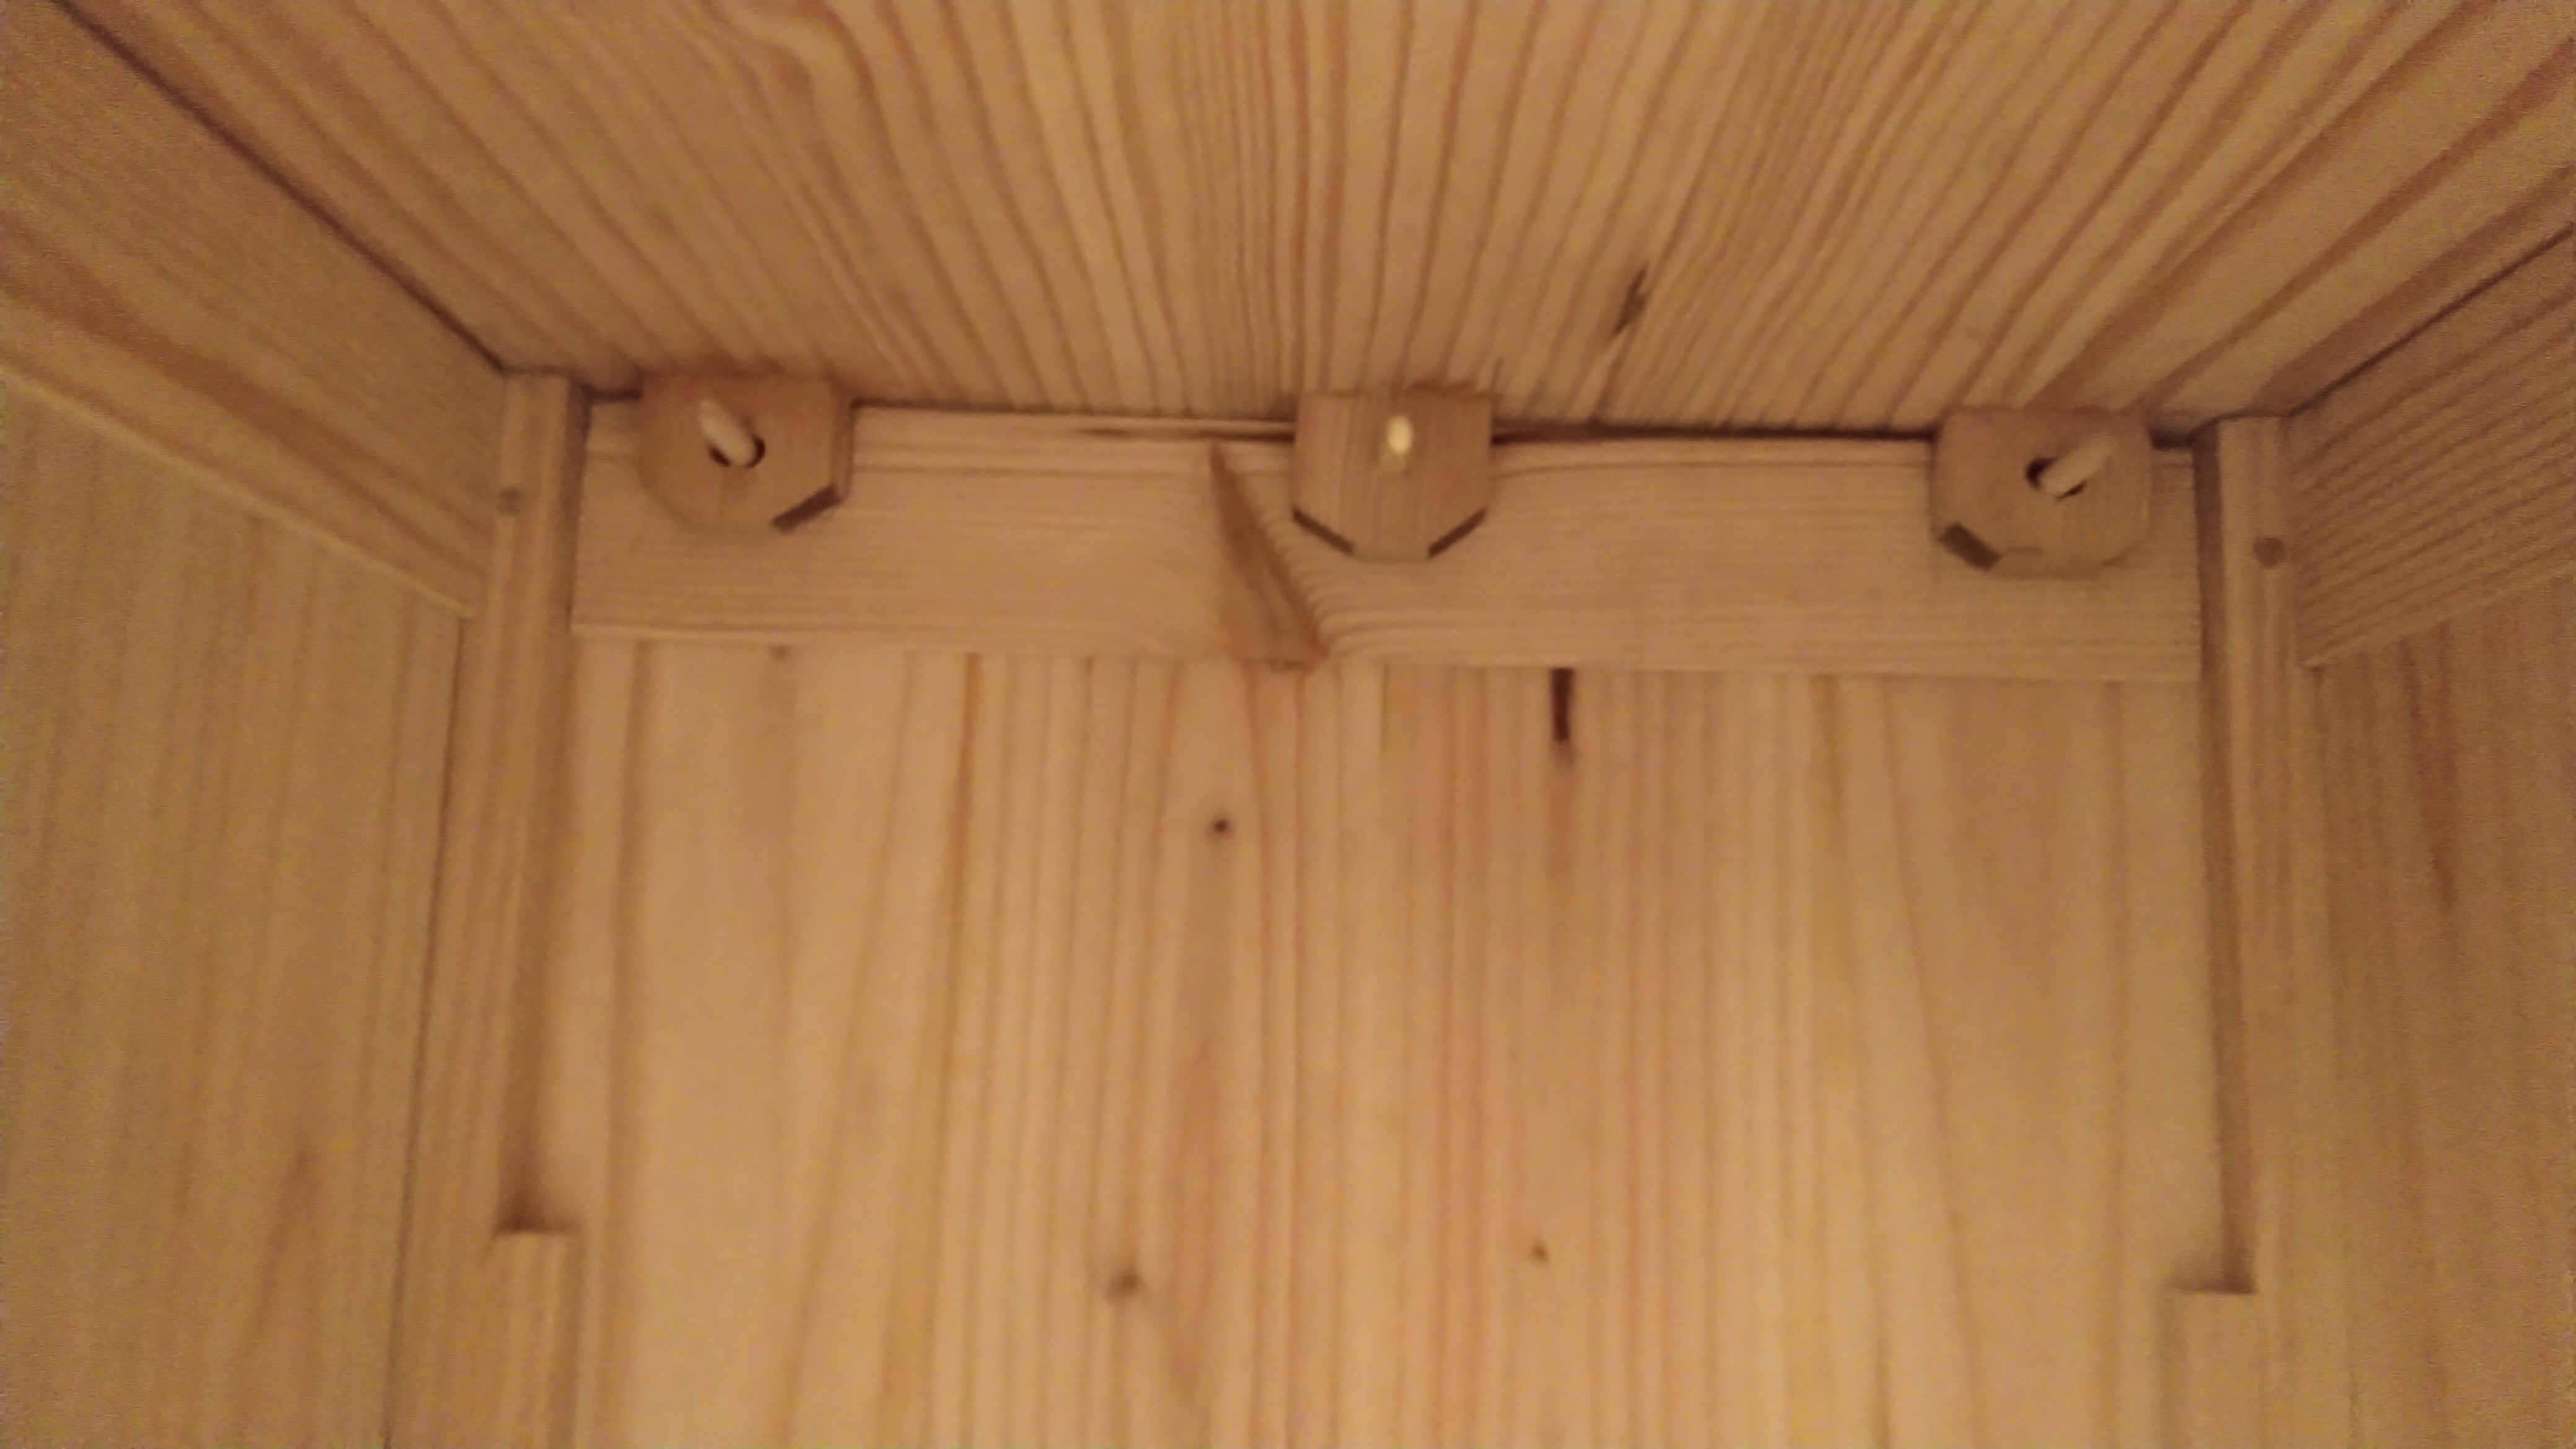
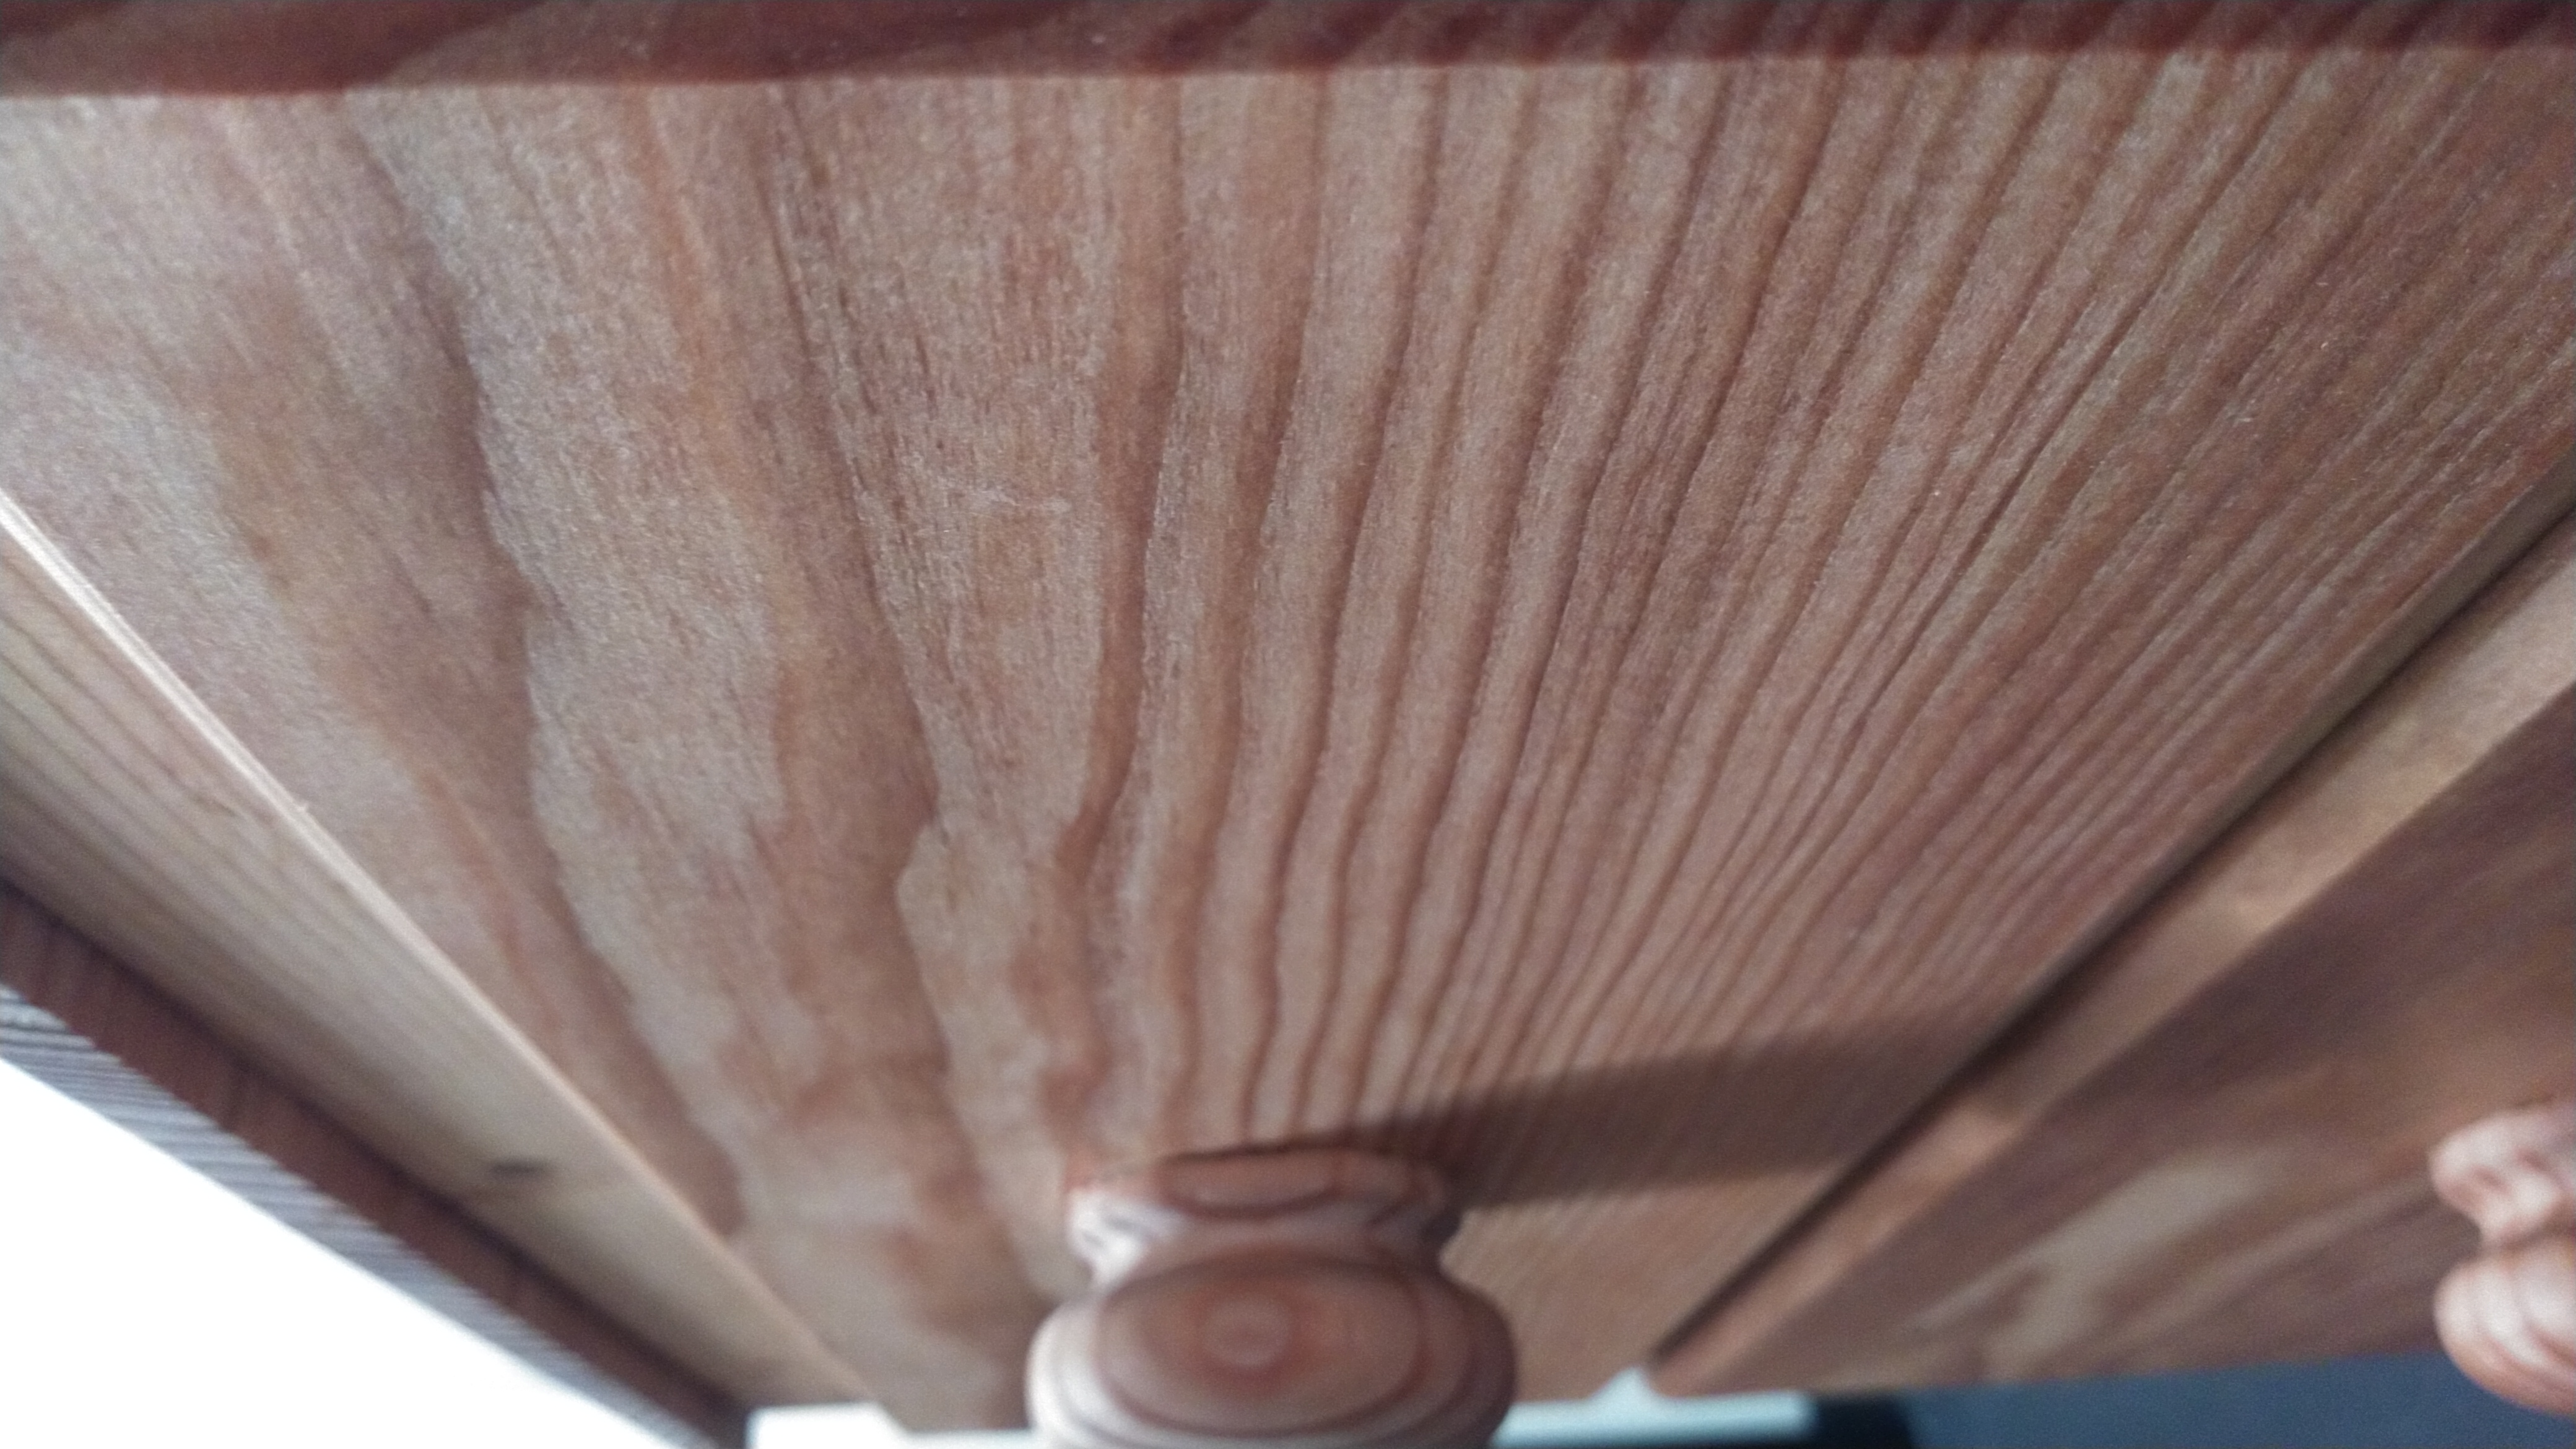
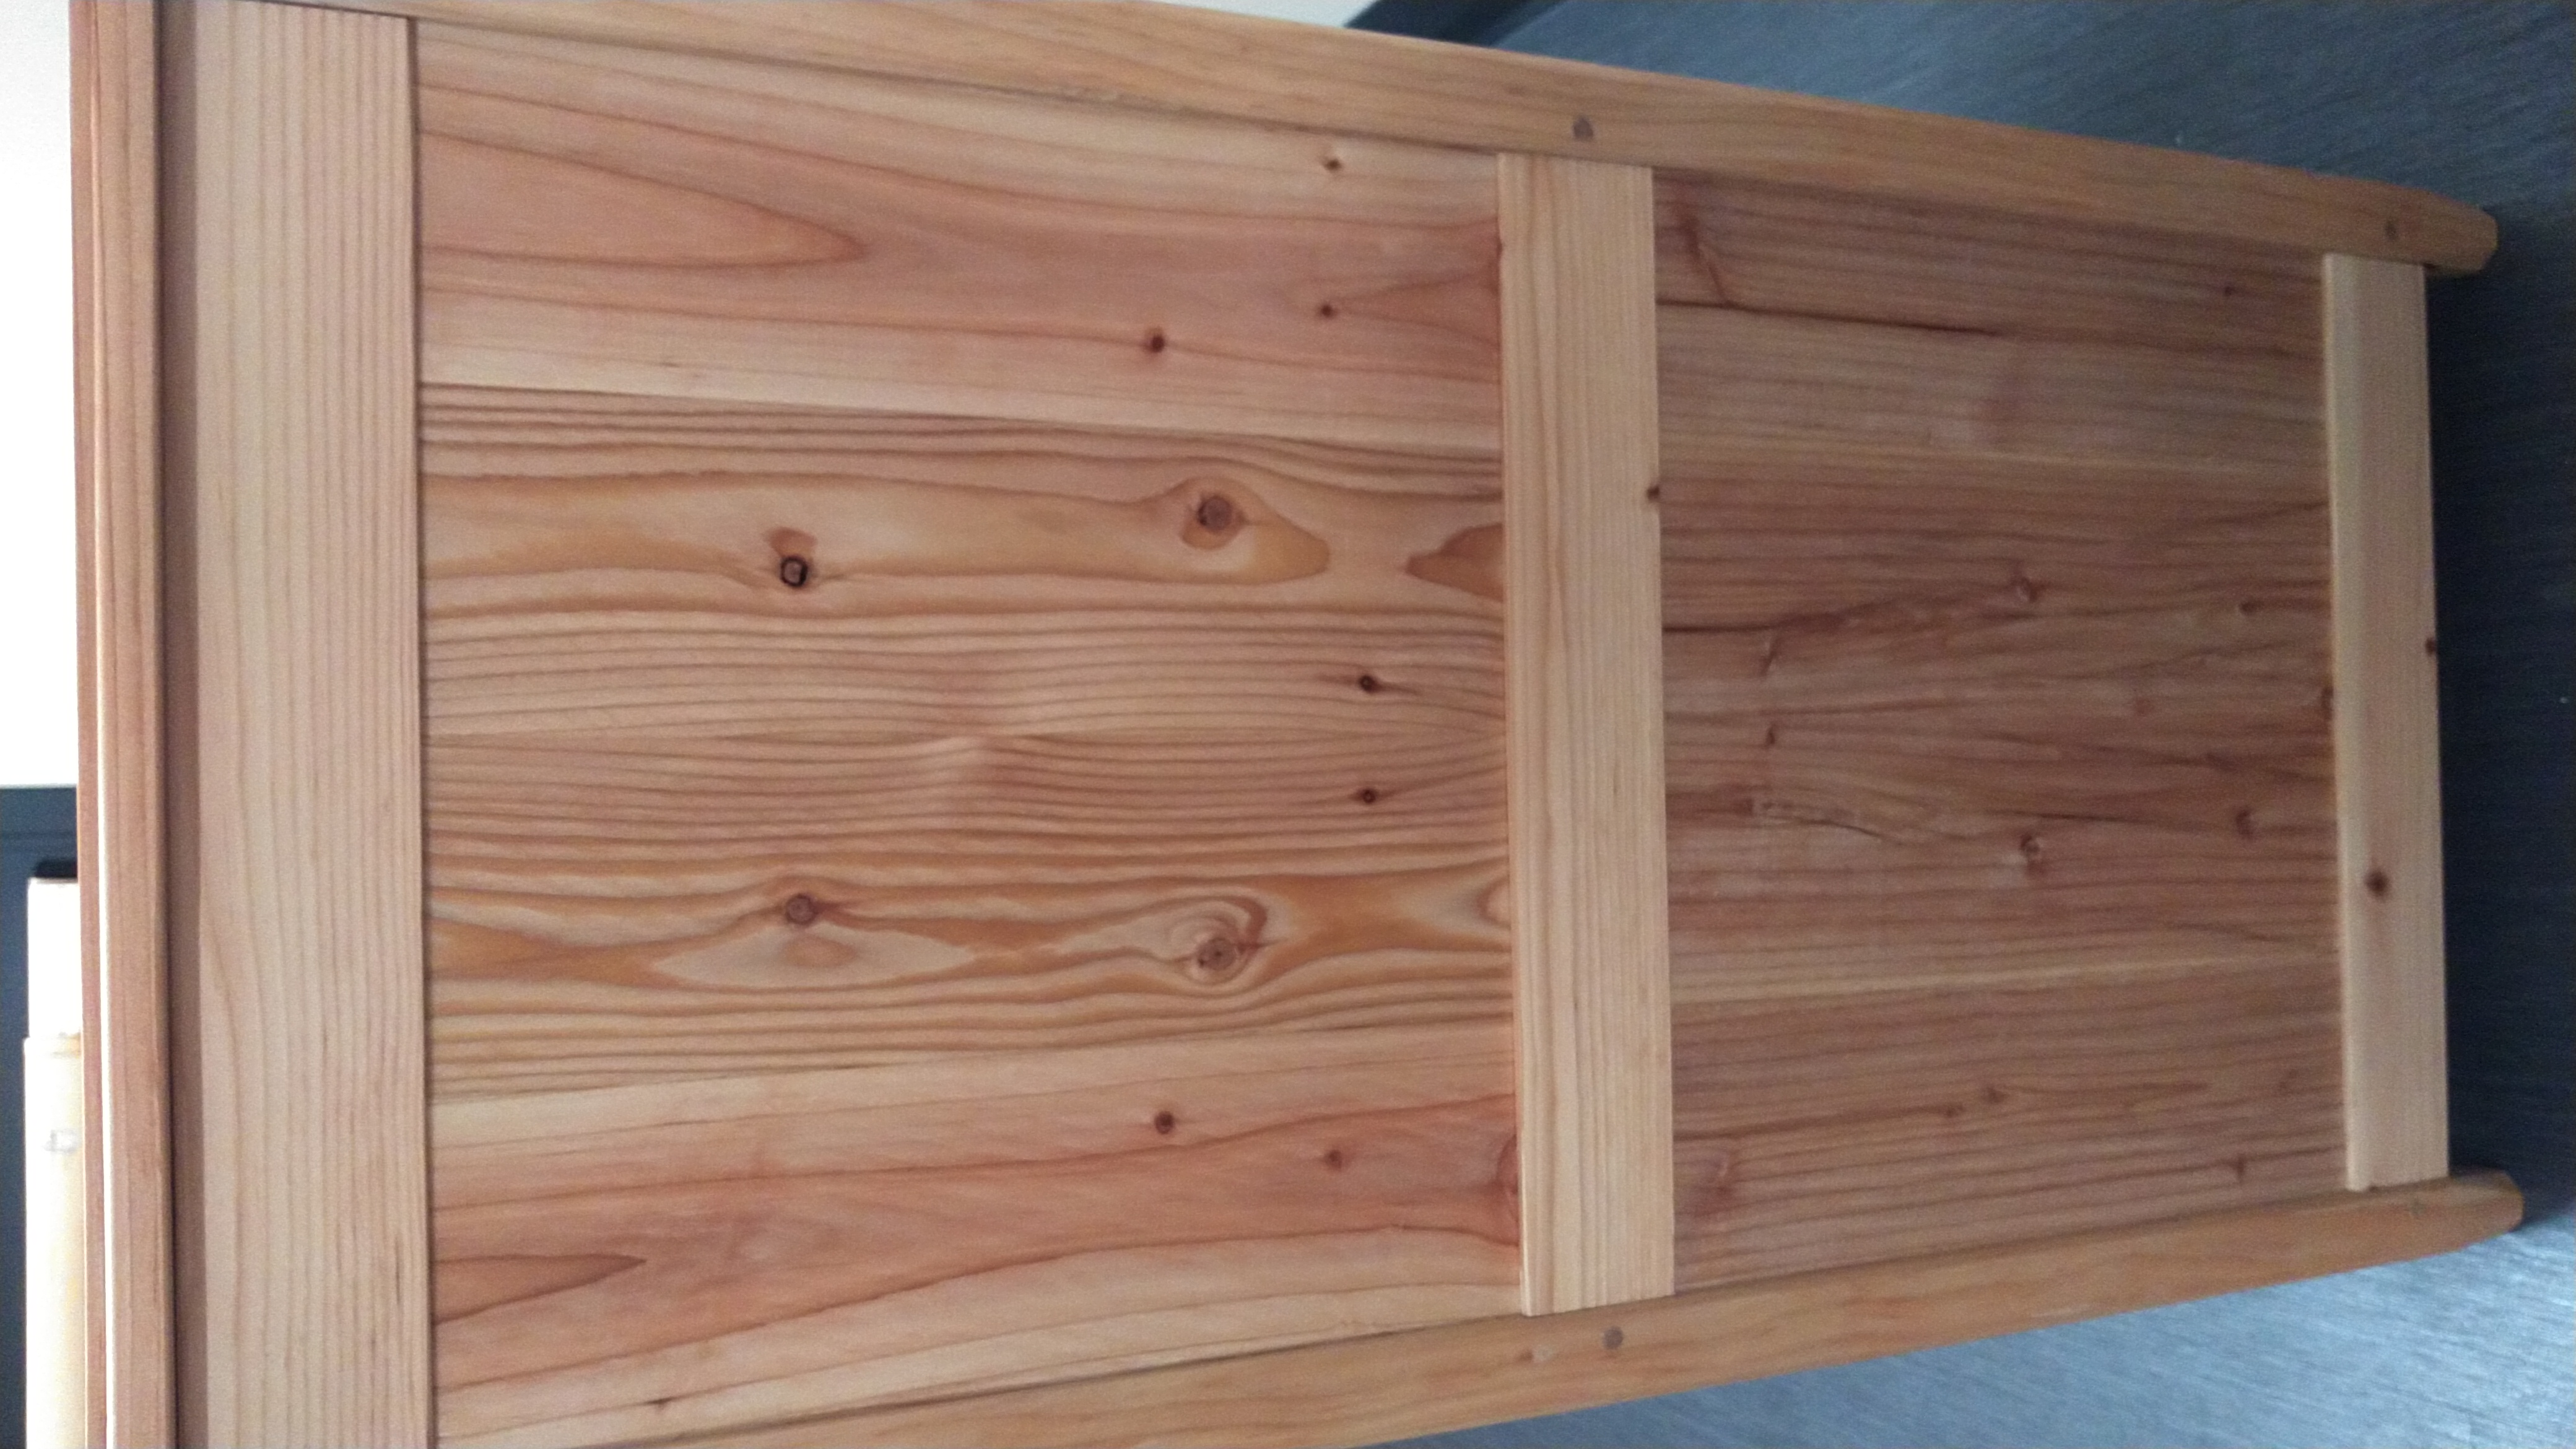
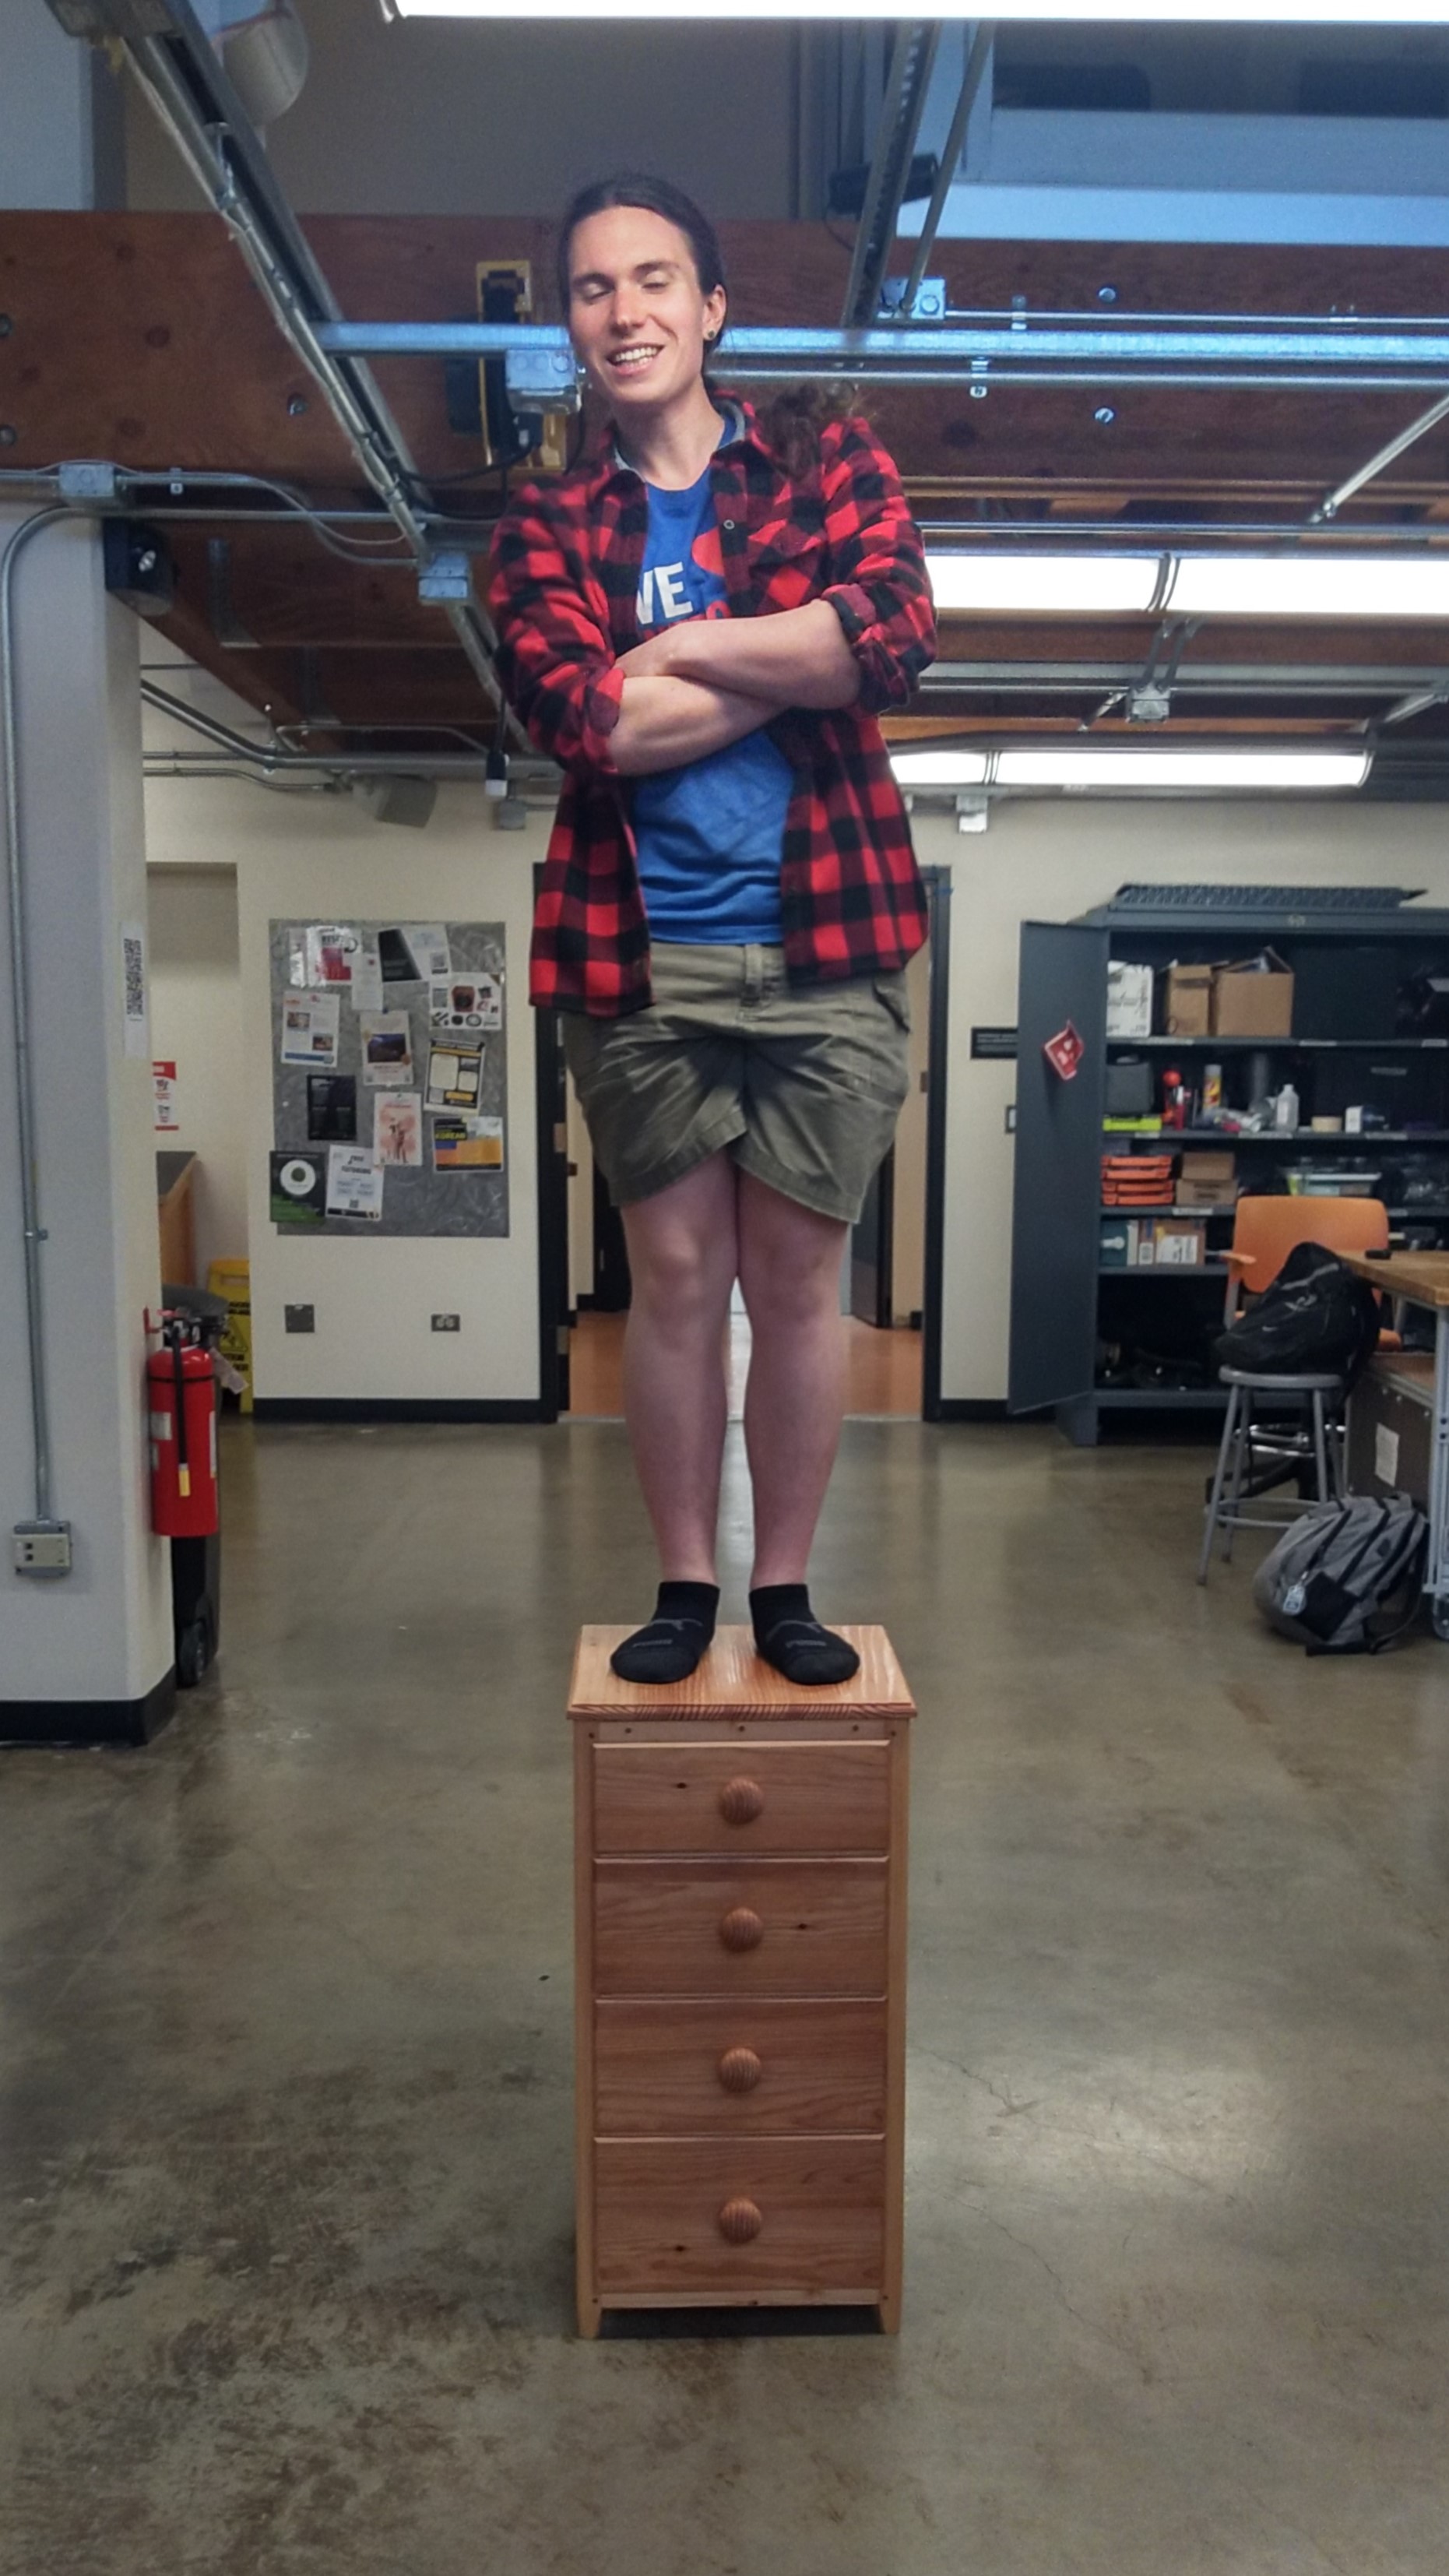
    This nightstand was meant to push the limits of what I could do as a joiner, and it certainly succeeded at that. This piece contains no fasteners whatsoever. It is held together entirely with joinery and glue. Solid wood was used everywhere except for the drawer bottoms. Almost all of it was made from scrap wood, and just to make sure I couldn't hide any mistakes, I used a natural finish.

    a nightstand with four drawers seen from below

    The finished nightstand, at a dramatic angle!

  • Designing the Nightstand

    Like the chest, the nightstand is constructed with a draw bore mortise and tenon frame with floating panels. Wood runners support the drawers. The top, which is a solid panel, is held down with a combination of fixed and floating pins to allow for seasonal expansion.

    The design changed as I built it, but the model gave me a good starting point and let me work out the important features and connections.

    A 3D model of a nightstand

    Nightstand design in Blender

  • Preparing the Lumber

    I made most of the piece from scrap 2x4s, so my first step was to get them to get all the pieces to the right cross-section and length. I jointed, planed, and sawed the pieces for accurate, repeatable results.

    • Five 2x4s, two labeled posts, two labeled beams
    • Various pieces of wood stacked on a shelf

    2x4s, cut roughly to length (Top) and pieces cut to length and cross-section (Bottom)

  • Mortises and Tenons

    Next, I cut the mortises and tenons. I laid out all the mortises using a knife and drew over them in pencil for better visibility. Then I cut each mortise with a chisel, using calipers to check the depth as I went.

    I cut the tenons using a jig on the tablesaw. This gave me very precise, fast results. I sized one so that it fit the mortises well, then cut the rest to match.

    • a chisel cutting a mortise in a piece of wood
    • pieces of wood, some with mortises and some with tenons

    Cutting a mortise (Top) and the mortised and tenoned pieces (Bottom)

  • Panels

    I made the side panels by glueing up thin pieces of wood, also cut from 2x4s. It would have been a lot easier to use plywood, but I wanted the grain patterns of solid wood.

    panels of wood being glued up

    The panel glue up

  • Draw-Boring

    To prep for assembly, I laid out the location of the holes for all the mortise and tenon joints. I first drilled the mortise holes, then drilled offset holes in the tenons so that driving a peg through would draw them together.

    • Holes drilled into a piece of wood with mortises
    • Drilling a hole into a tenon

    Drilling the mortise and tenon holes

  • Main Body Assembly

    With all the pieces finished, I put everything together with glue and wood pegs. I also added U-channels for the drawers and cut the top posts to final length.

    This is where it finally starts to look like a nightstand!

    An assembled nightstand body

    The main body after assembly

  • Top

    I made the top piece by gluing up five pieces, planing them flat, and routing a profile around the edges.

    I glued 6 tabs onto the underside of the top piece to attach it to the body. I drilled a hole into the center tabs and slots into the outer ones. Using corresponding holes on the main body, I pegged it in such a way that it's held firm but can move as the wood experiences seasonal expansion and contraction.

    • A roughly square piece of wood with a routed profile around the edges
    • Tabs with pegs, holes, and slots holding a nightstand together

    The top piece (Top) and the tabs attaching the top piece to the body (Bottom)

  • Drawers

    I made the drawers from box joined wood planks with plywood bottoms. Using plywood let me glue the bottoms in, making lightweight, sturdy drawers. I glued decorative panels with turned drawer pulls onto the fronts.

    A nightstand with drawers

    The drawers

  • Finally Finished!

    Once I'd completed the nightstand, I finished it with Danish oil and lubricated the drawers with castile soap.

    At time of writing, this is the most complex woodworking project I've ever undertaken. It kicked me in the butt but I feel like I've grown immensely as a joiner in the process.

    • A close up image of a drawer front that shows the wood grain
    • A nightstand with its drawers pulled most of the way out
    • The side of a nightstand showing wood grain detail
    • A person standing on top of a nightstand

    The finished nightstand

    a decorative dingbat