• Mortise & Tenon Chest
    (Spring-Summer 2021)

    I built this chest as a wedding gift for two of my closest friends. I was inspired by Central European painted furniture and also wanted to try out joinery techniques I was less familiar with.

    The chest is made with traditional draw-bore mortise and tenon joinery and is painted with homemade linseed oil paint.

    a chest painted with yellow circles, arrows, and vine motifs

    The finished chest

  • Designing the Chest

    The design is based around a skeleton structure containing floating panels. I built extra space into the structure anywhere there was more than a few inches of side grain. This allows for seasonal expansion that might otherwise damage the piece.

    On the lid, which has intersecting end and side grain, I only glued one end. The other end was pegged into a groove that allows the wood to move in the direction of expansion without loosening the joint. This is a traditional technique called a breadboard end.

    • CAD for a wooden chest
    • a projection drawing depicting the designs to be painted on the chest

    Chest design in Google Sketchup (Left) and a projection drawing depicting the designs to be painted on the chest (Right)

  • Cutting Pieces to Size

    I used a table saw to cut each piece close to its final cross-section and length. Though most of the remaining work was done with hand tools, this saved a lot of time since cutting wood lengthwise with hand tools is difficult and tedious.

    pieces of wood stacked up and leaned against a wall

    Wood, cut close to final length and cross section

  • Mortises and Tenons

    I chopped out each mortise by hand with a chisel. To keep everything accurate, I first scribed the outline with a sharp knife, then carefully cut the wood fibers around the perimeter of the hole with a chisel. Then I dug each mortise a bit deeper than the length of its corresponding tenon.

    There were about twenty-five mortises of varying shape and size in the design. The easiest way to cut a given width is to use a chisel of the same dimension. Since the tenons can be cut to any width, it's easiest to cut the mortises first and match the tenons to them.

    • a chisel cutting a mortise in a piece of wood
    • a mortise

    Cutting a mortise

    I laid out each tenon with a sharp knife, like for the mortises. Then using a ryoba saw, I cut the tenon a bit large. I paired each one down with a chisel to match its corresponding mortise.

    • a stack of wood scribed with layout lines for tenons
    • two pieces of wood, one with a tenon and the other with a mortise

    Pieces scribed with layout lines for tenons (Top), and a corresponding mortise and tenon (Bottom)

  • Handles

    I decided to make the handles fairly late in the project. I had all the other pieces assembled and realized there was no good way to move the chest.

    I shaped them from two laminated wood blocks. I chopped out a square handle profile with my hand saw and a large chisel. Using a rasp, I beveled the square cross-section into an octogon which I was able to easily round over into comfortable handles.

    I drilled four holes in each and used glue and pegs to hold the handles into the main structure of the chest.

    • a projection drawing for a wooden handle
    • two wooden handles
    • a wooden handle attached to a short beam with tenons on either end

    A projection drawing of the handle (Top), the shaped handles (BL), and a handle attached to the side piece of the chest (BR)

  • Draw-Boring and Assembly

    After trimming everything to final size, I drilled holes through each of the mortises for the pegs.

    For the pegs to “draw” the pieces together, the holes in the tenons need to be offset. I assembled the pieces, marked each, then drilled each hole about 1/16” farther in. This was quite challenging, as hand drilled holes tend to wander. However, I found I could err farther in and use a round file to widen the holes where necessary.

    This, combined with glue gave me some very solid joinery.

    • a chest with peg holes drilled into it
    • a chest lid with pegs driven into it

    The assembled chest, draw bored and ready for pegging (Top) and the chest lid, glued and pegged (Bottom)

  • Paint

    I wanted a paint that would give me vibrant colors with a rustic, natural-looking finish. It also had to hold enough detail for me to paint designs onto it. The ability to mix pigments to achieve different colors was also desirable.

    Unable to find anything that quite met my requirements, I researched making my own paint. Before modern furniture paints like alkyd and latex, linseed oil paint was very common. I 
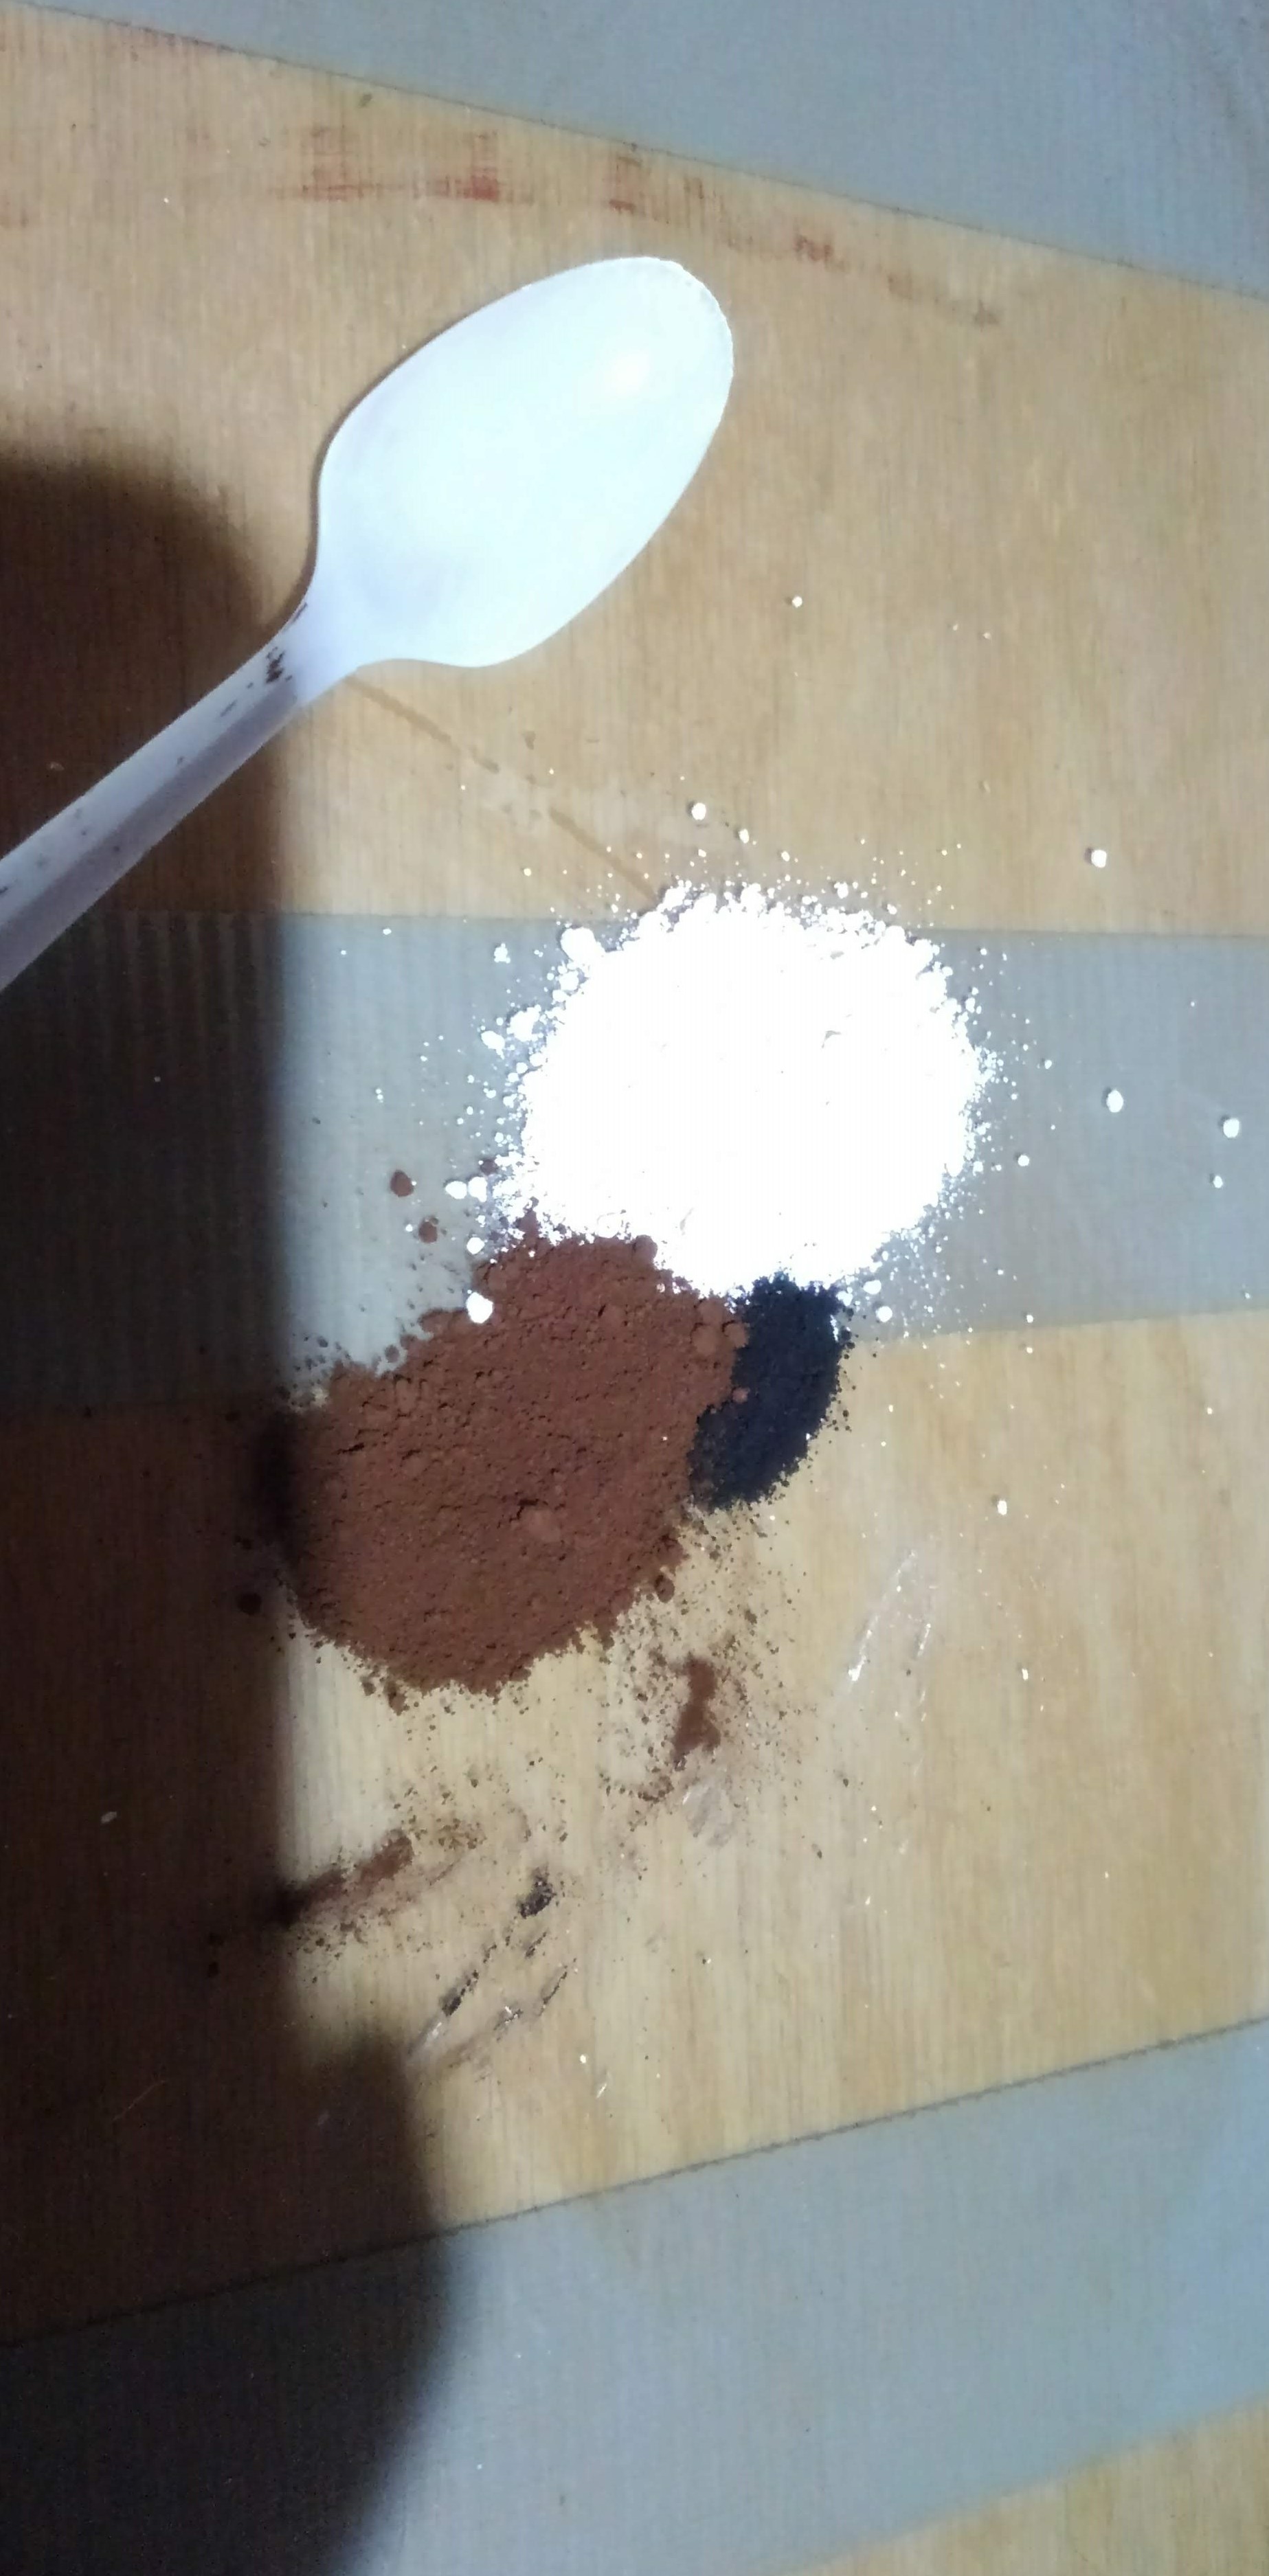
made my own variety with boiled linseed oil, oxide pigments, calcium carbonate, and mineral spirits. I used a glass muller to fully mix pigments into the oil, the same way artistic oil paints are made.

    Making paint from scratch gave me precise control over color and consistency. While it certainly wasn’t the easiest or fastest option, I’m pleased with my results and I’m glad I gave it a try.

    • small piles of pigments and calcium carbonate on a piece of glass
    • a chest that has been painted brown
    • a chest painted with vine motifs

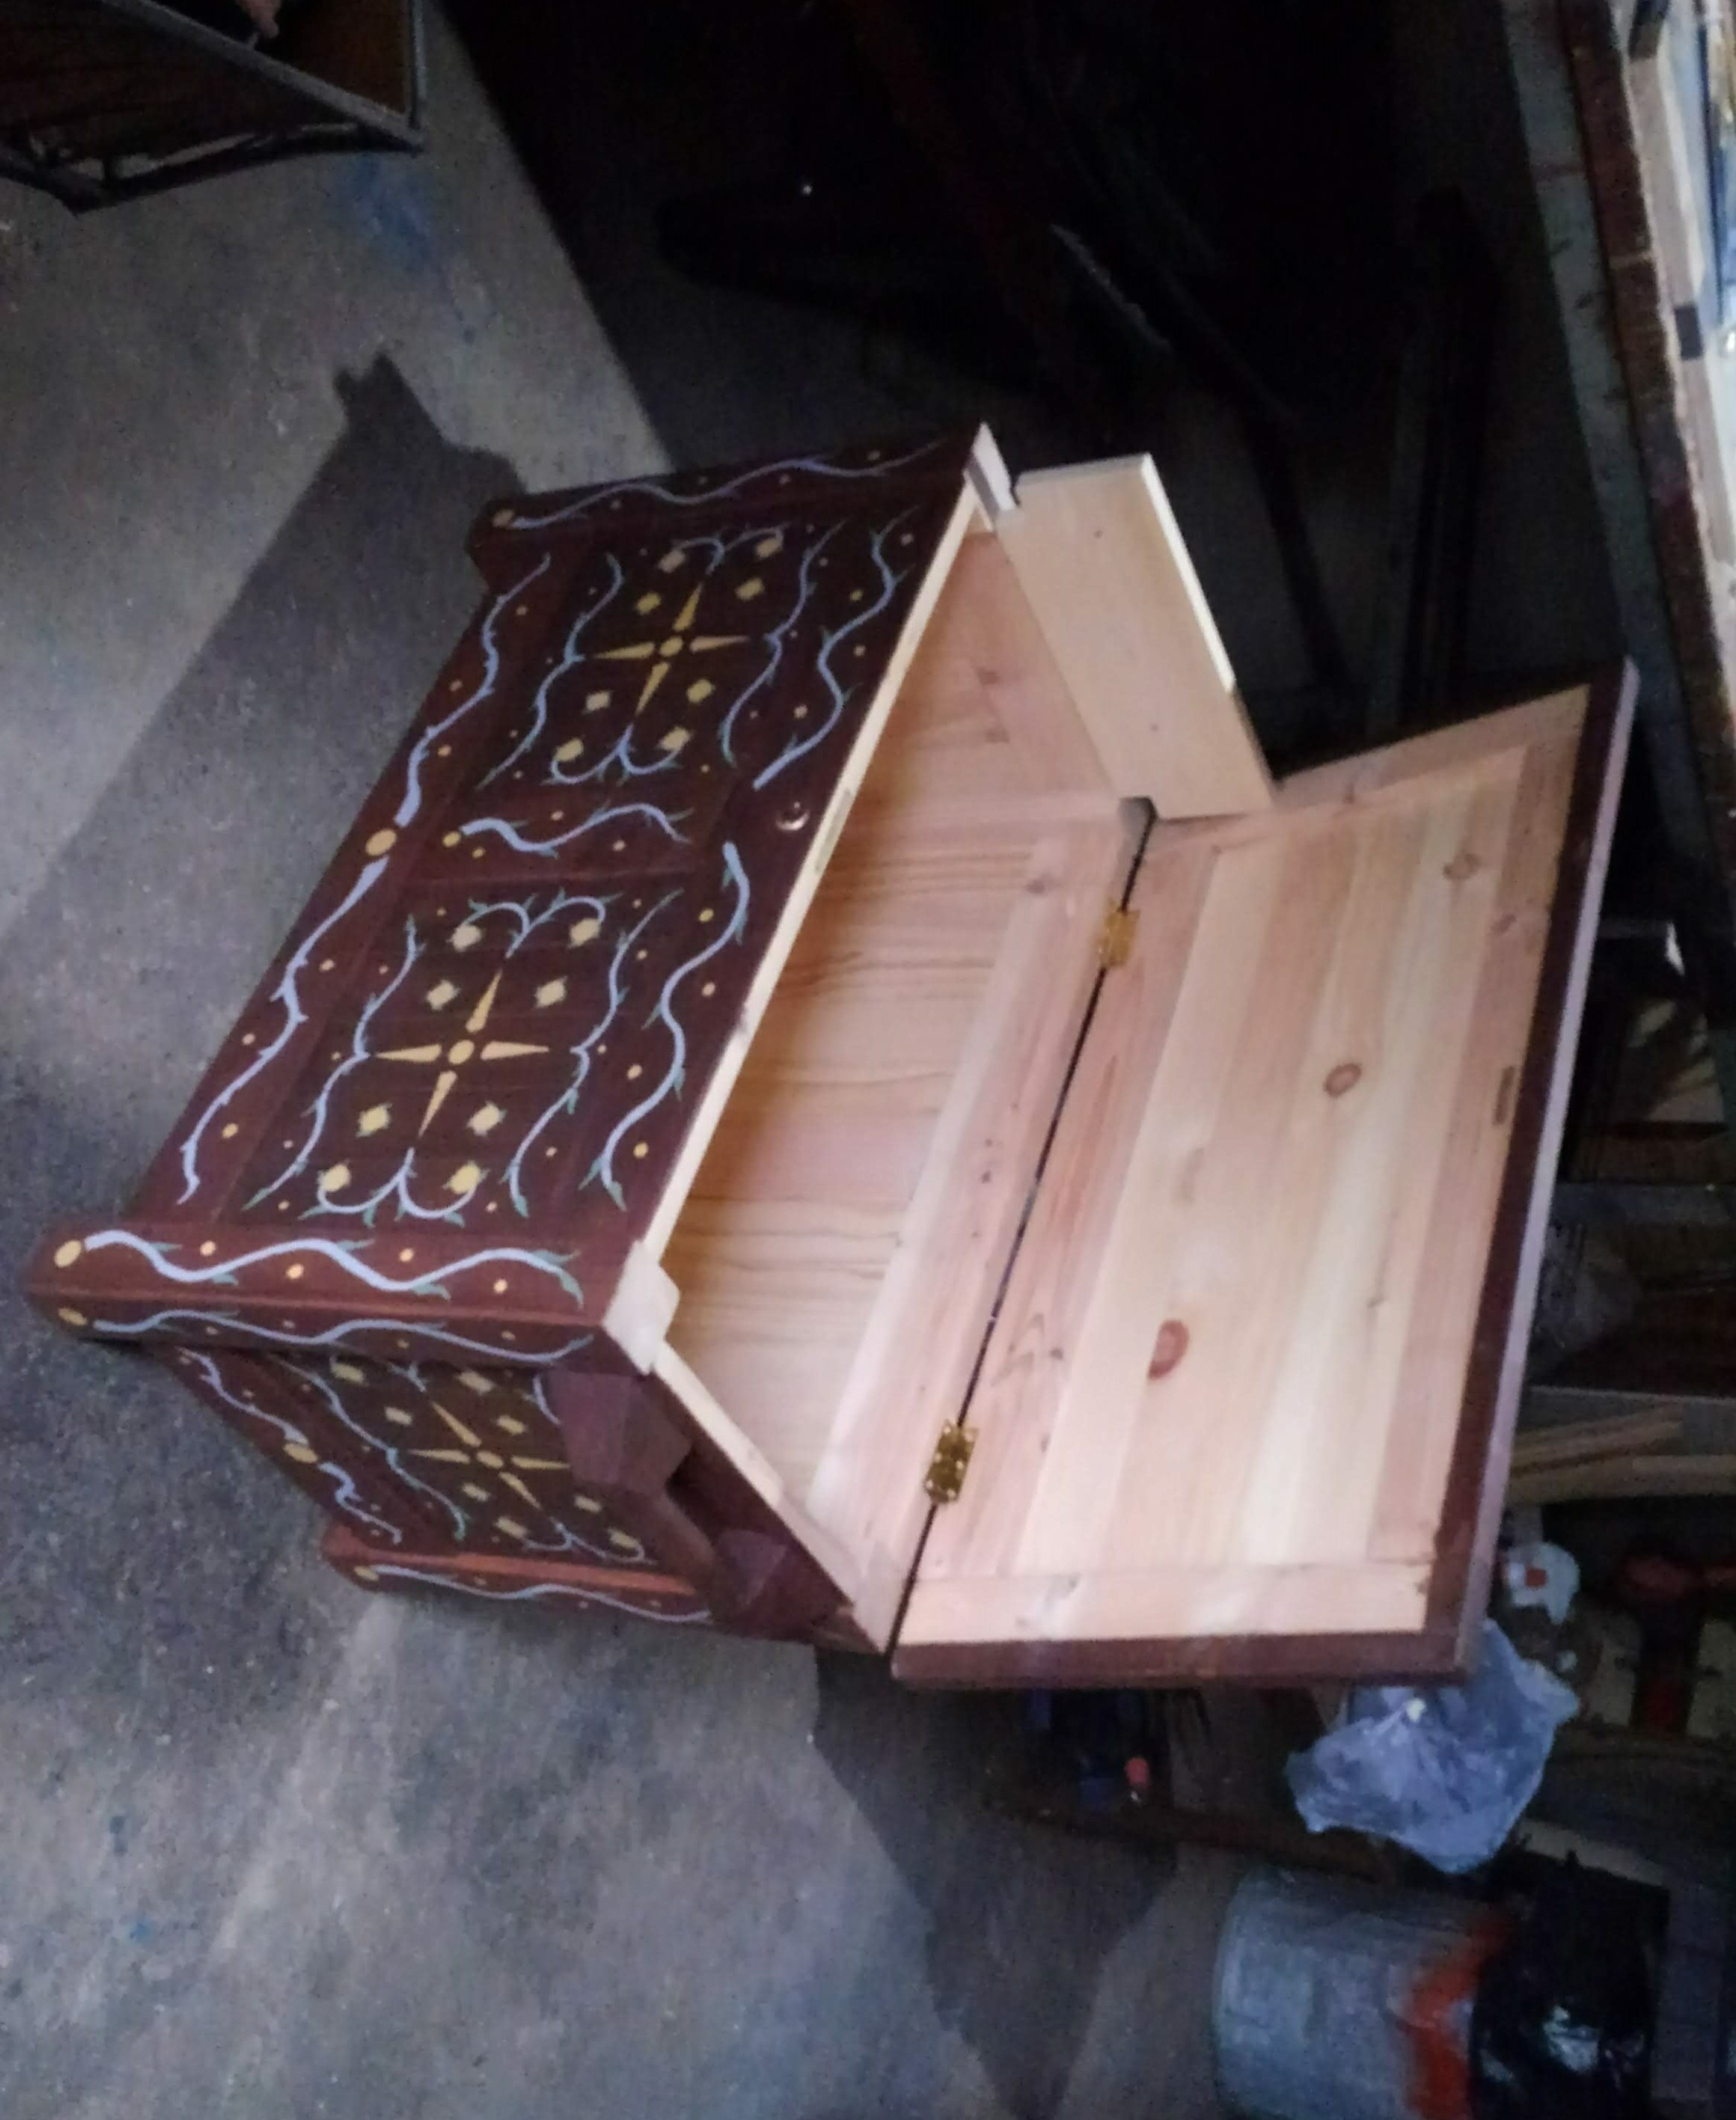
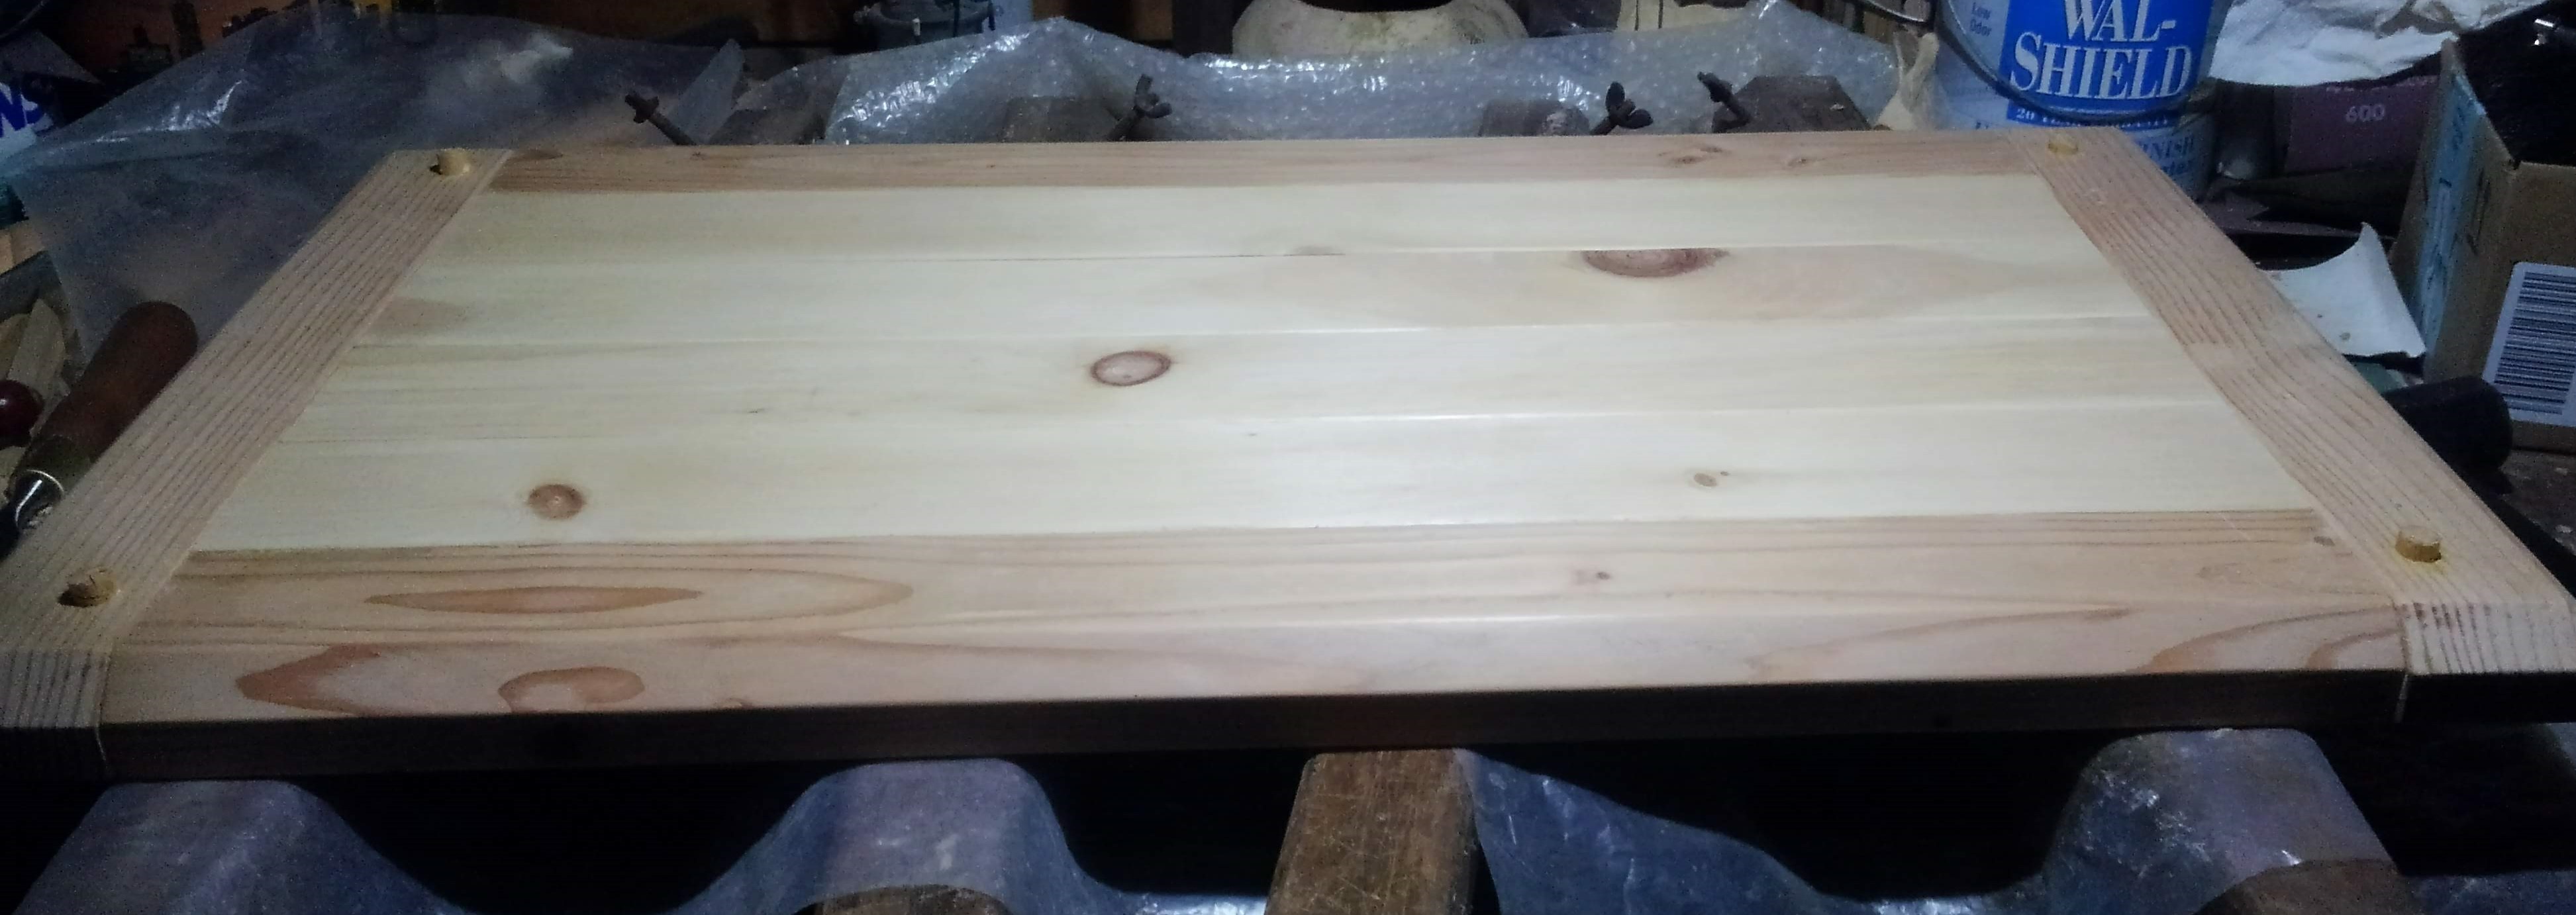
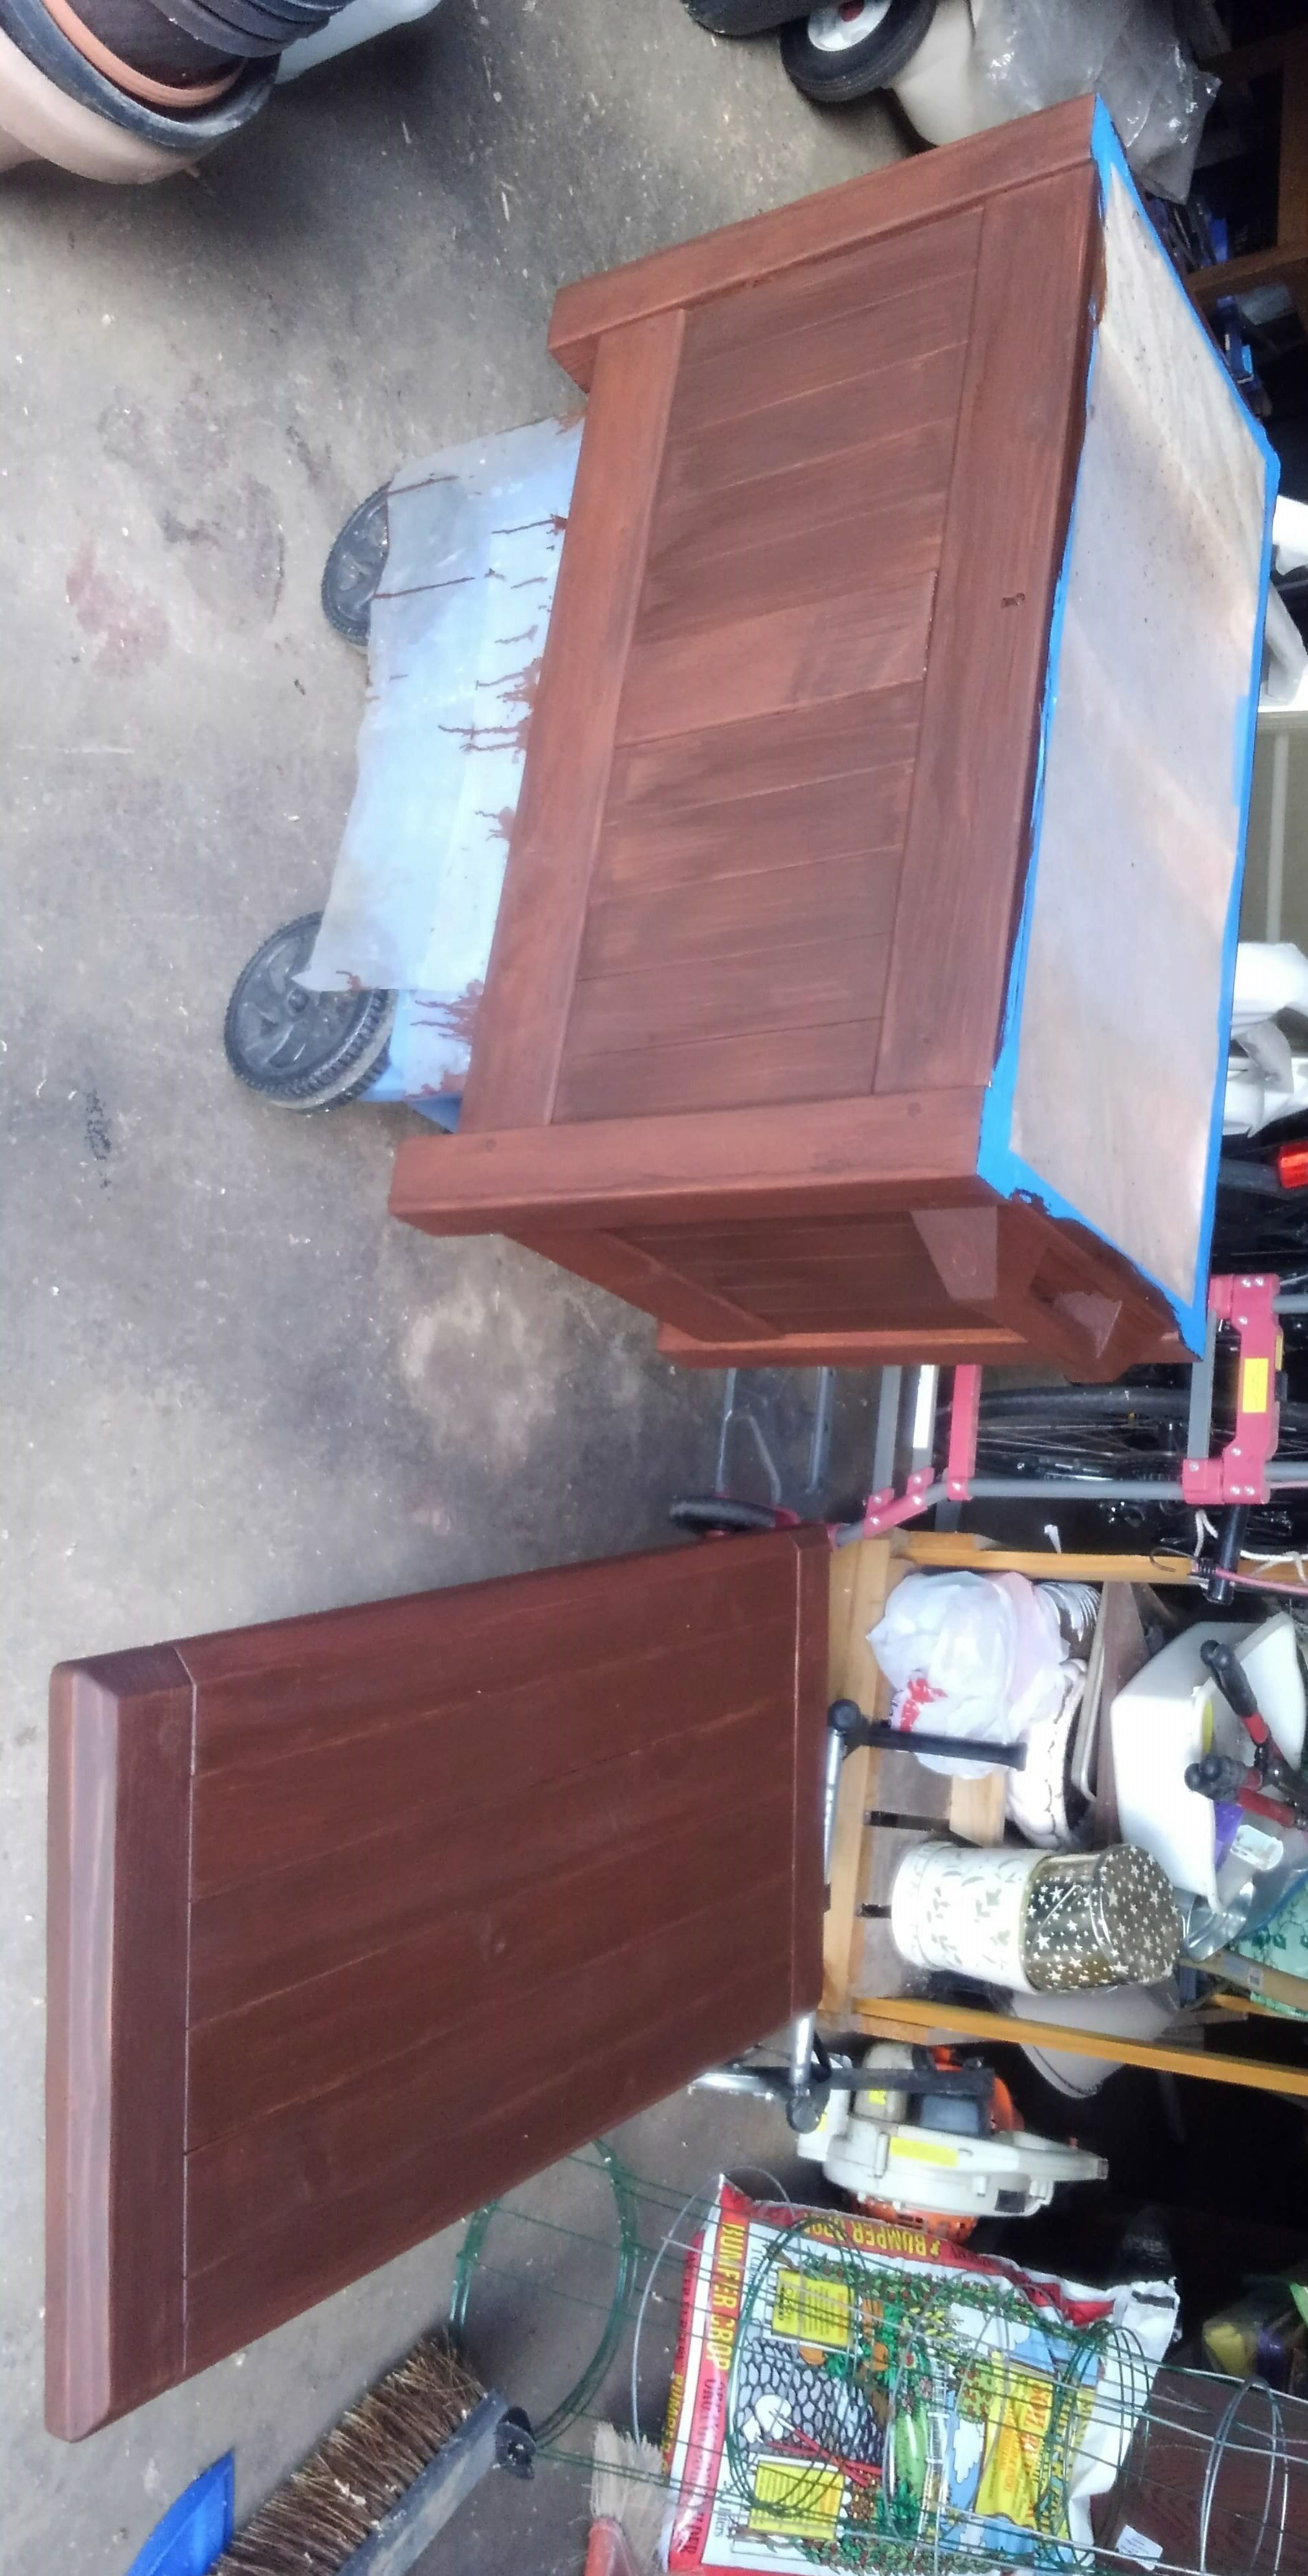
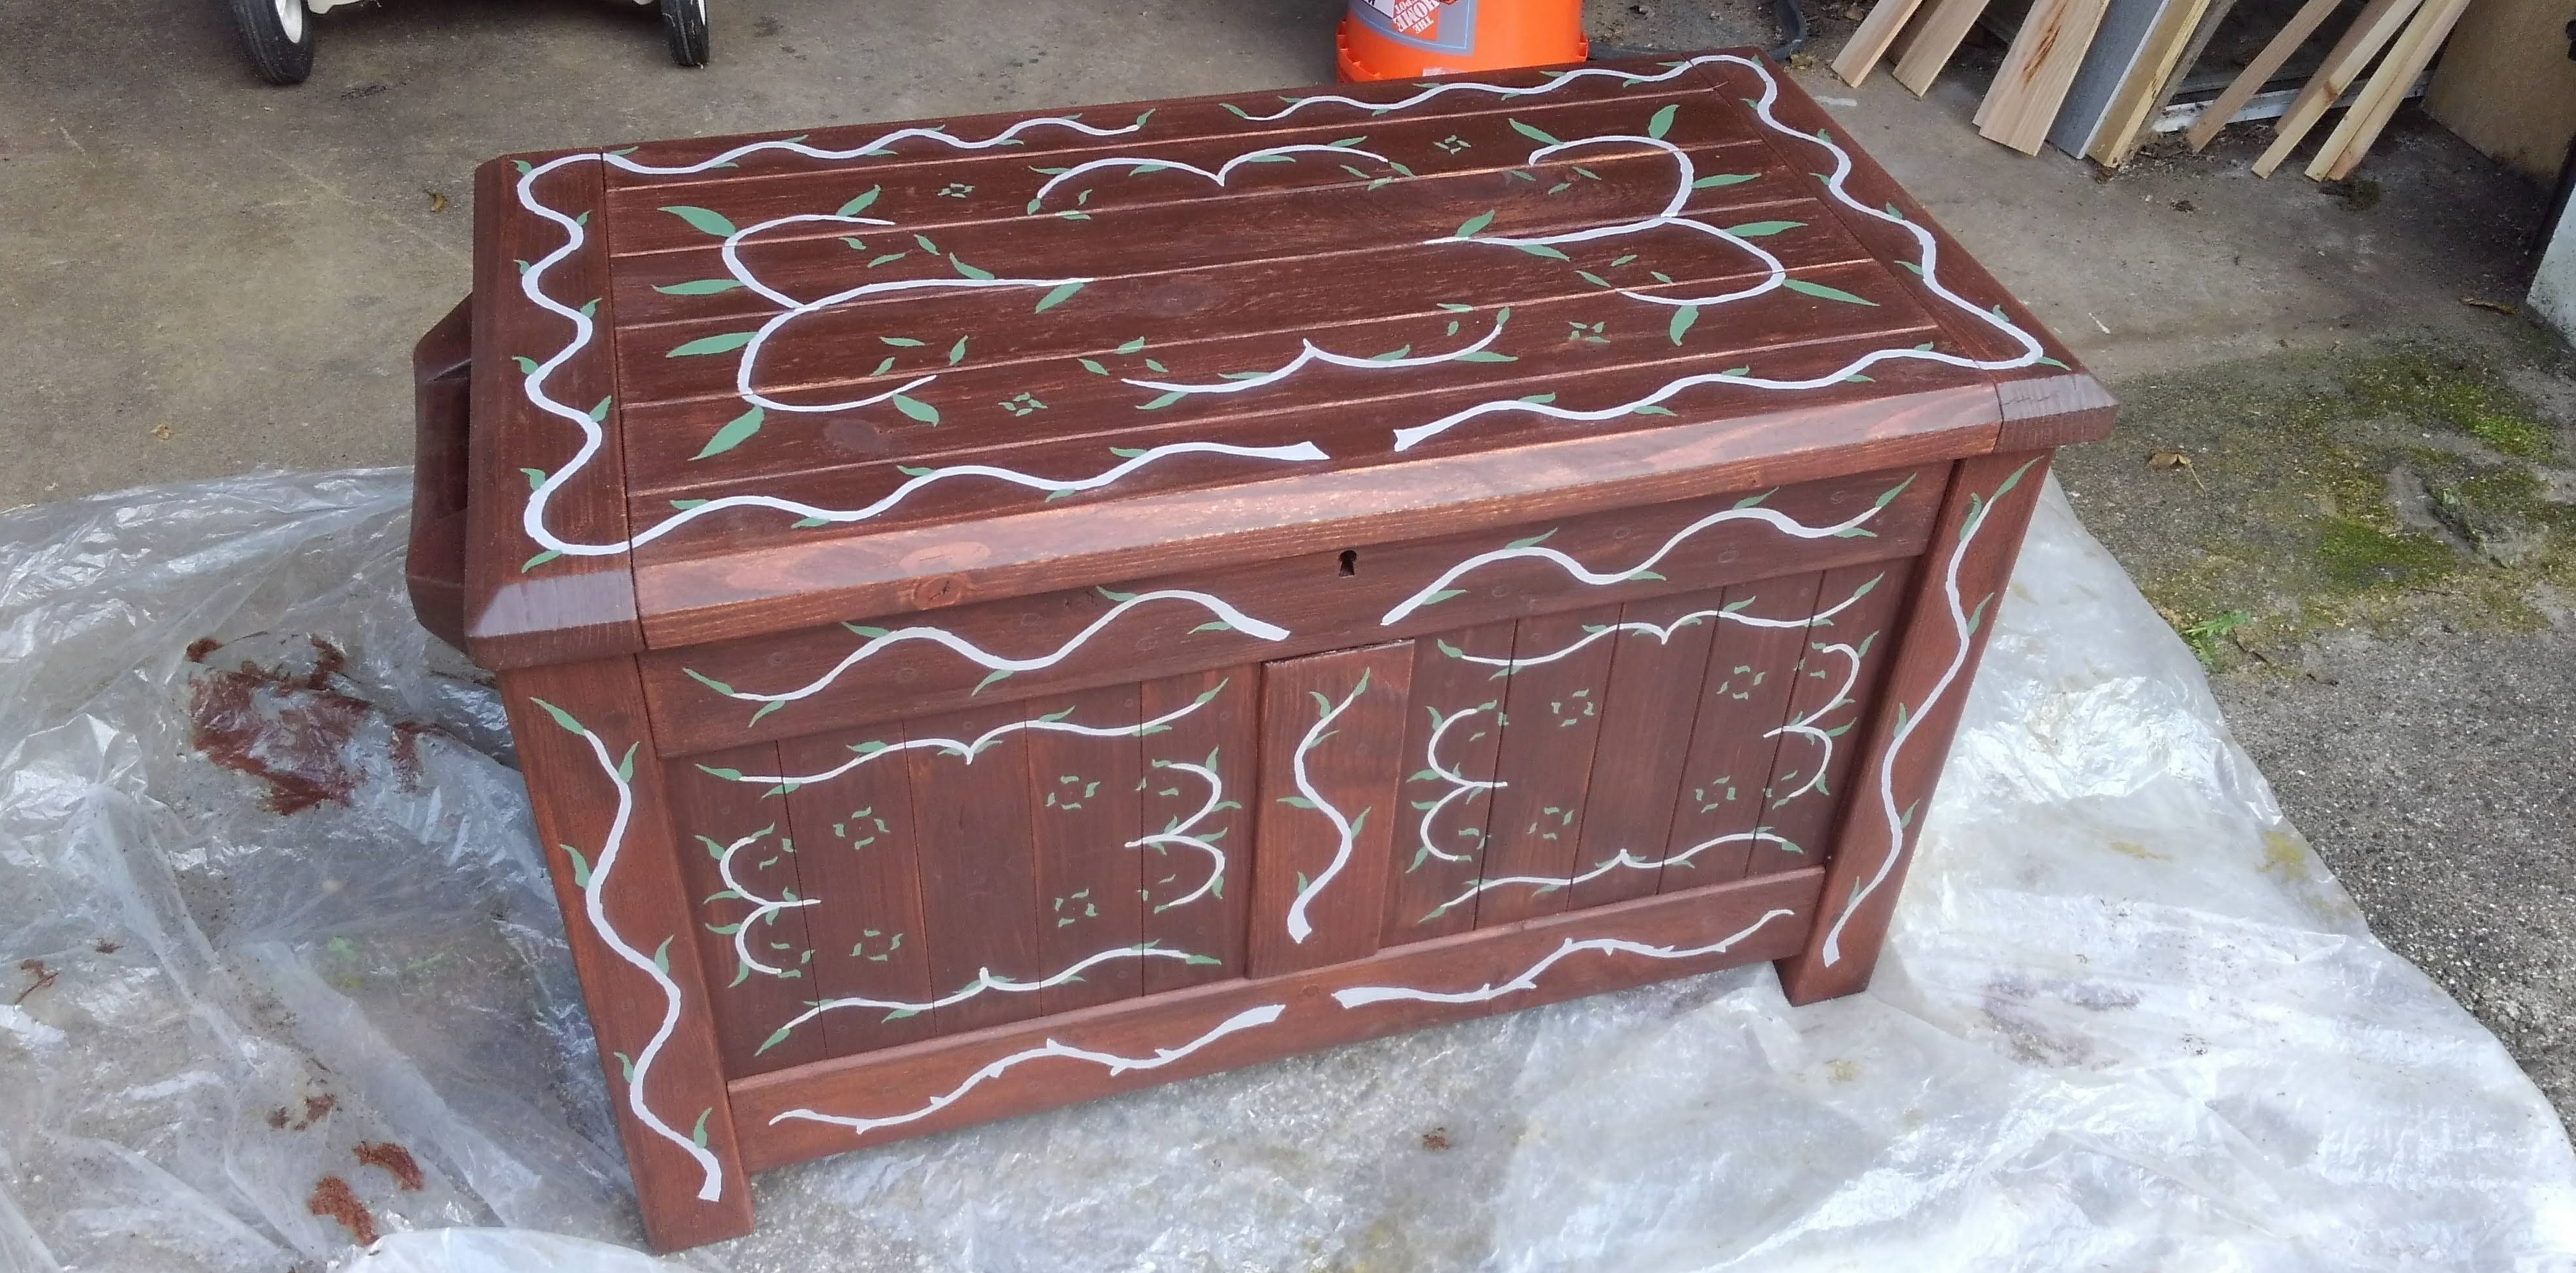
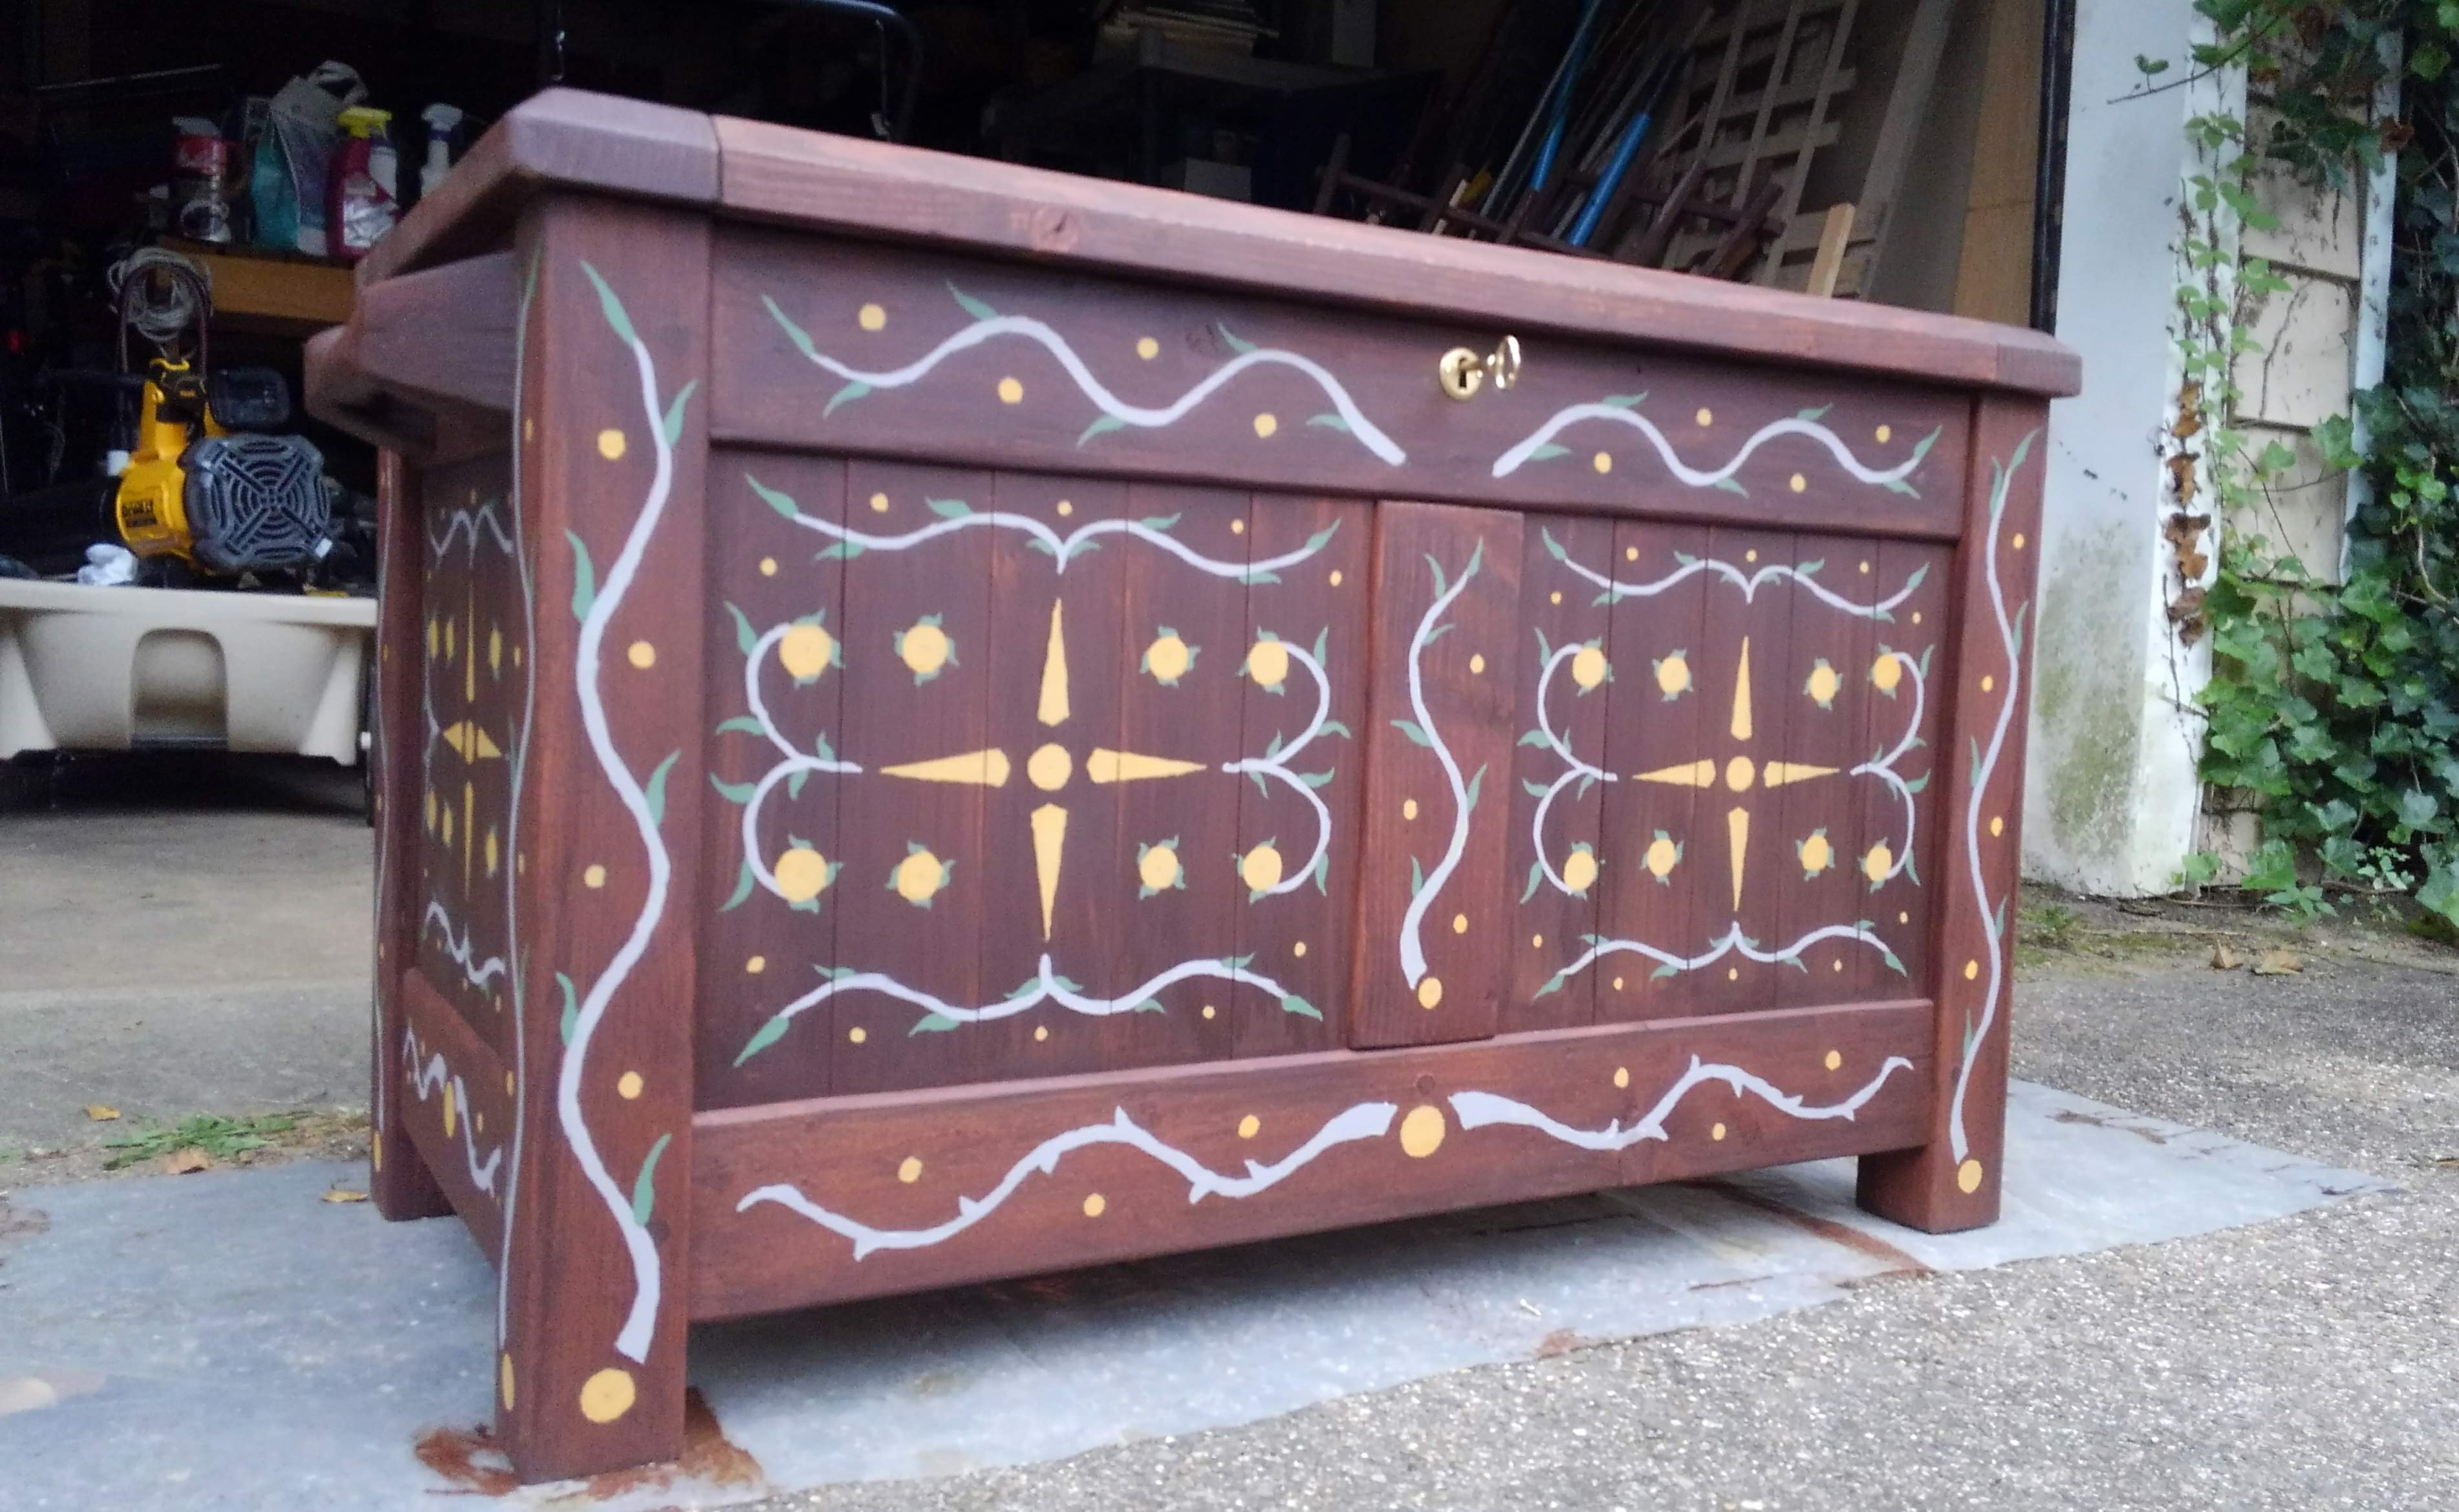
    Top to Bottom: Pigments and calcium carbonate to be mulled, the chest after its brown base coat, the chest midway through painting designs

  • Finishing Touches

    When everything was dry, I attached the hinges and lock mechanism. I did some final touch ups, then packed it up and drove it to Ohio for the wedding!

    a chest painted with yellow circles, arrows, and vine motifs

    The finished chest

    a decorative dingbat