I made this wafer iron so I can make traditional Slovak Vianočné oblátky for Christmas Eve! My family has these every year, and up to now we've bought them. This year I'd like to make them. Since importing a wafer iron from Slovakia would be very expensive (and less fun), I decided to make one myself!
-
Wafer Iron
(Fall 2023)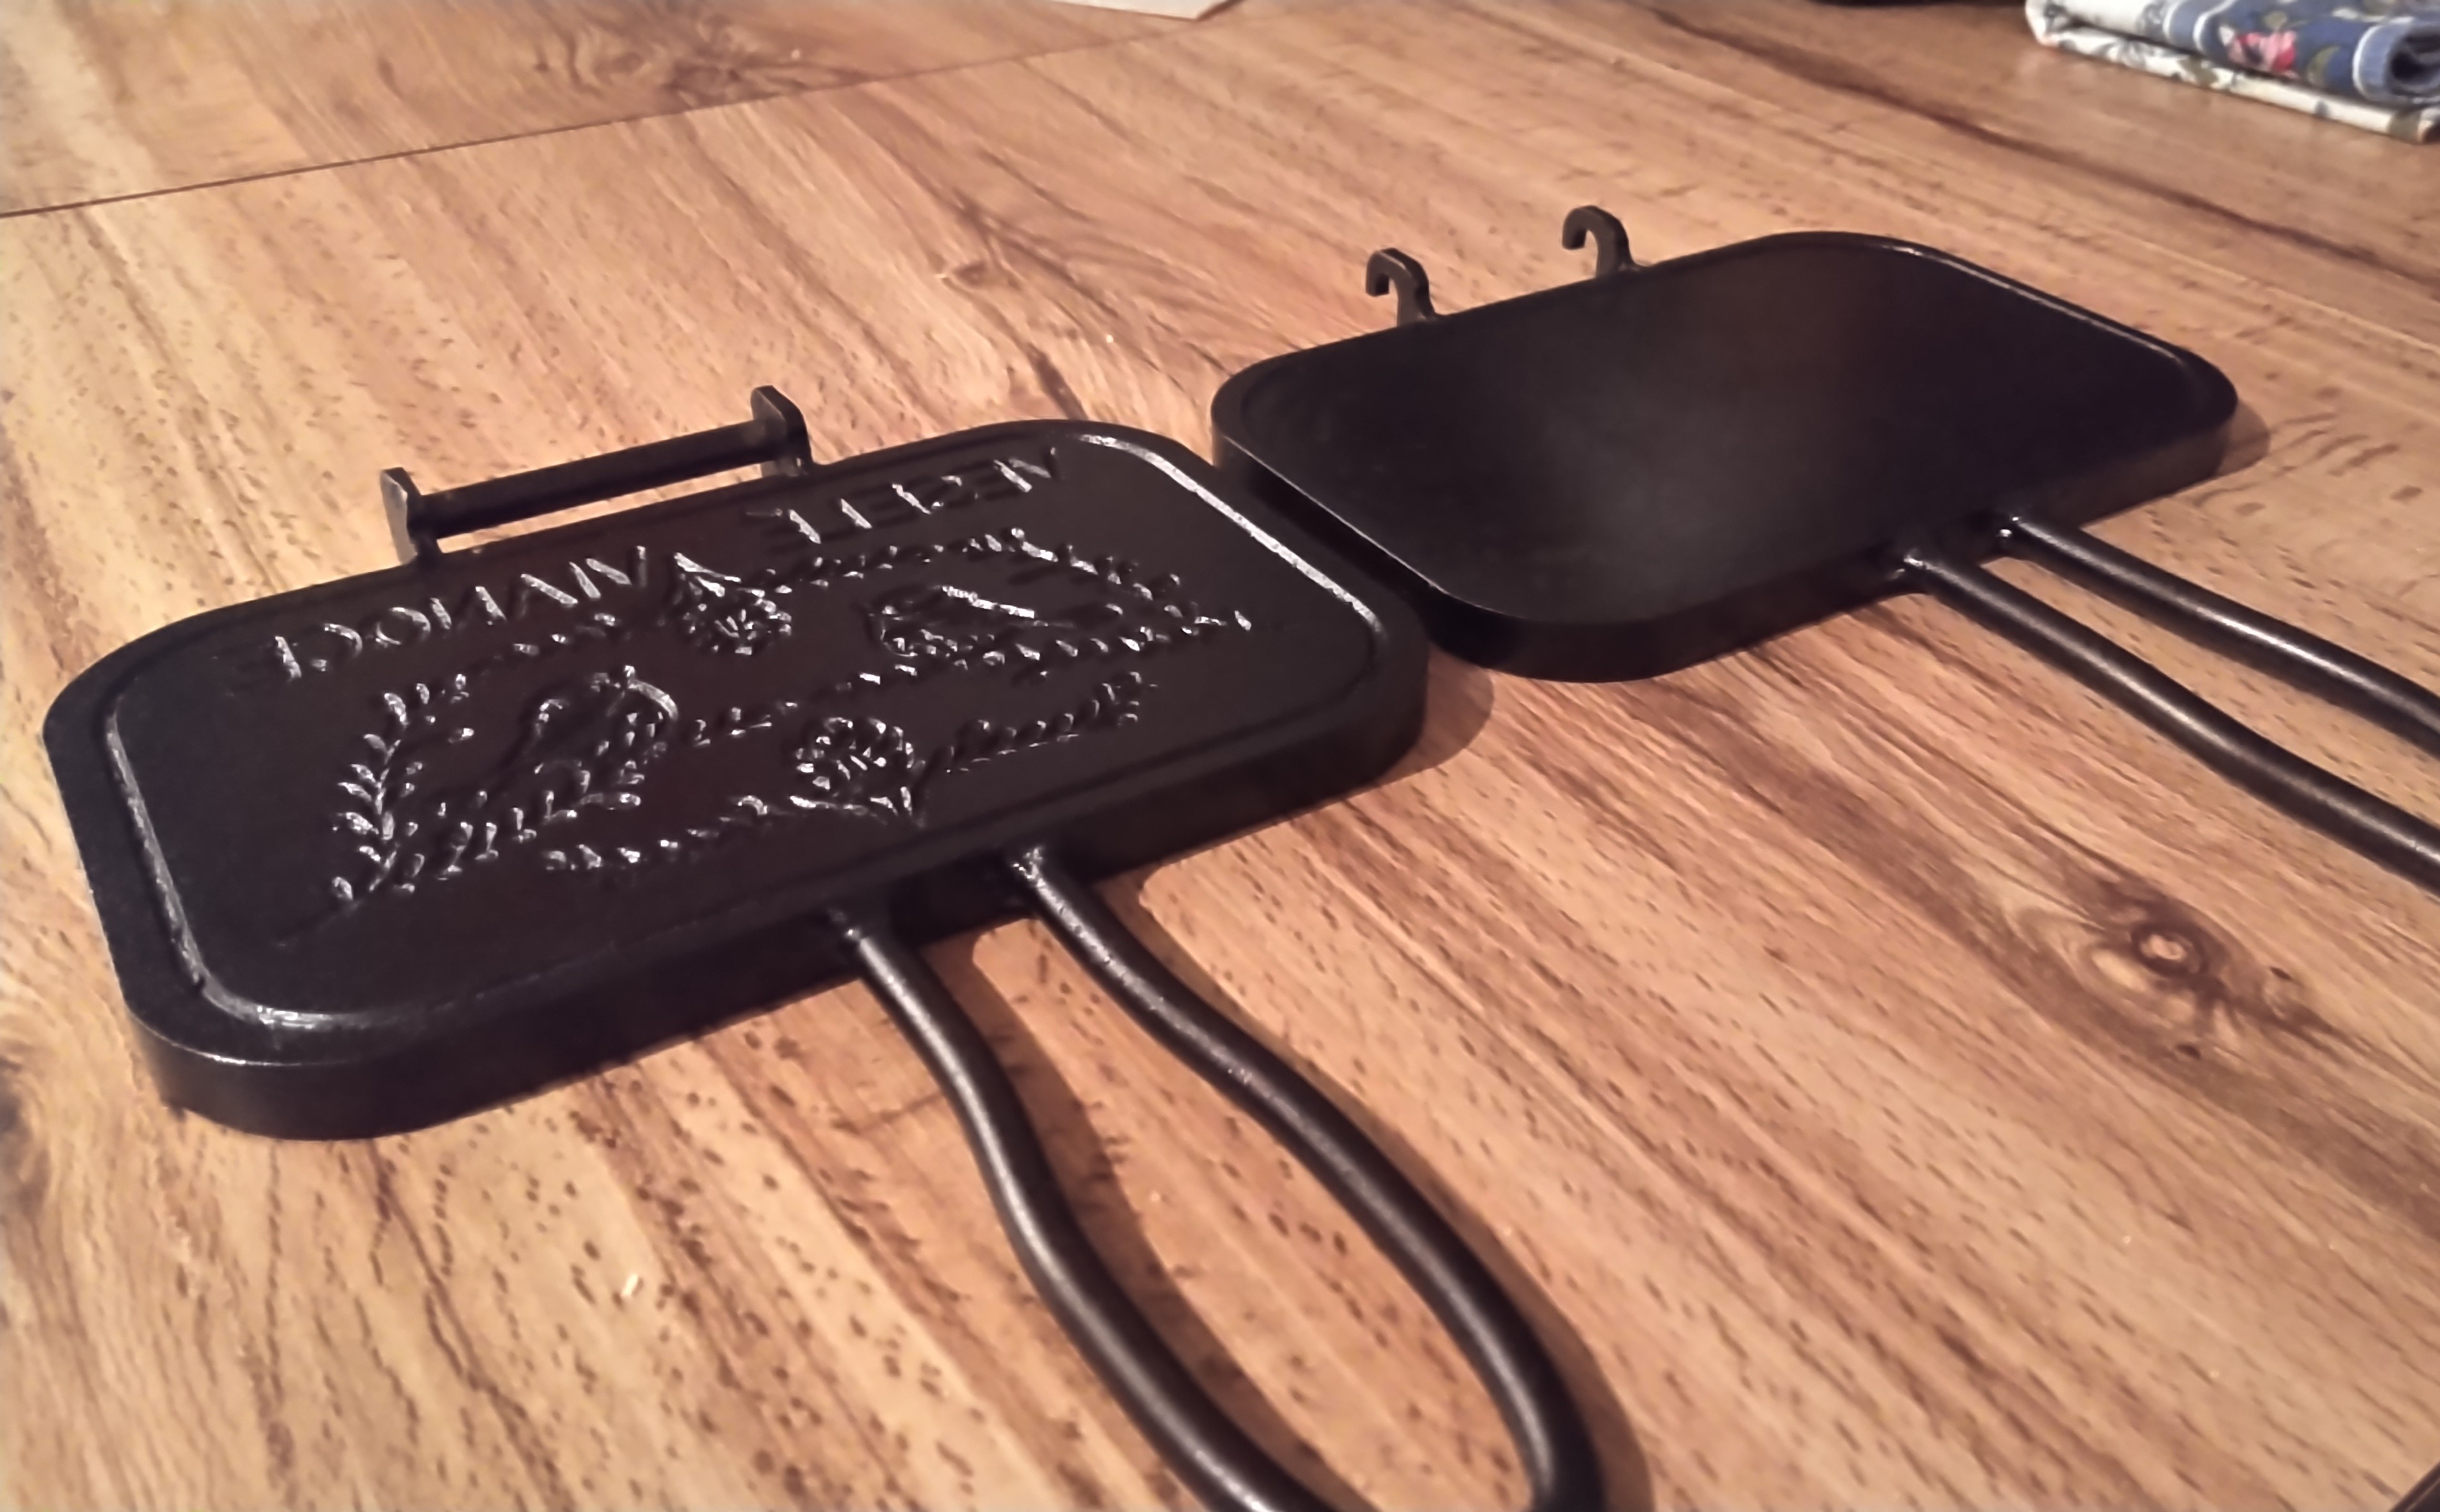
Oblátky wafer irons
-
Design and G-Code
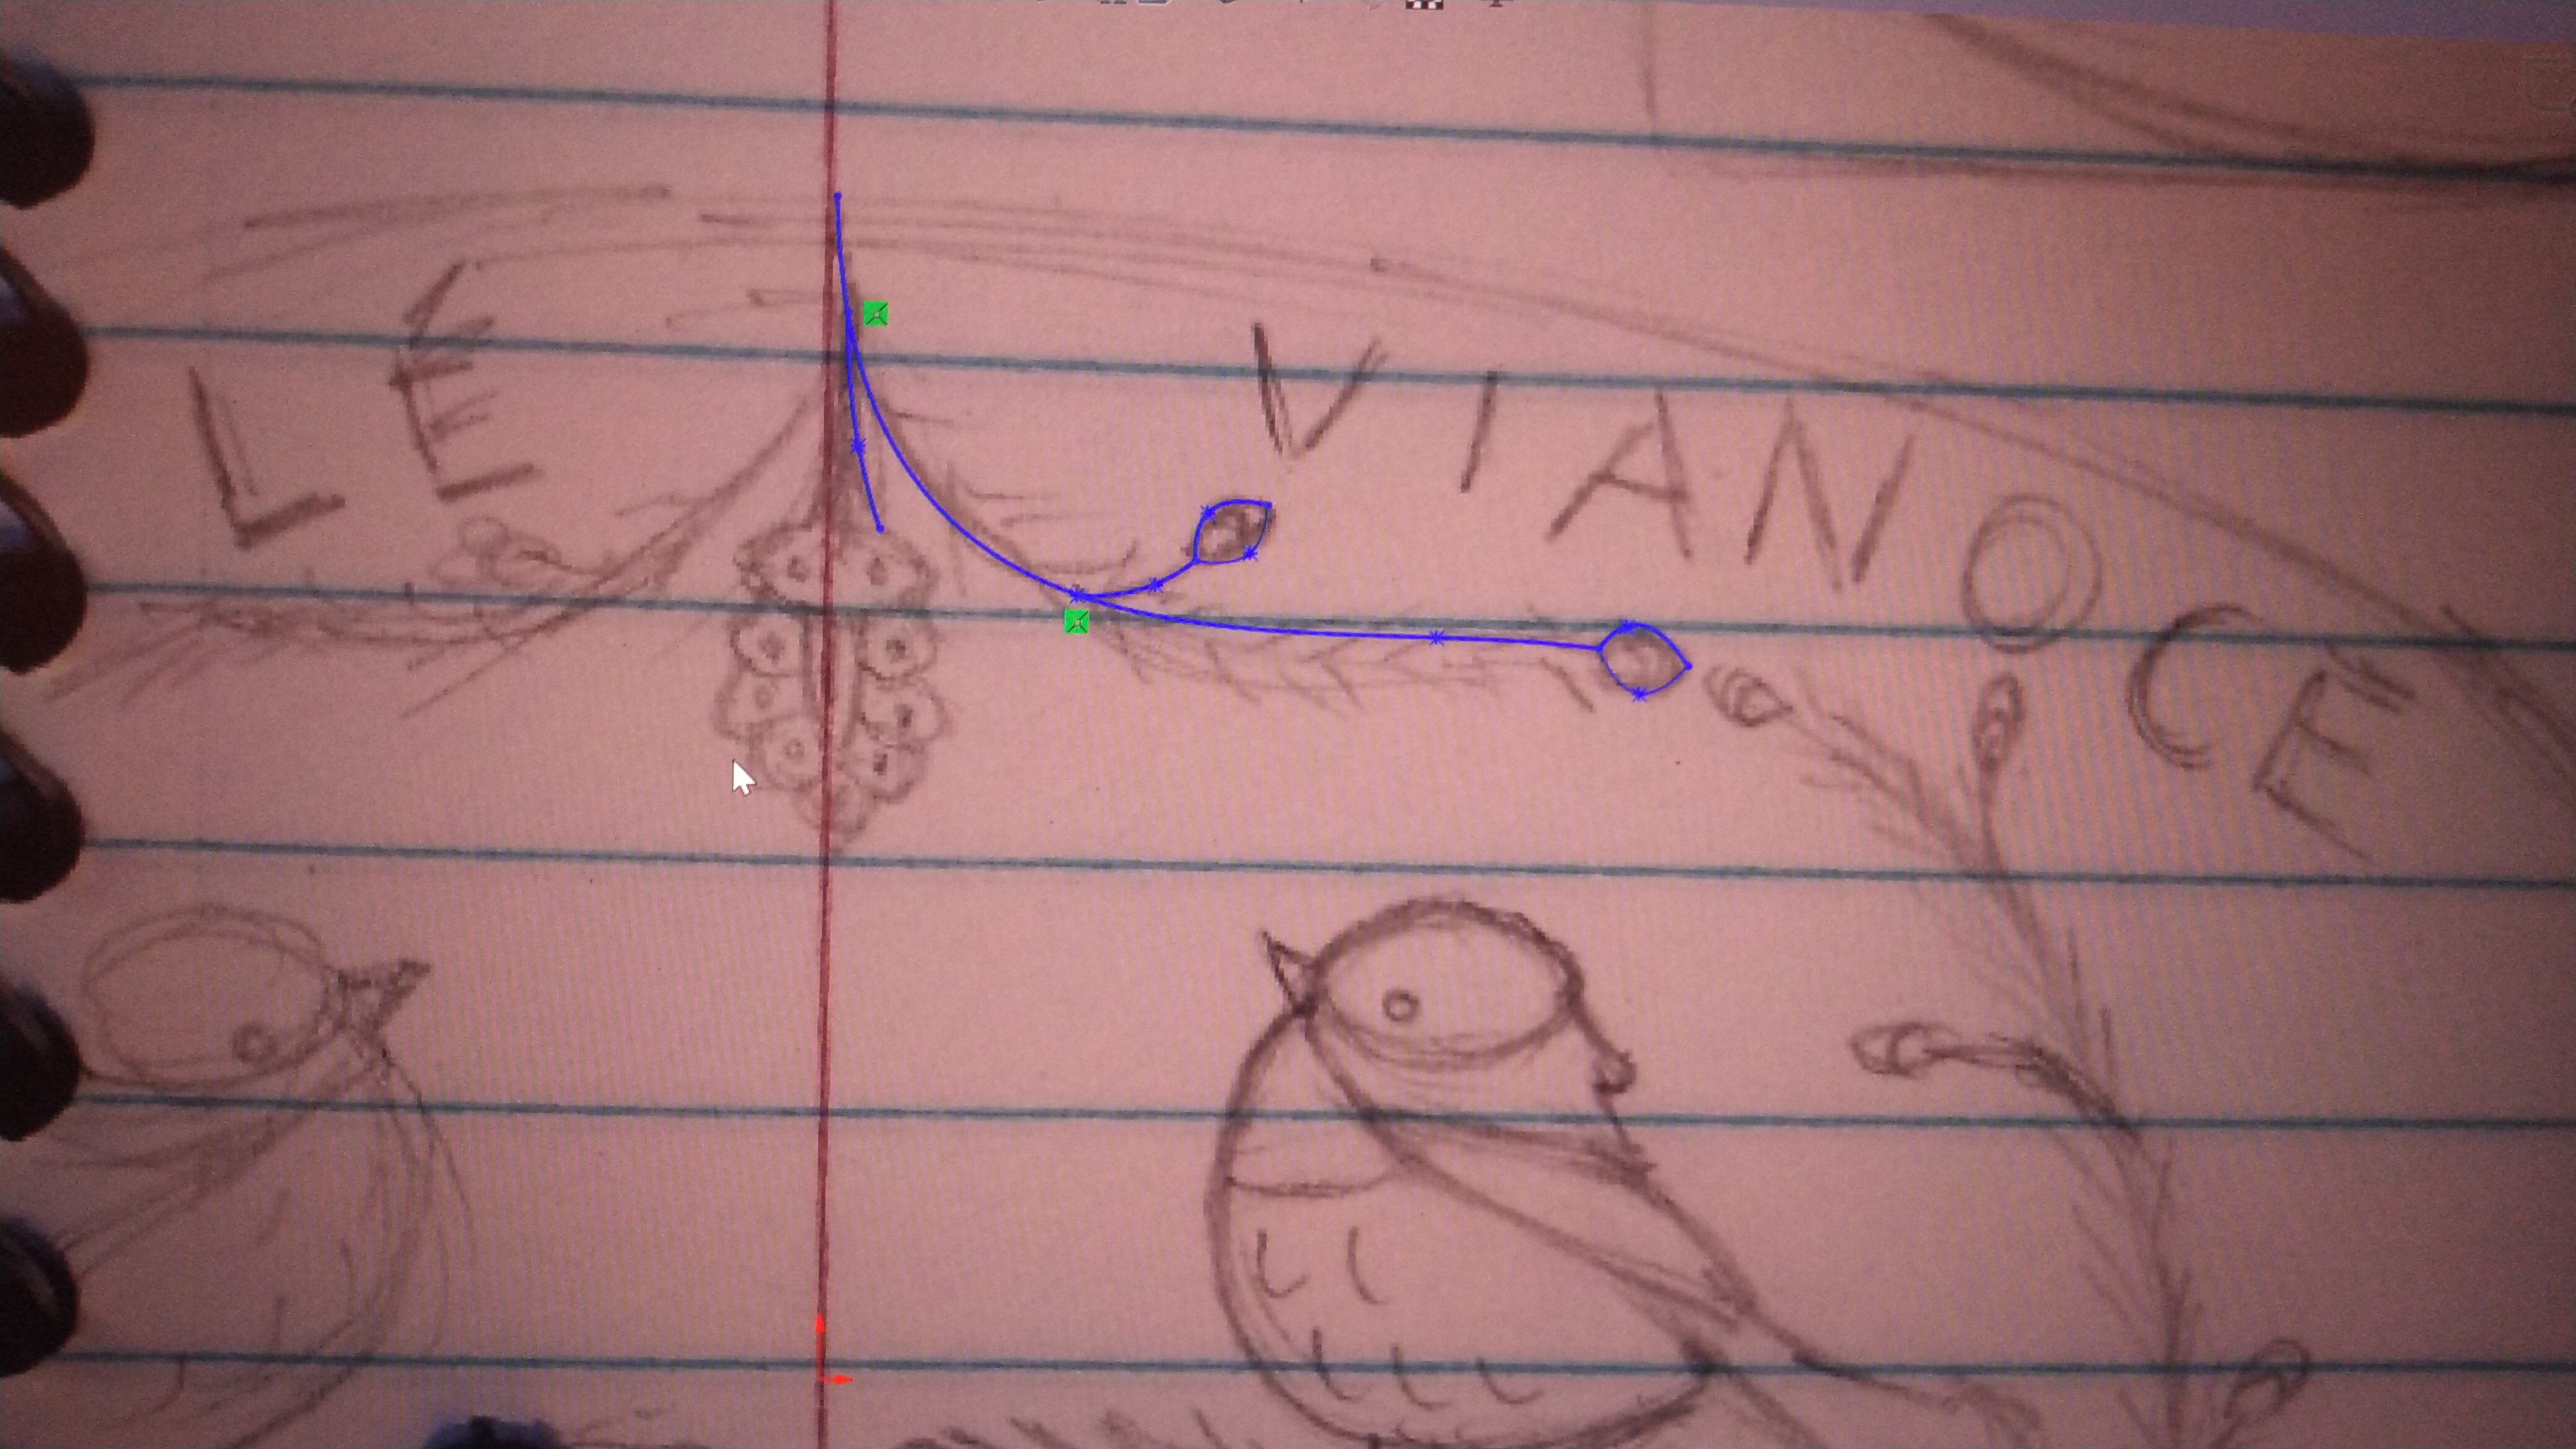
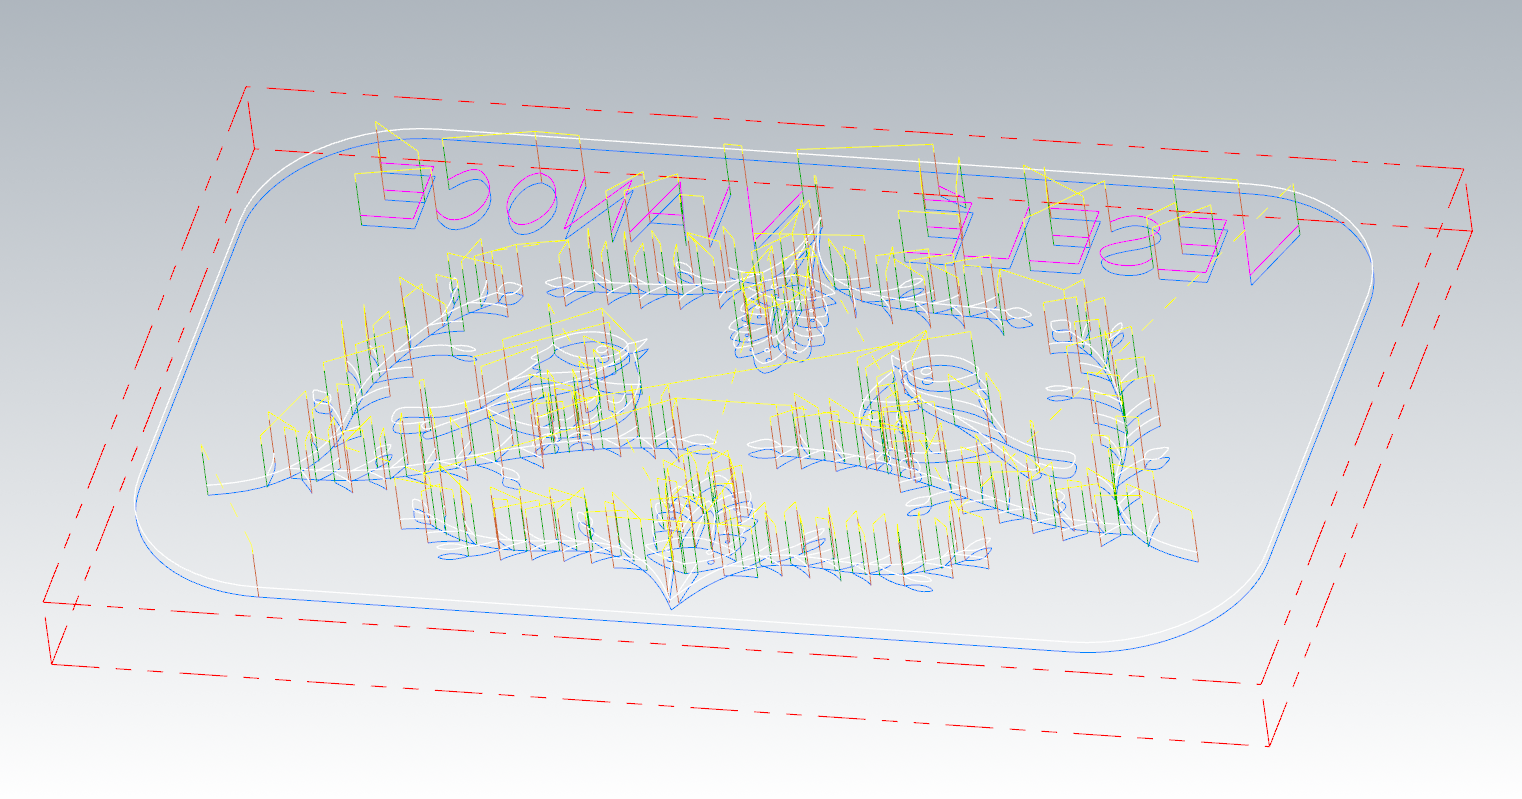
I started by modeling the wafer iron and its design. The design was by far the most challenging part. I started by drawing it on a piece of paper, then imported it into Solidworks where I scaled the image to the right size and traced over it. I then imported this sketch into MasterCAM, where I programmed the tool paths to engrave the design on a 3-axis CNC mill.
Tracing the drawing in Solidworks (Top) and creating tool paths in MasterCAM
-
-
Engraving
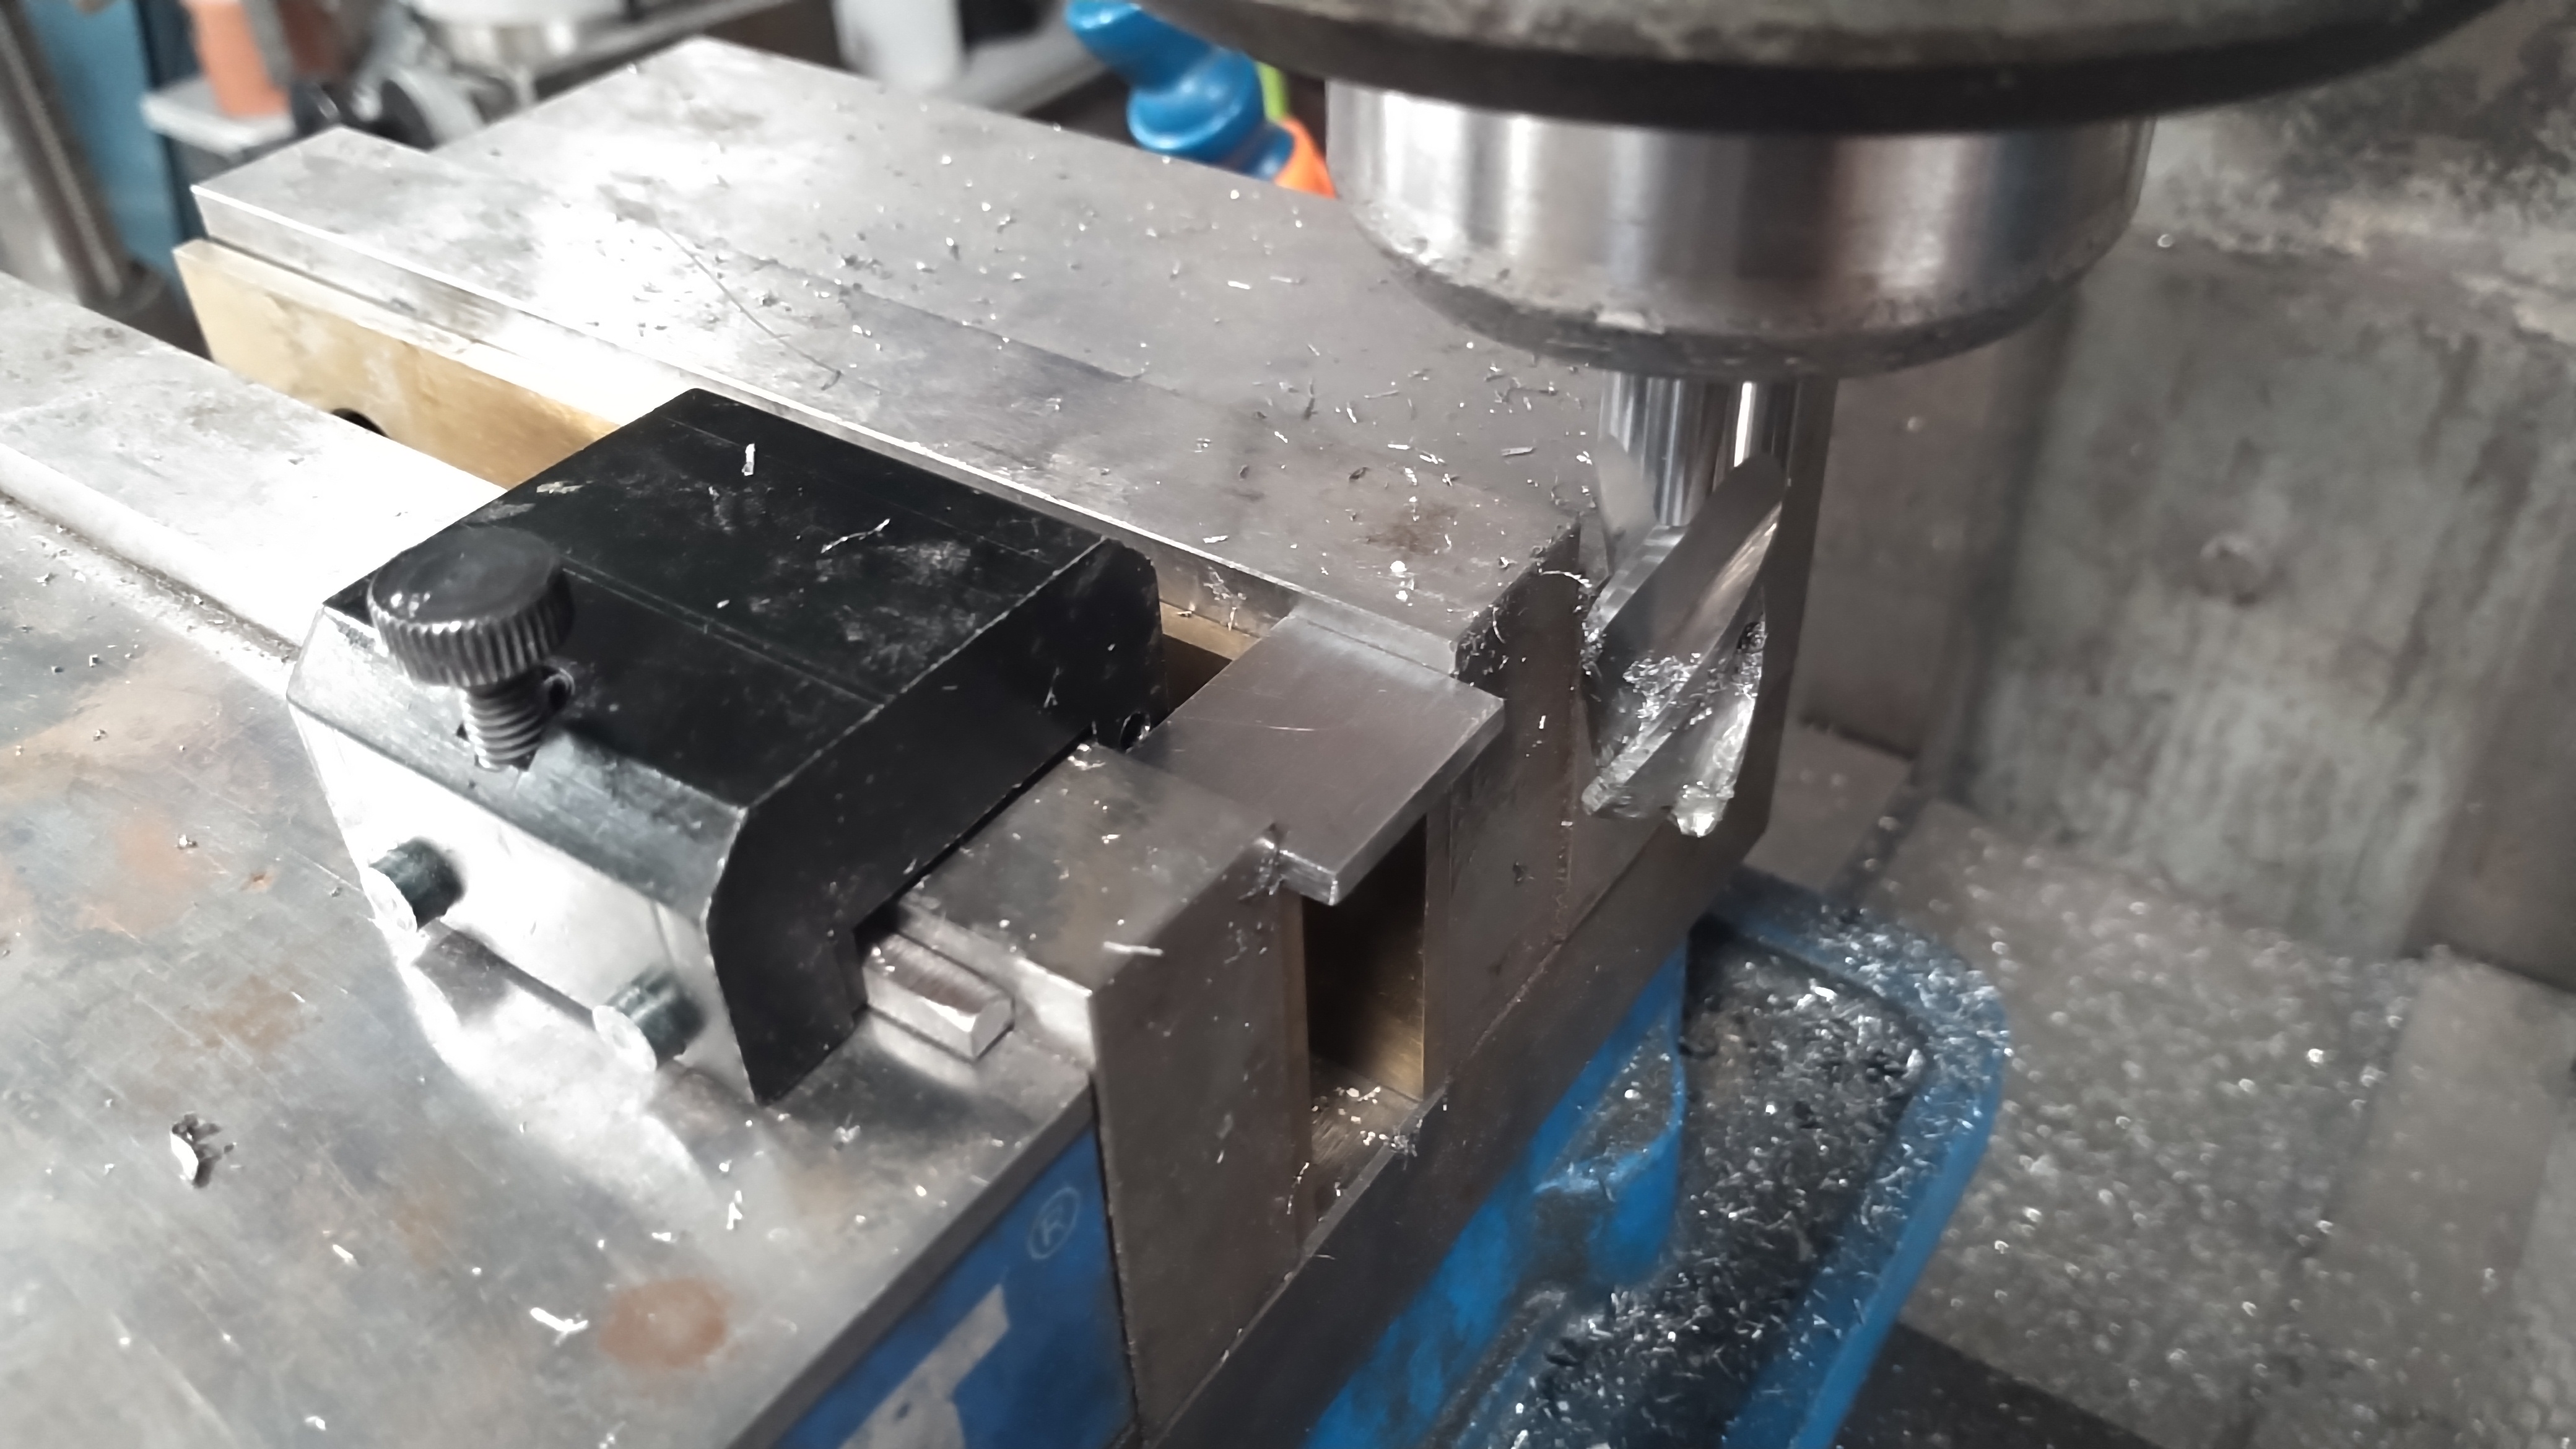
Once I had the G-code generated, I got ready to engrave. I started by facing a plate of steel. Then, I ran my program and engraved the design. Finally, I ran another program to round the corners of each iron.
Facing and engraving an iron
-
-
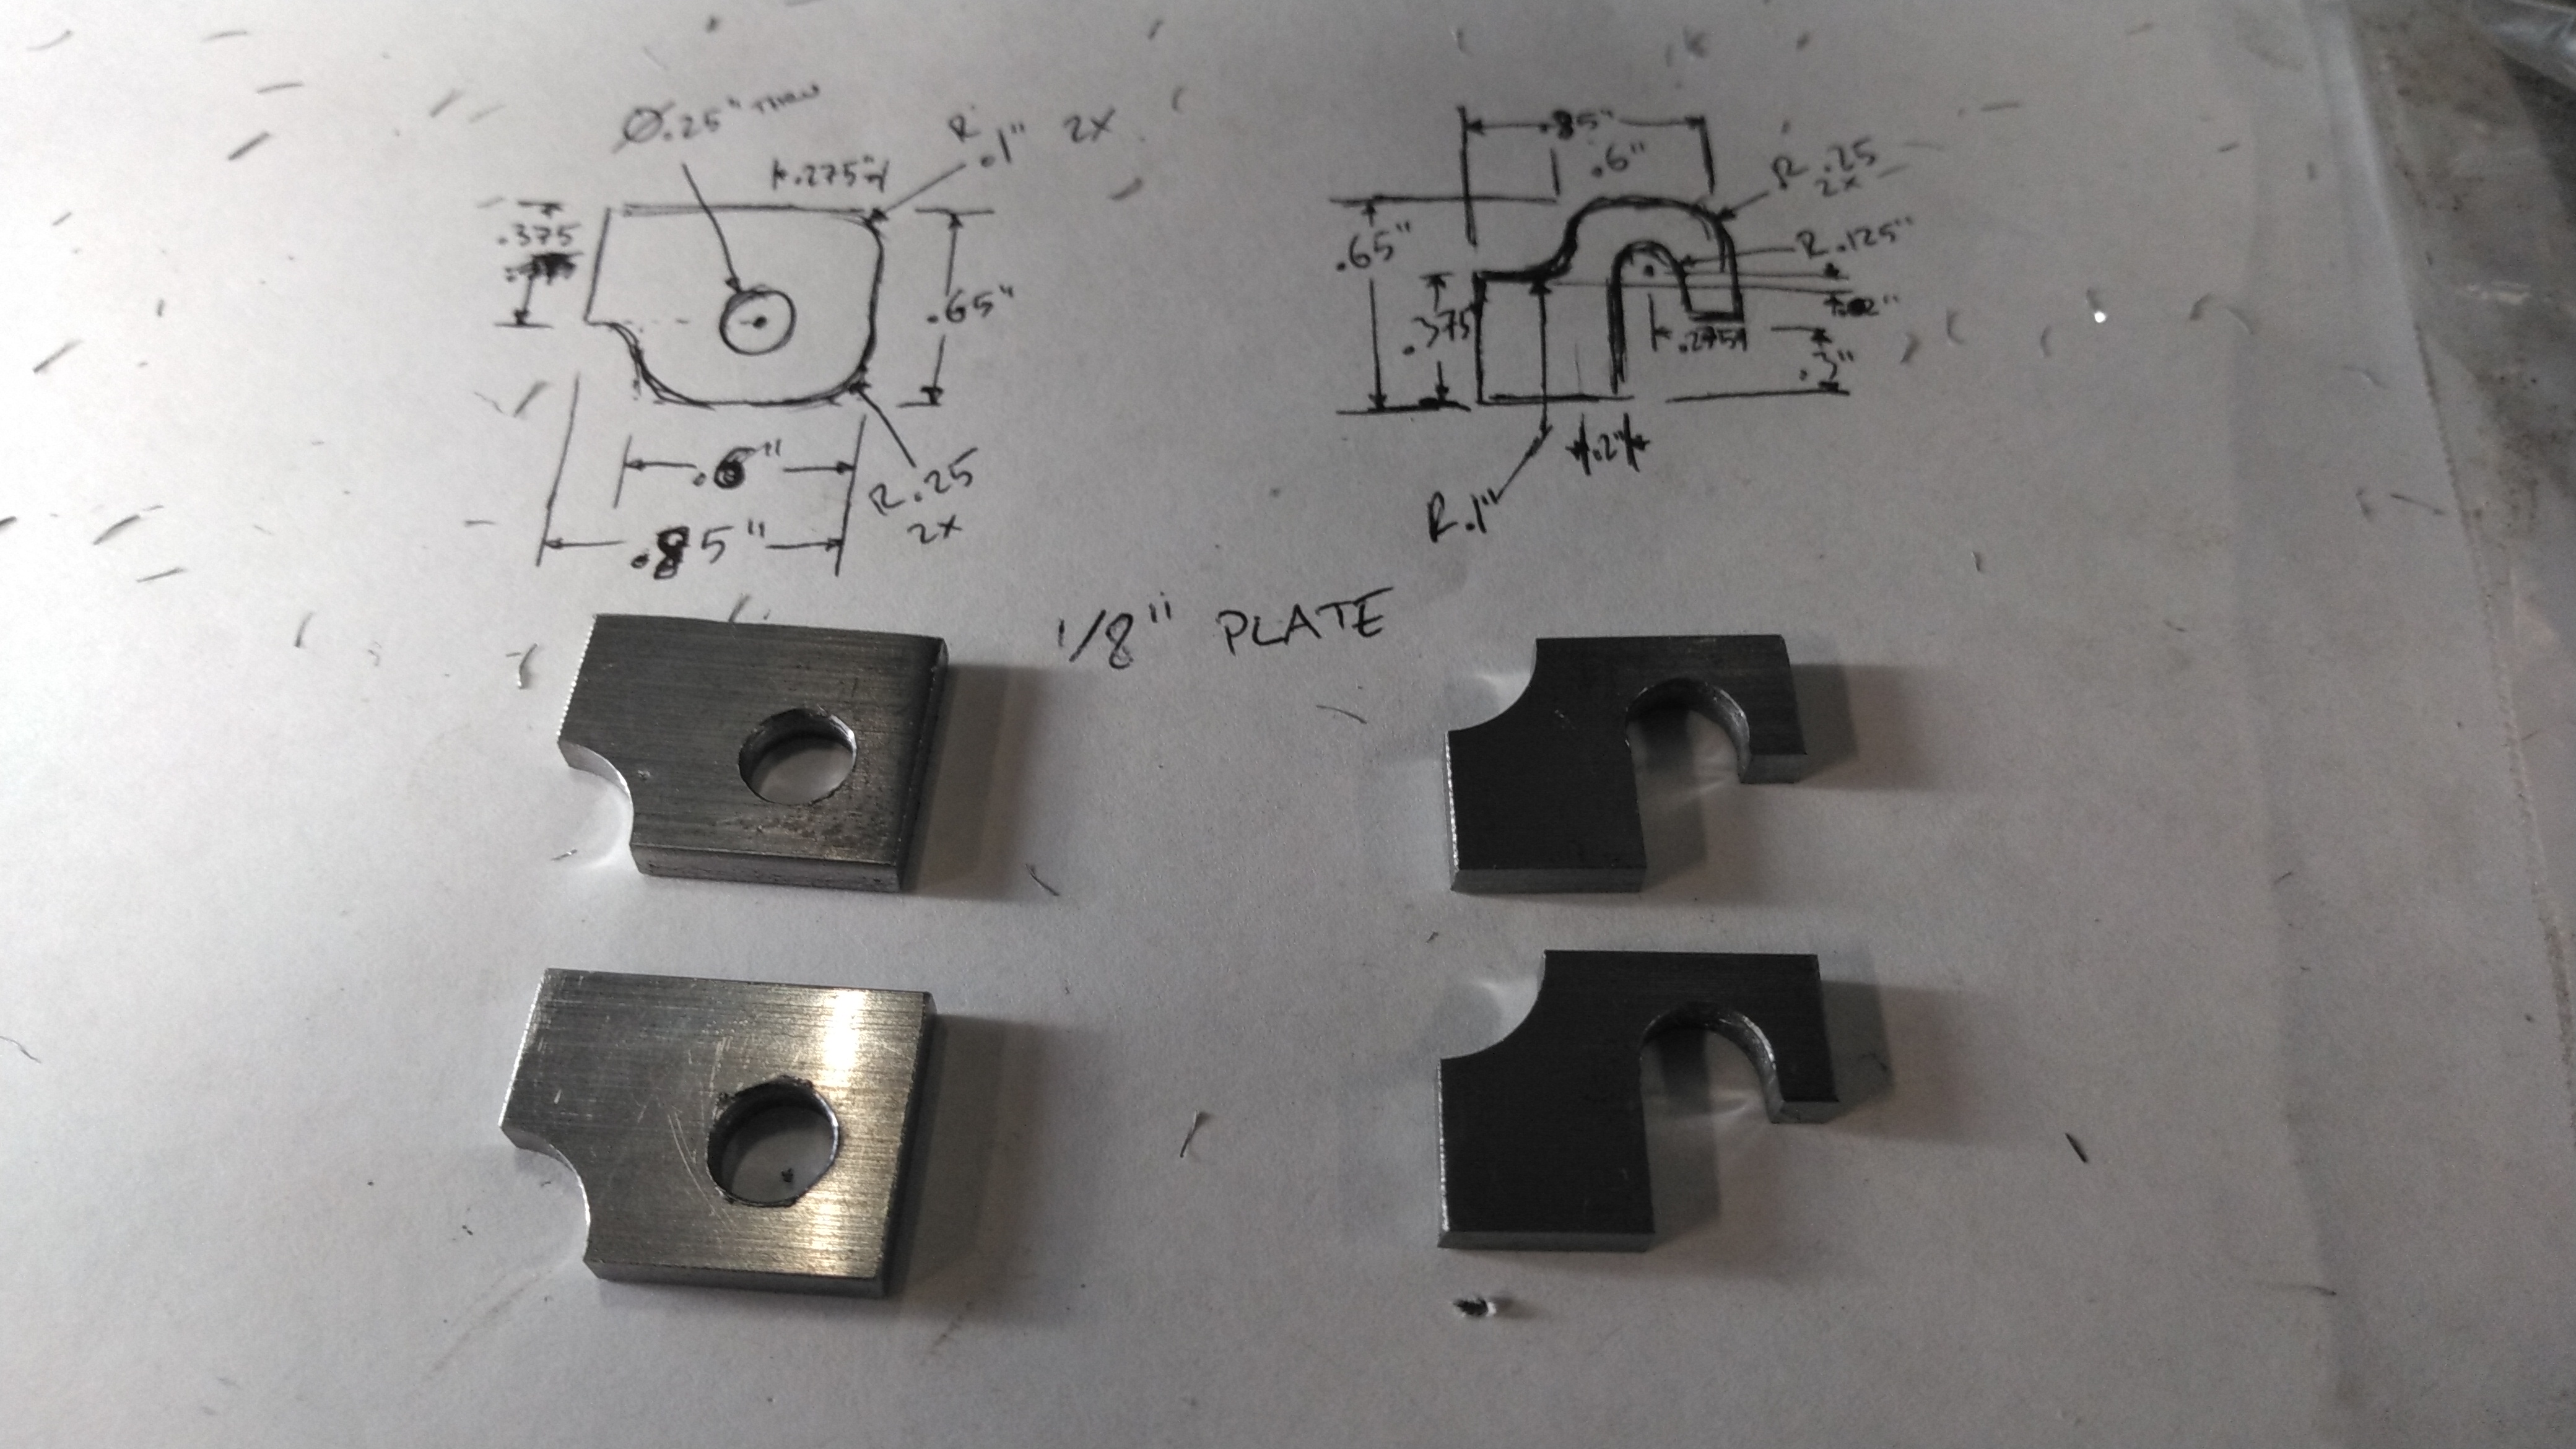
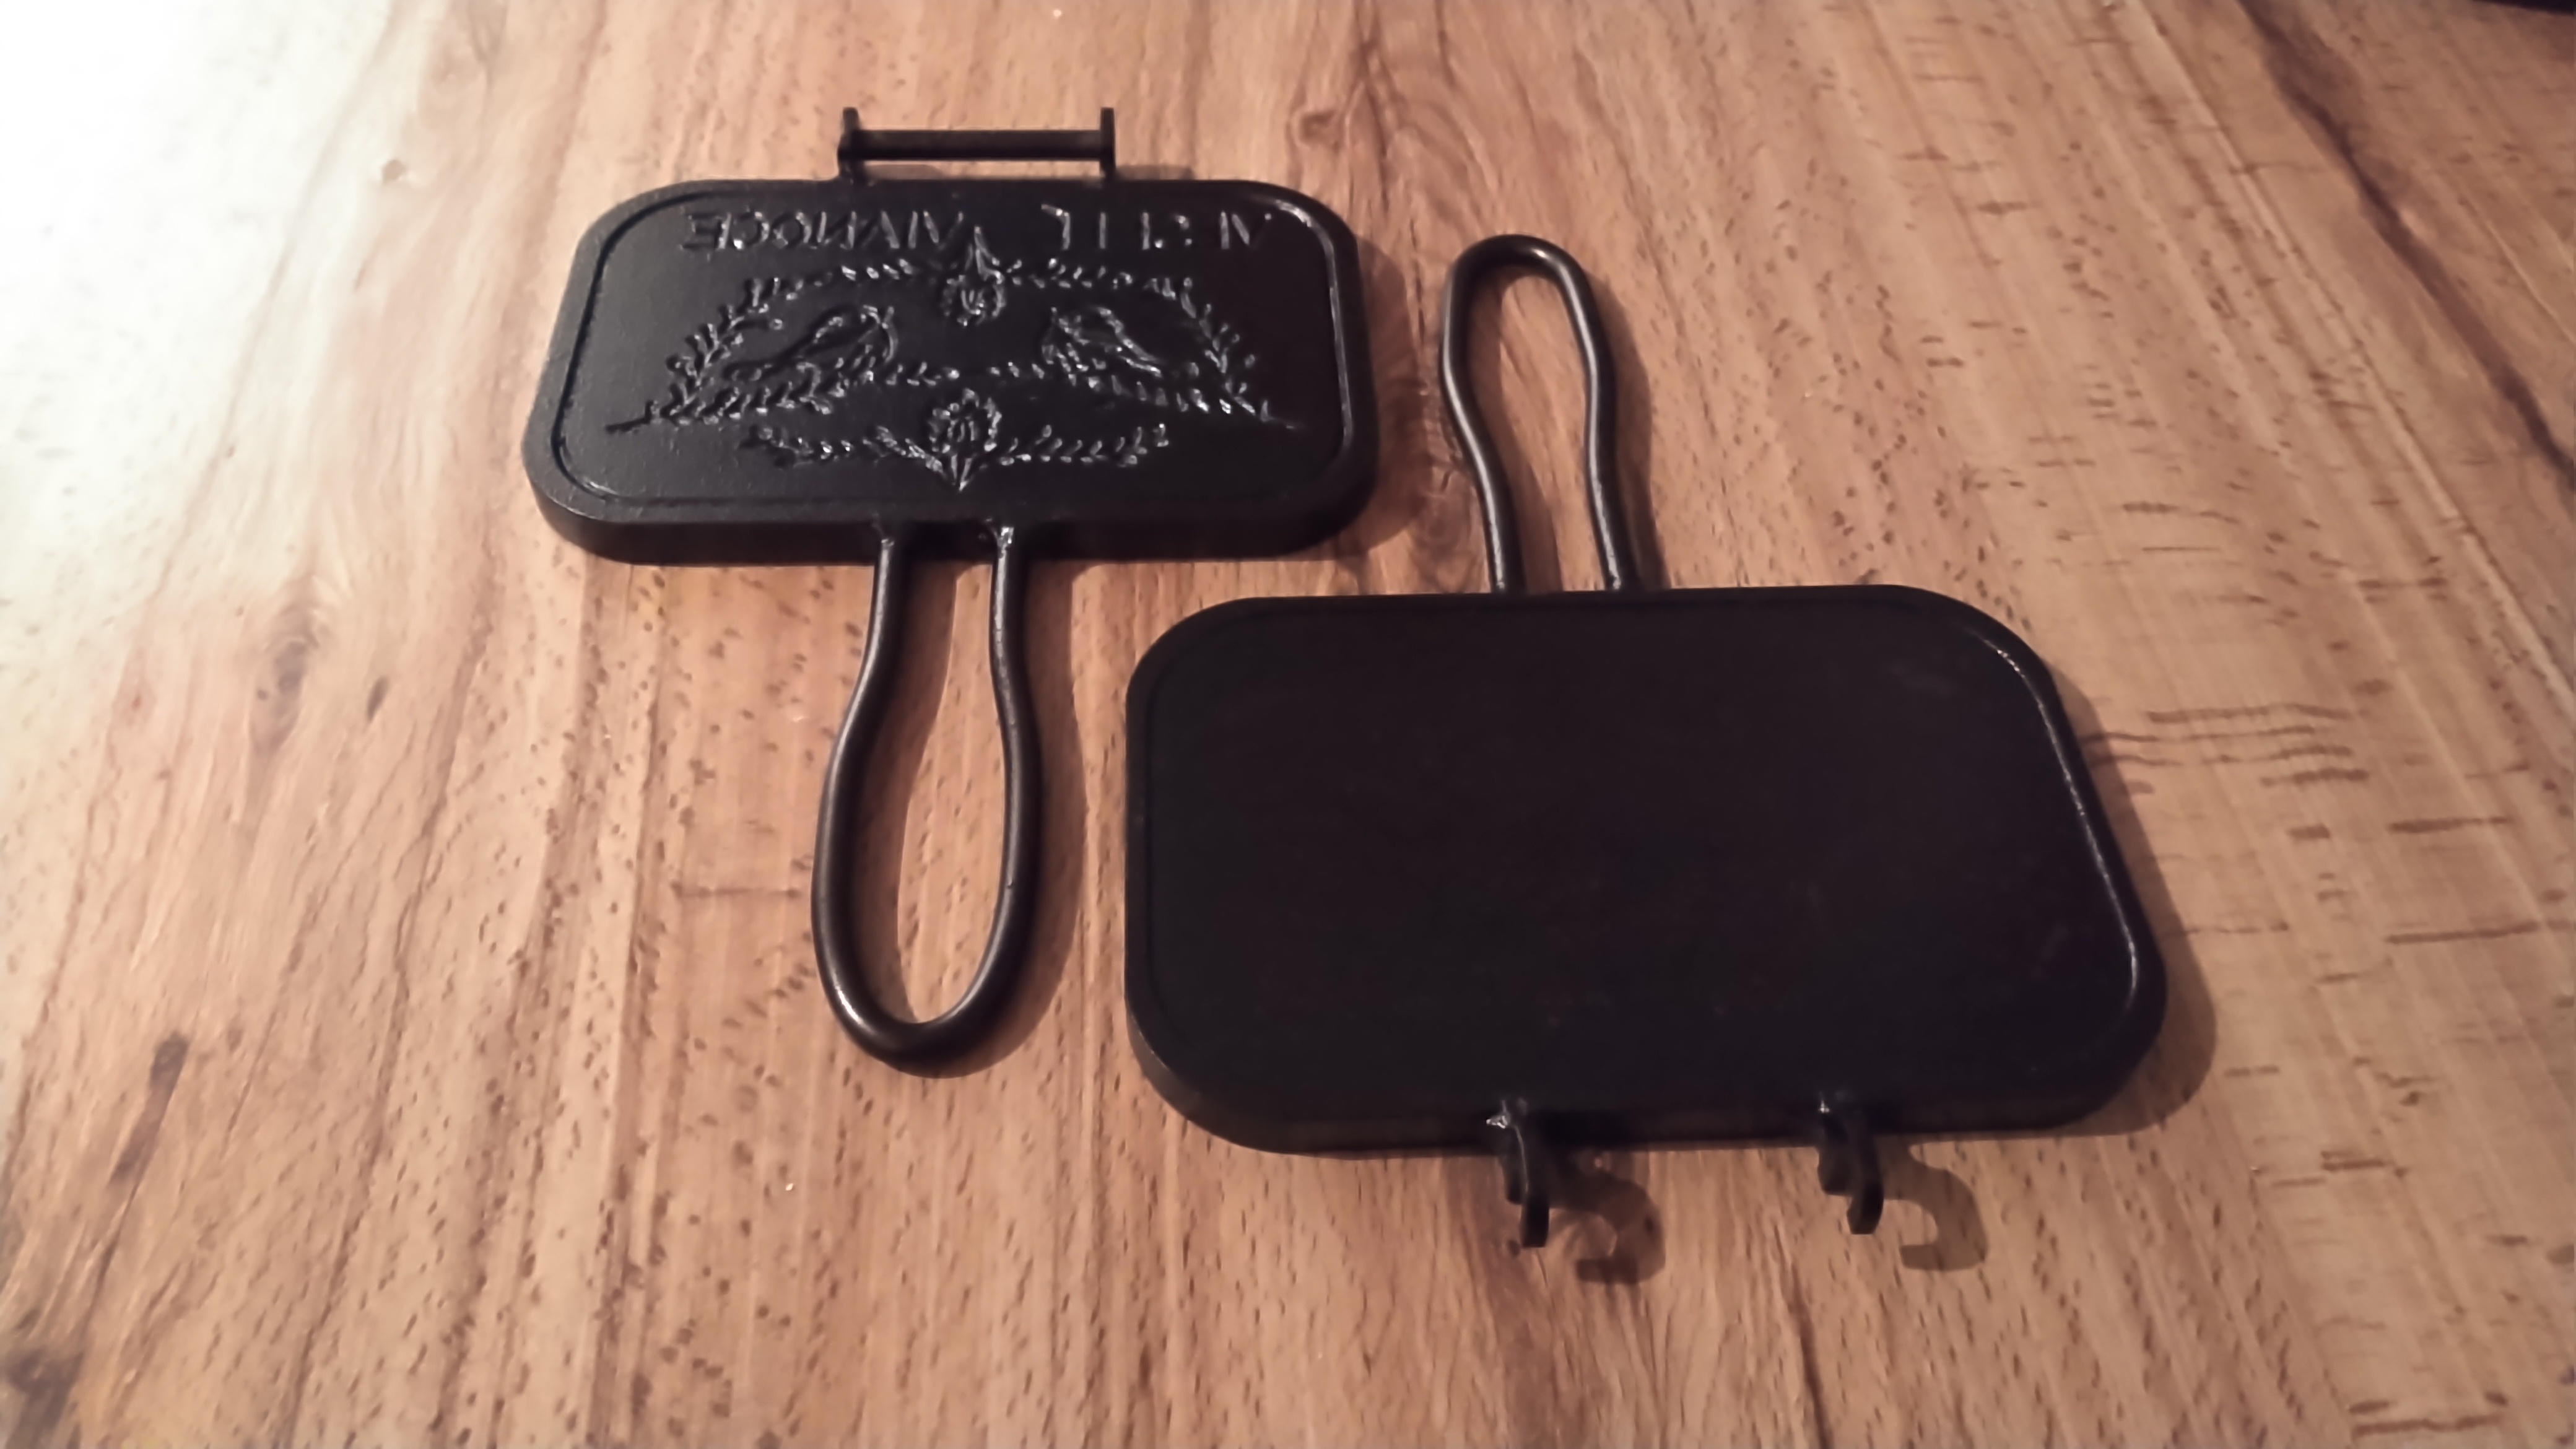
Hinge Pieces
Next, I made the hinge pieces from plate steel. I started by cutting pieces roughly to size on the band saw, then milling them square. Then, I machined features onto them so they can function like a hinge.
Squaring a piece of steel (Top) and the partially finished hinge pieces (Bottom)
-
-
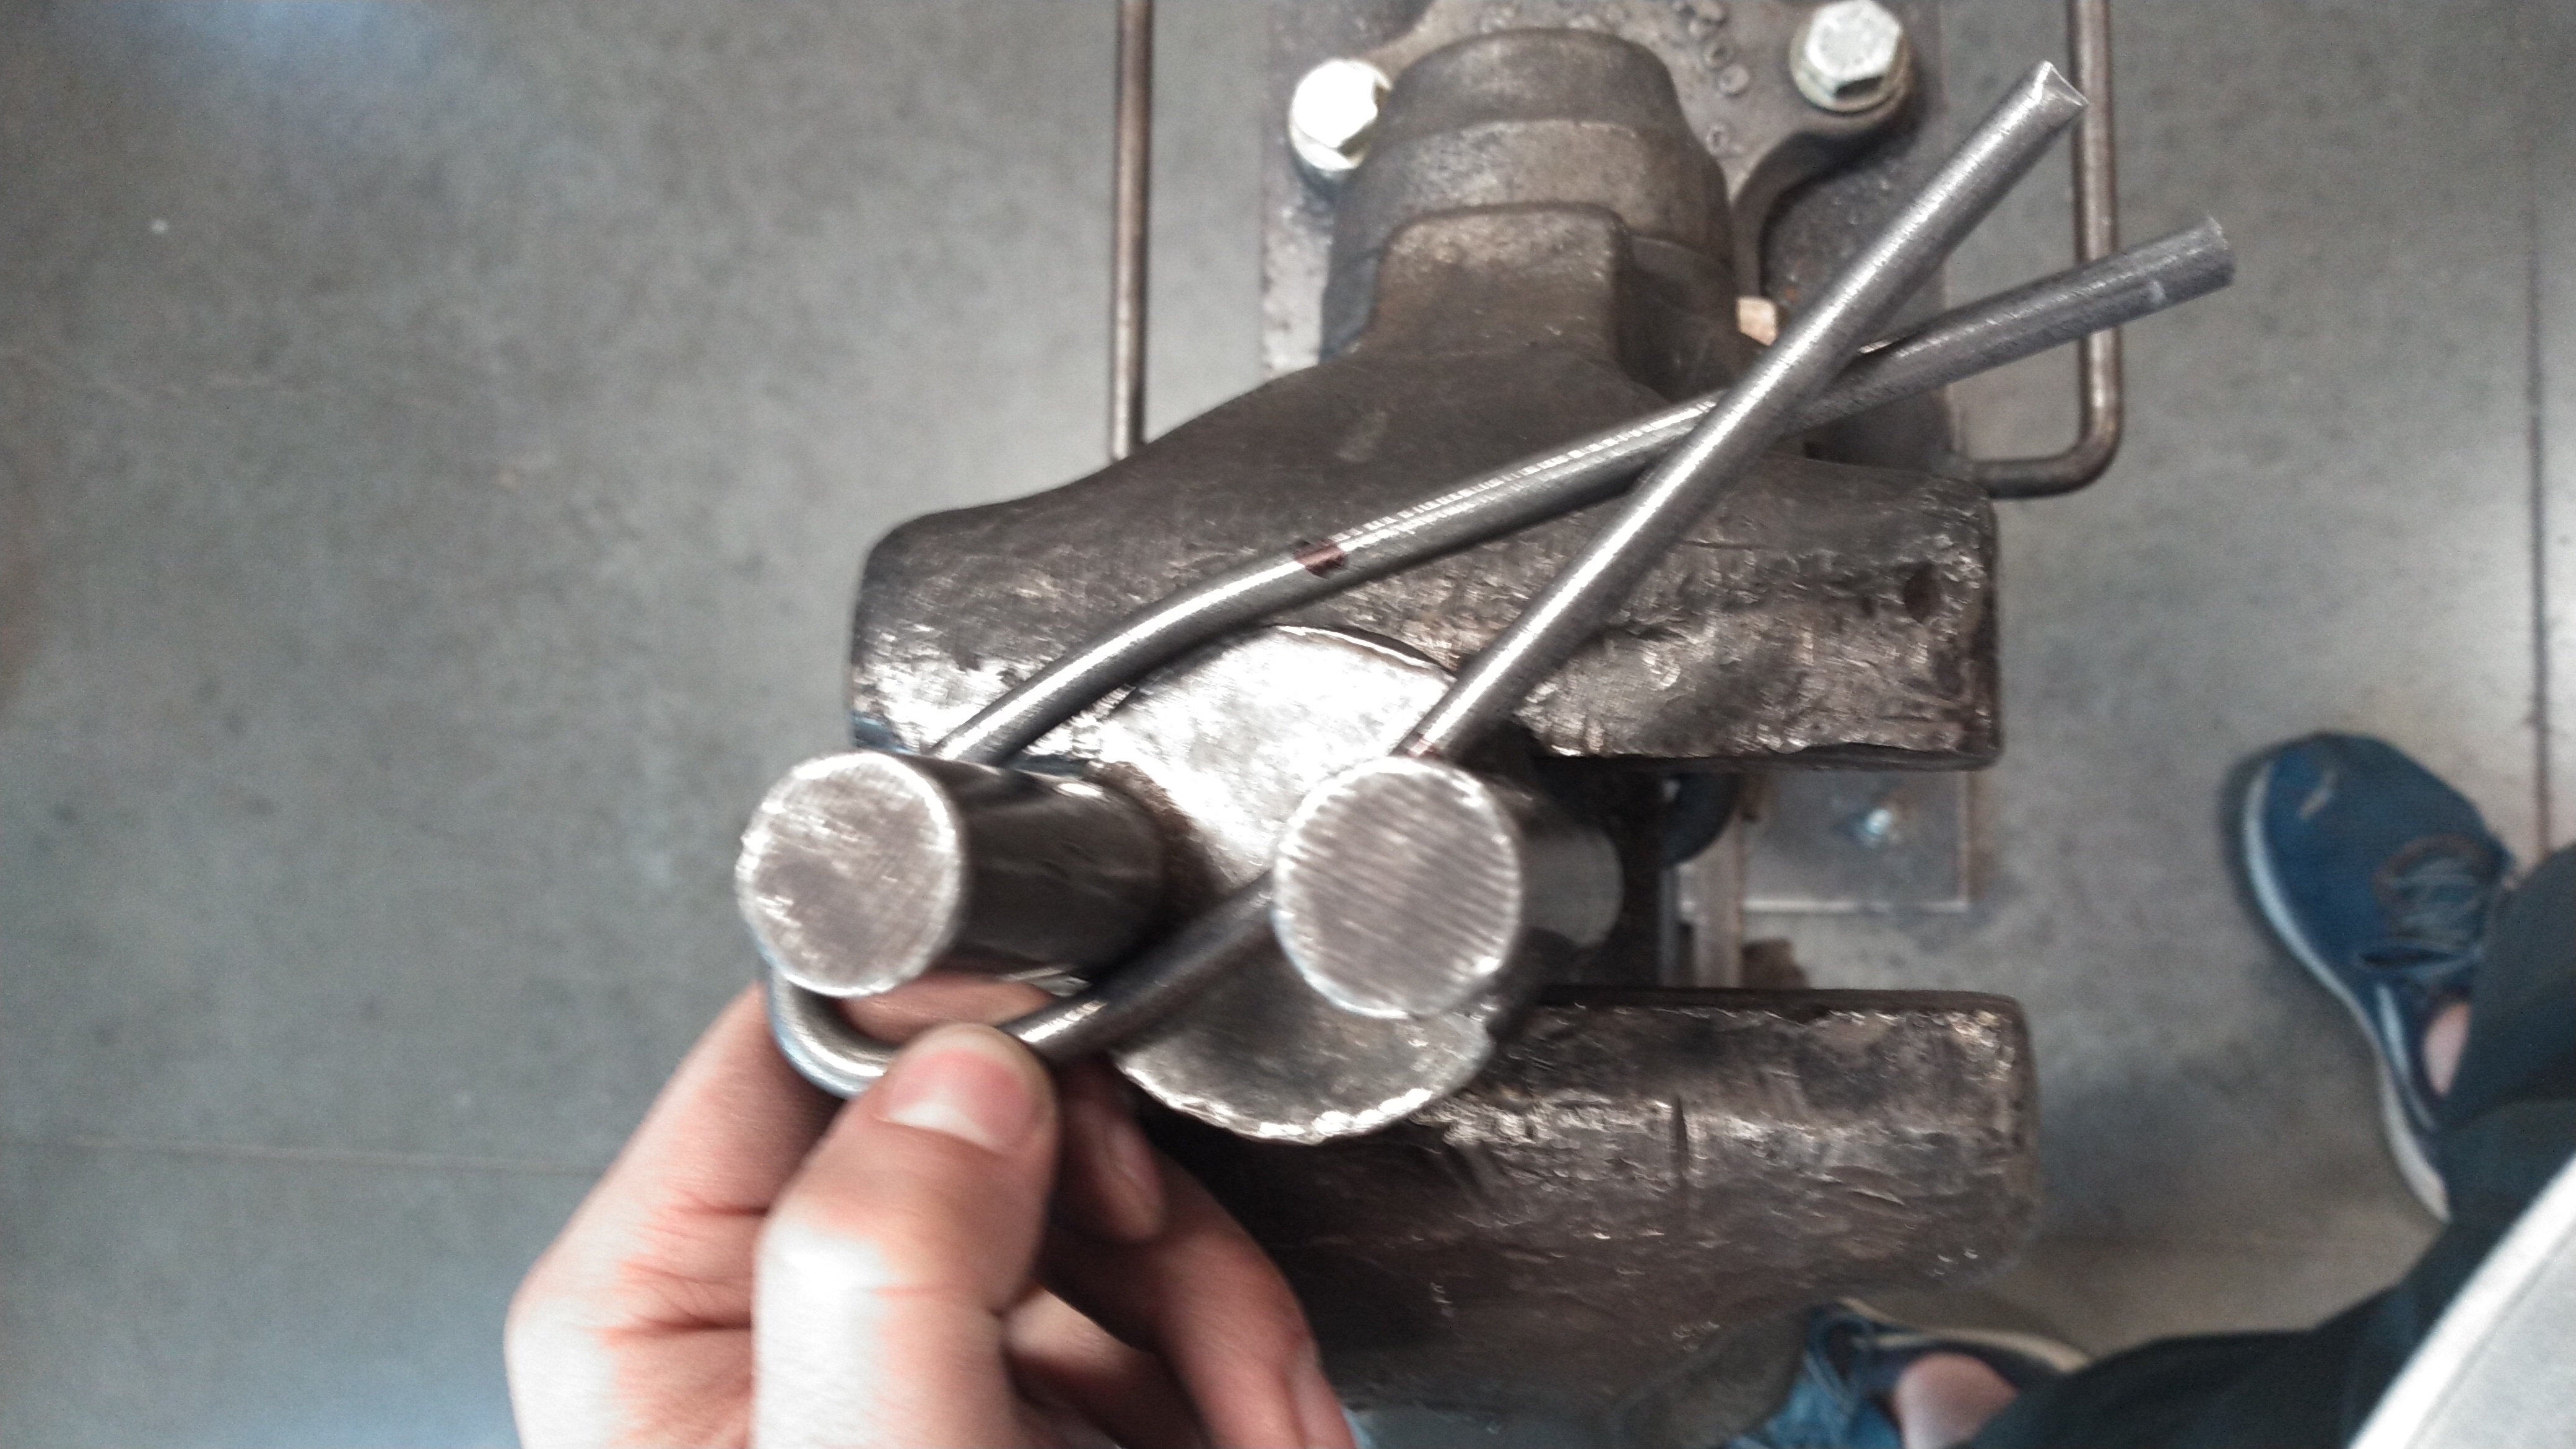
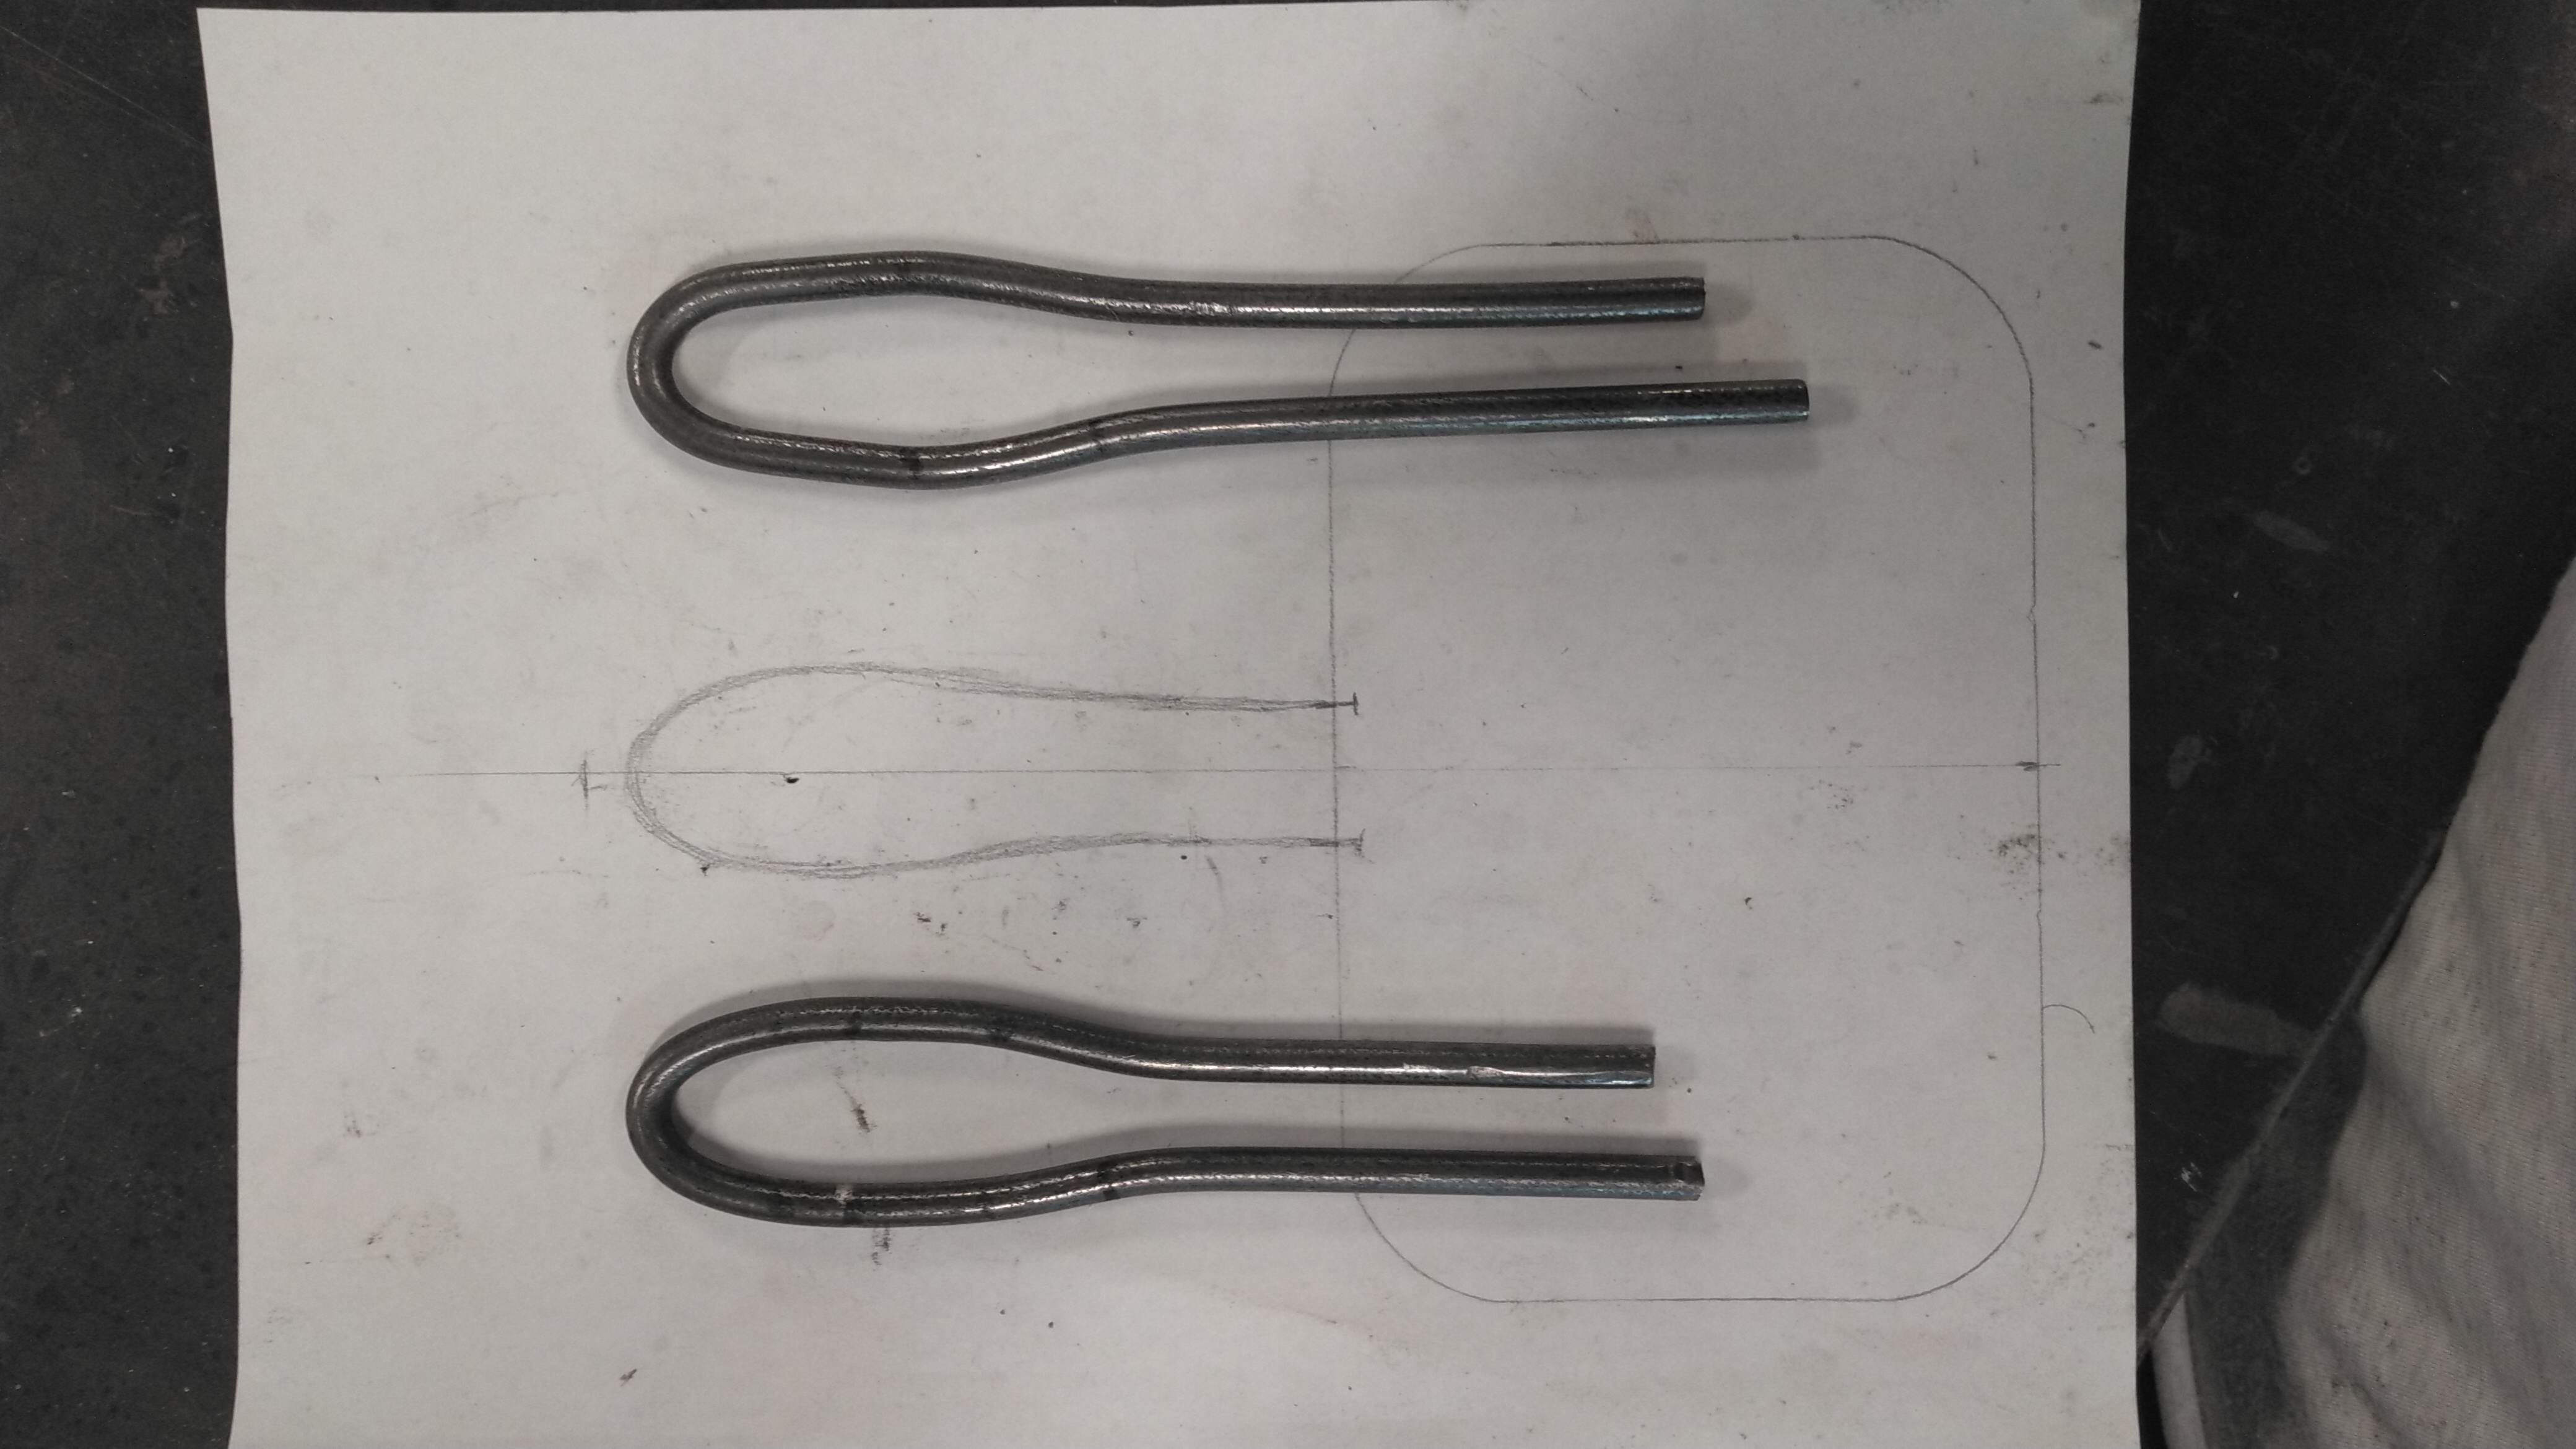
Handles
Next, I made the handles. I cold bent 1/4" rod using bending forks, hammers, and whatever else I could find. It probably would have been easier to work hot, but I help students with a lot of cold bending for my job and figured I could use the practice!
Bending the handles (Left) and referencing the handles against the template (Right)
-
-
Welding
Next, I machined some aligning features onto the irons to attach the hinges and handles. I welded everything together and sanded afterwards to clean things up.
Test fitting
-
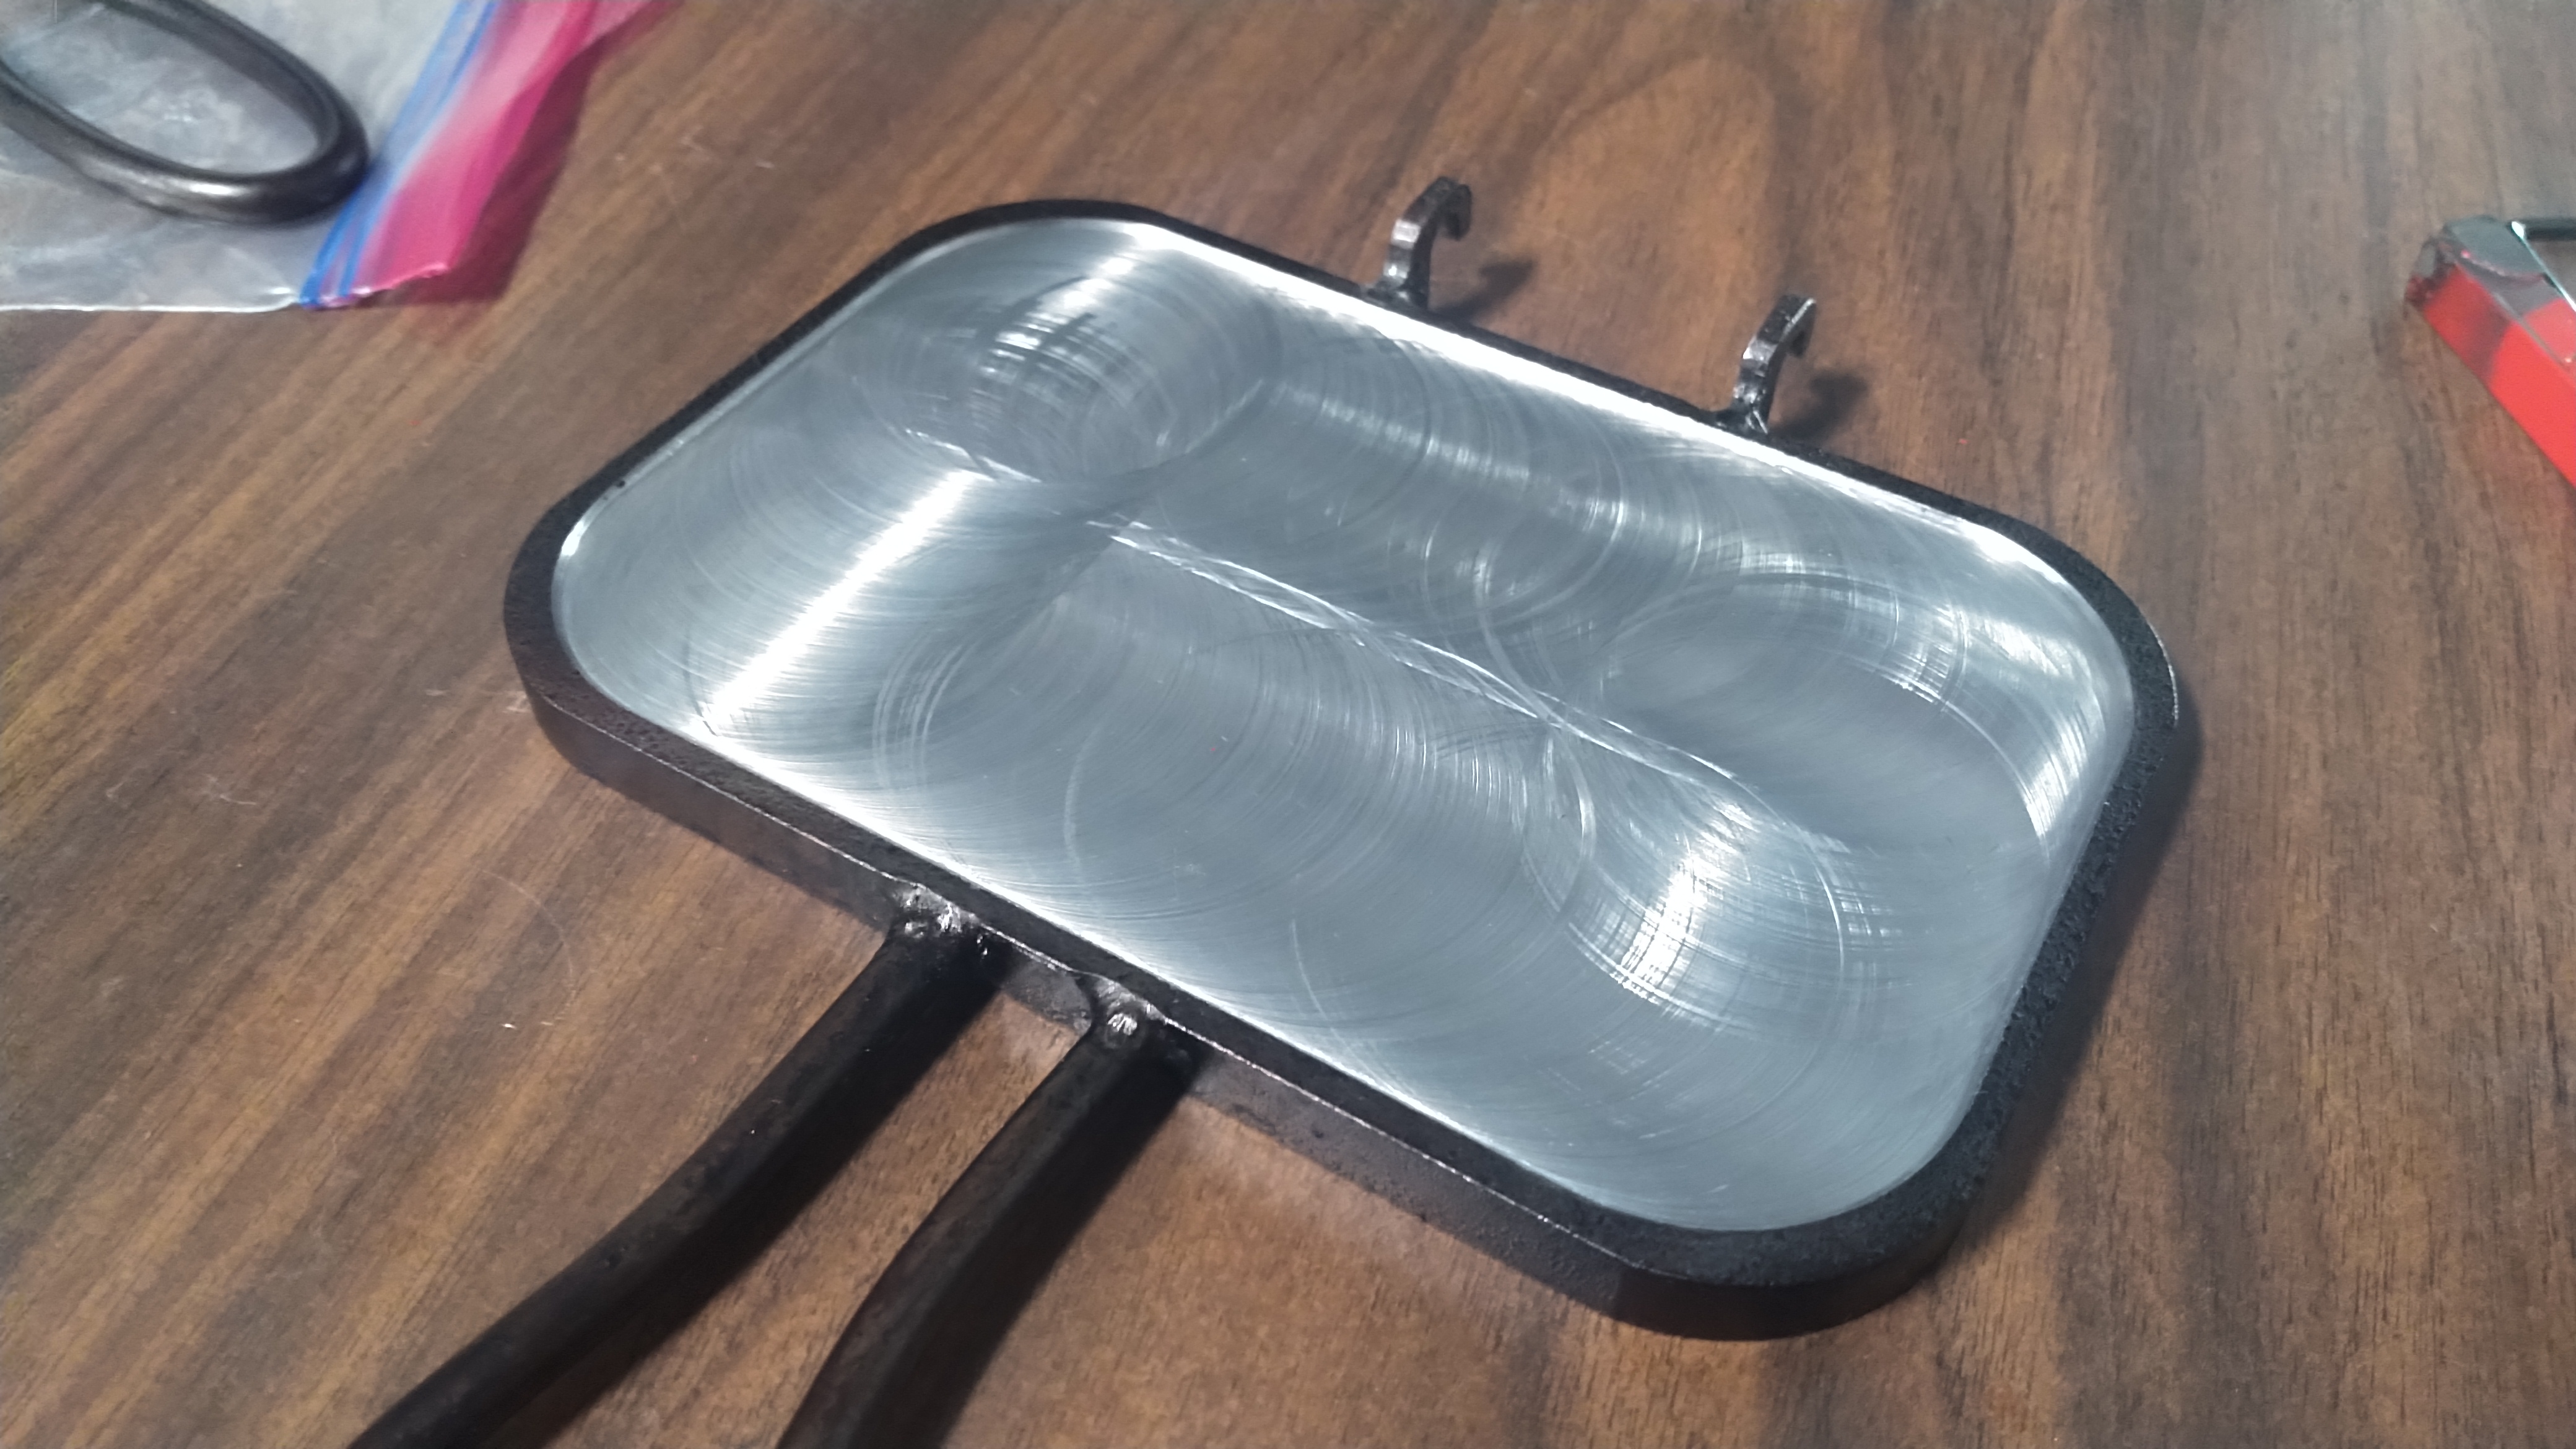
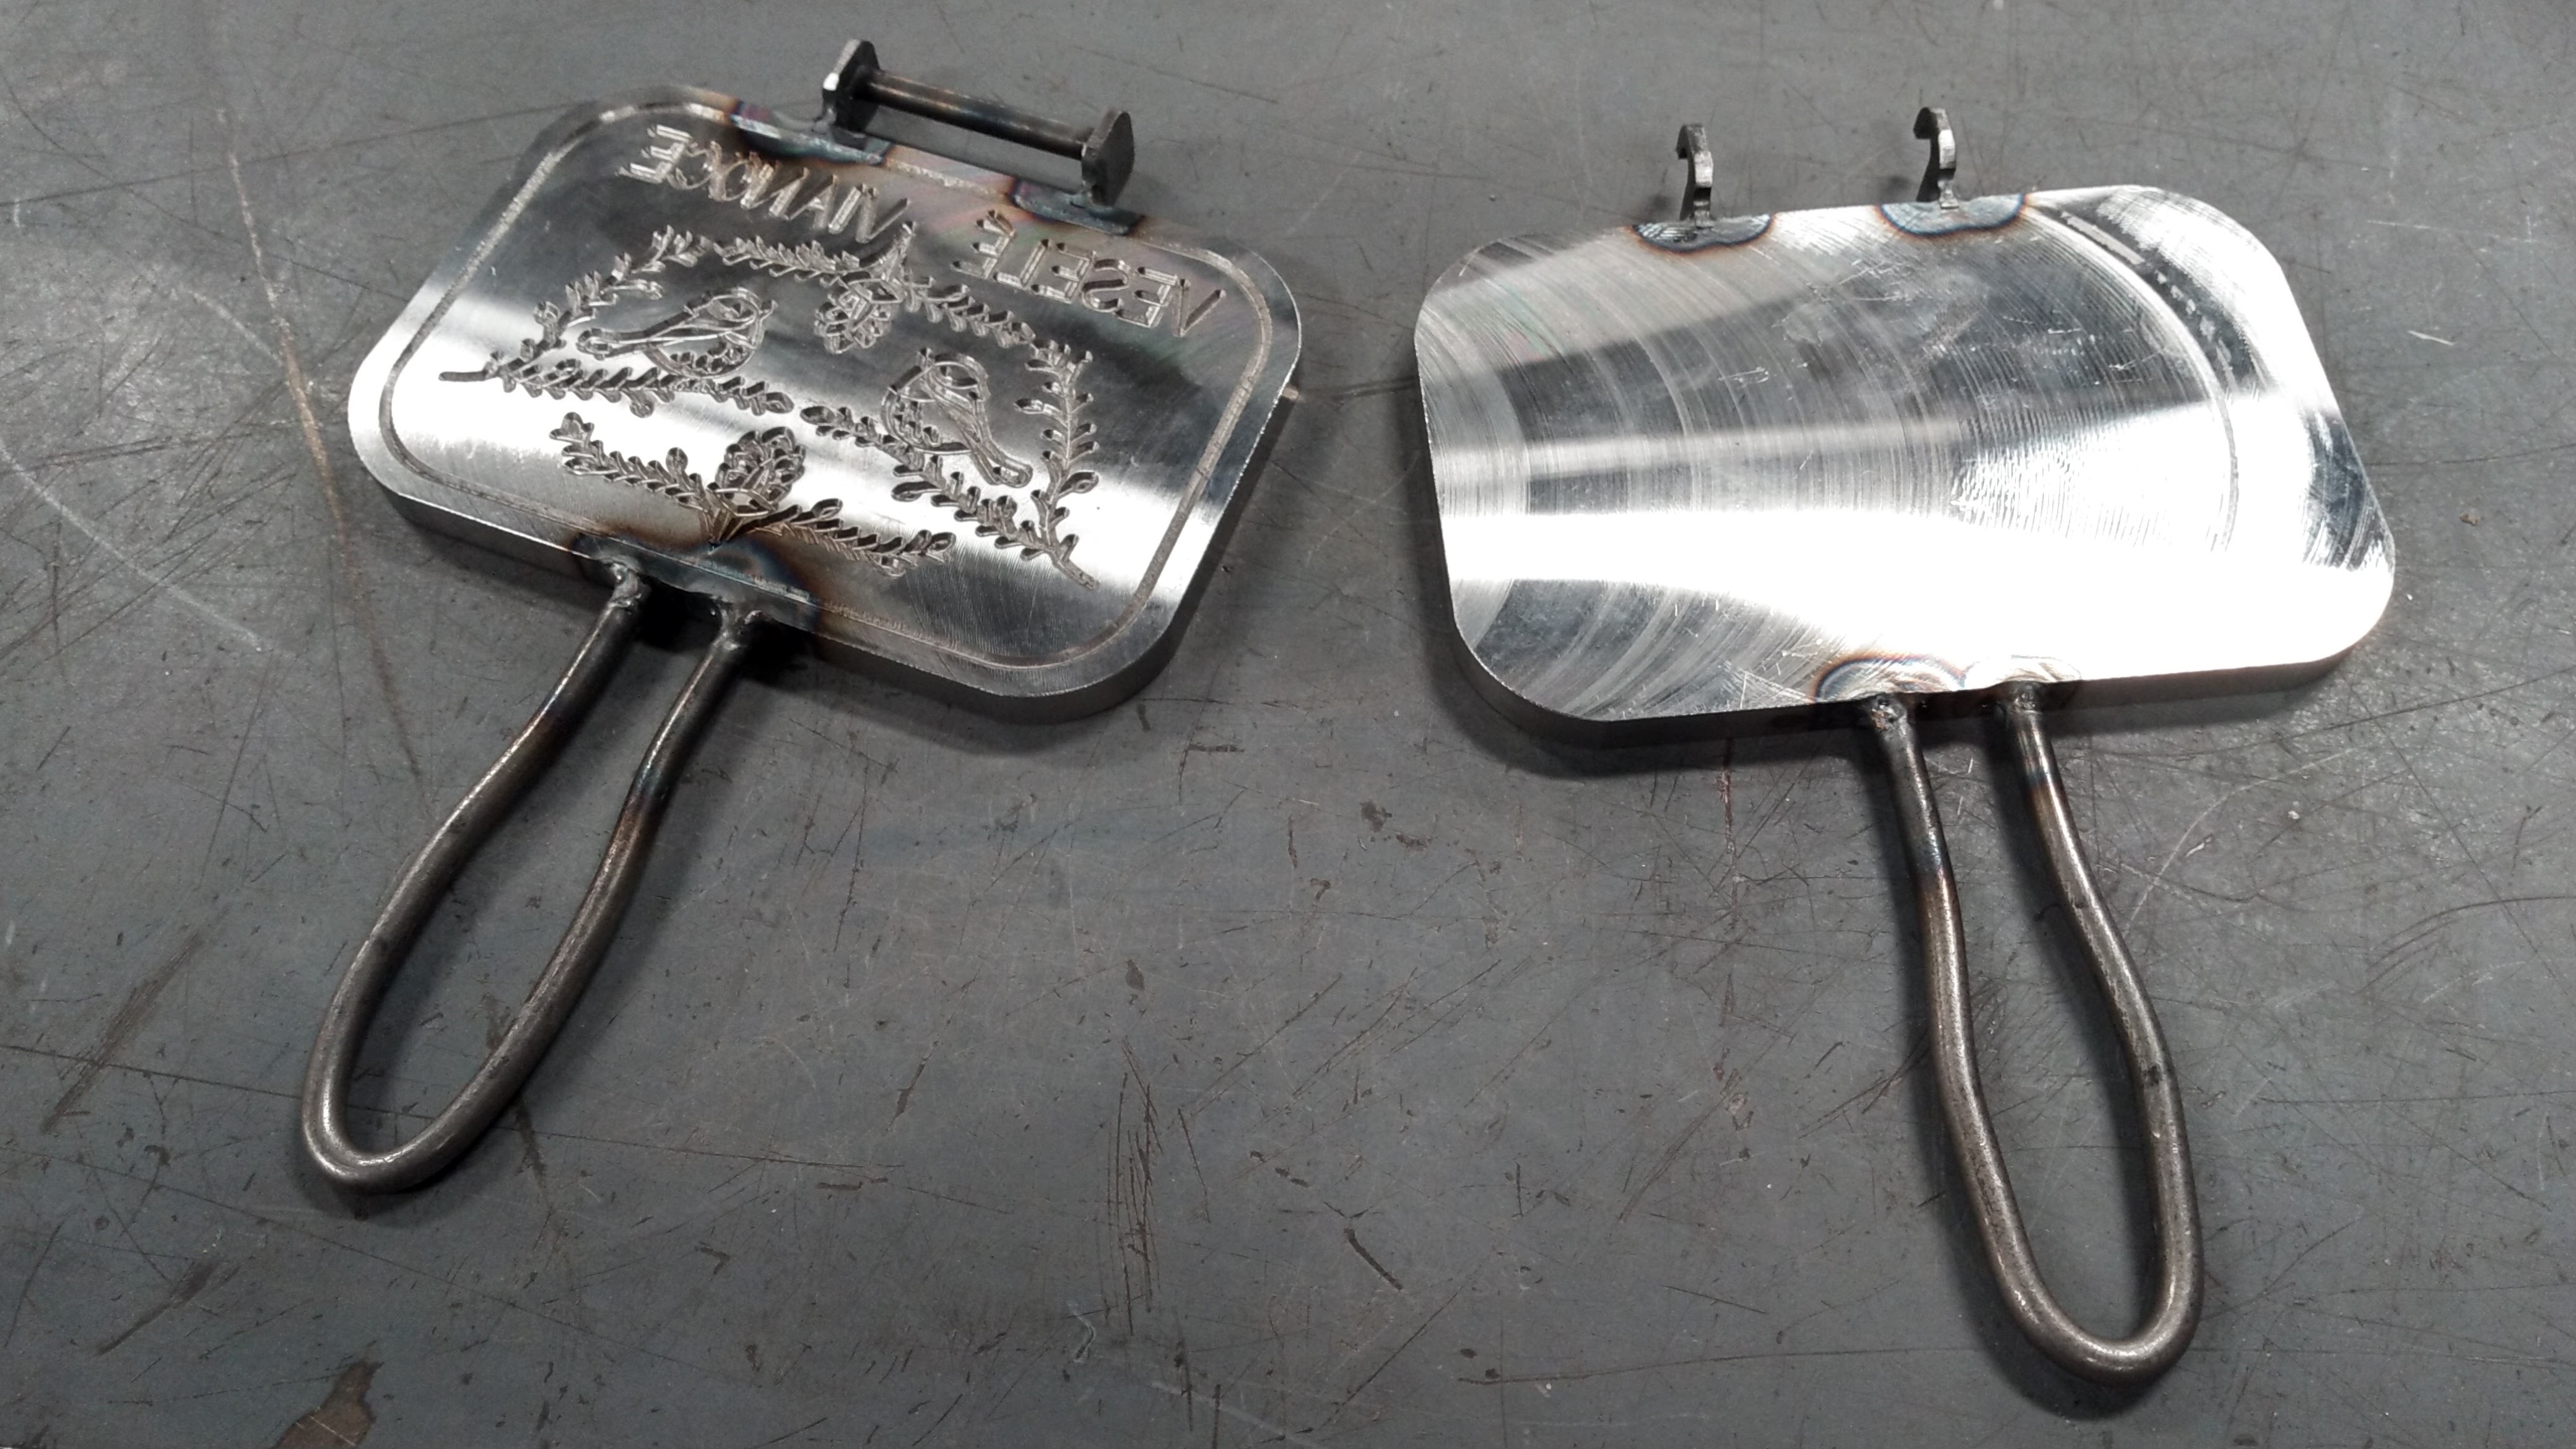
Seasoning and Modifications
With everything assembled, I seasoned the irons! I baked on small coats of vegetable oil for the better part of a day.
Unfortunately upon testing the irons, I realized the wafers were being squished far too thin. So I took the unengraved one back to the shop and machined a shallow pocket into it.
Seasoning the irons (Left) and the freshly machined pocket (Right)
-
-
Final Seasoning
With the pocket milled and reseasoned, the wafer would now have a larger space to fill, even when the irons were held tightly together. With that done, there was only one thing left to do...
Wafer irons seasoned and ready to make oblátky!
-
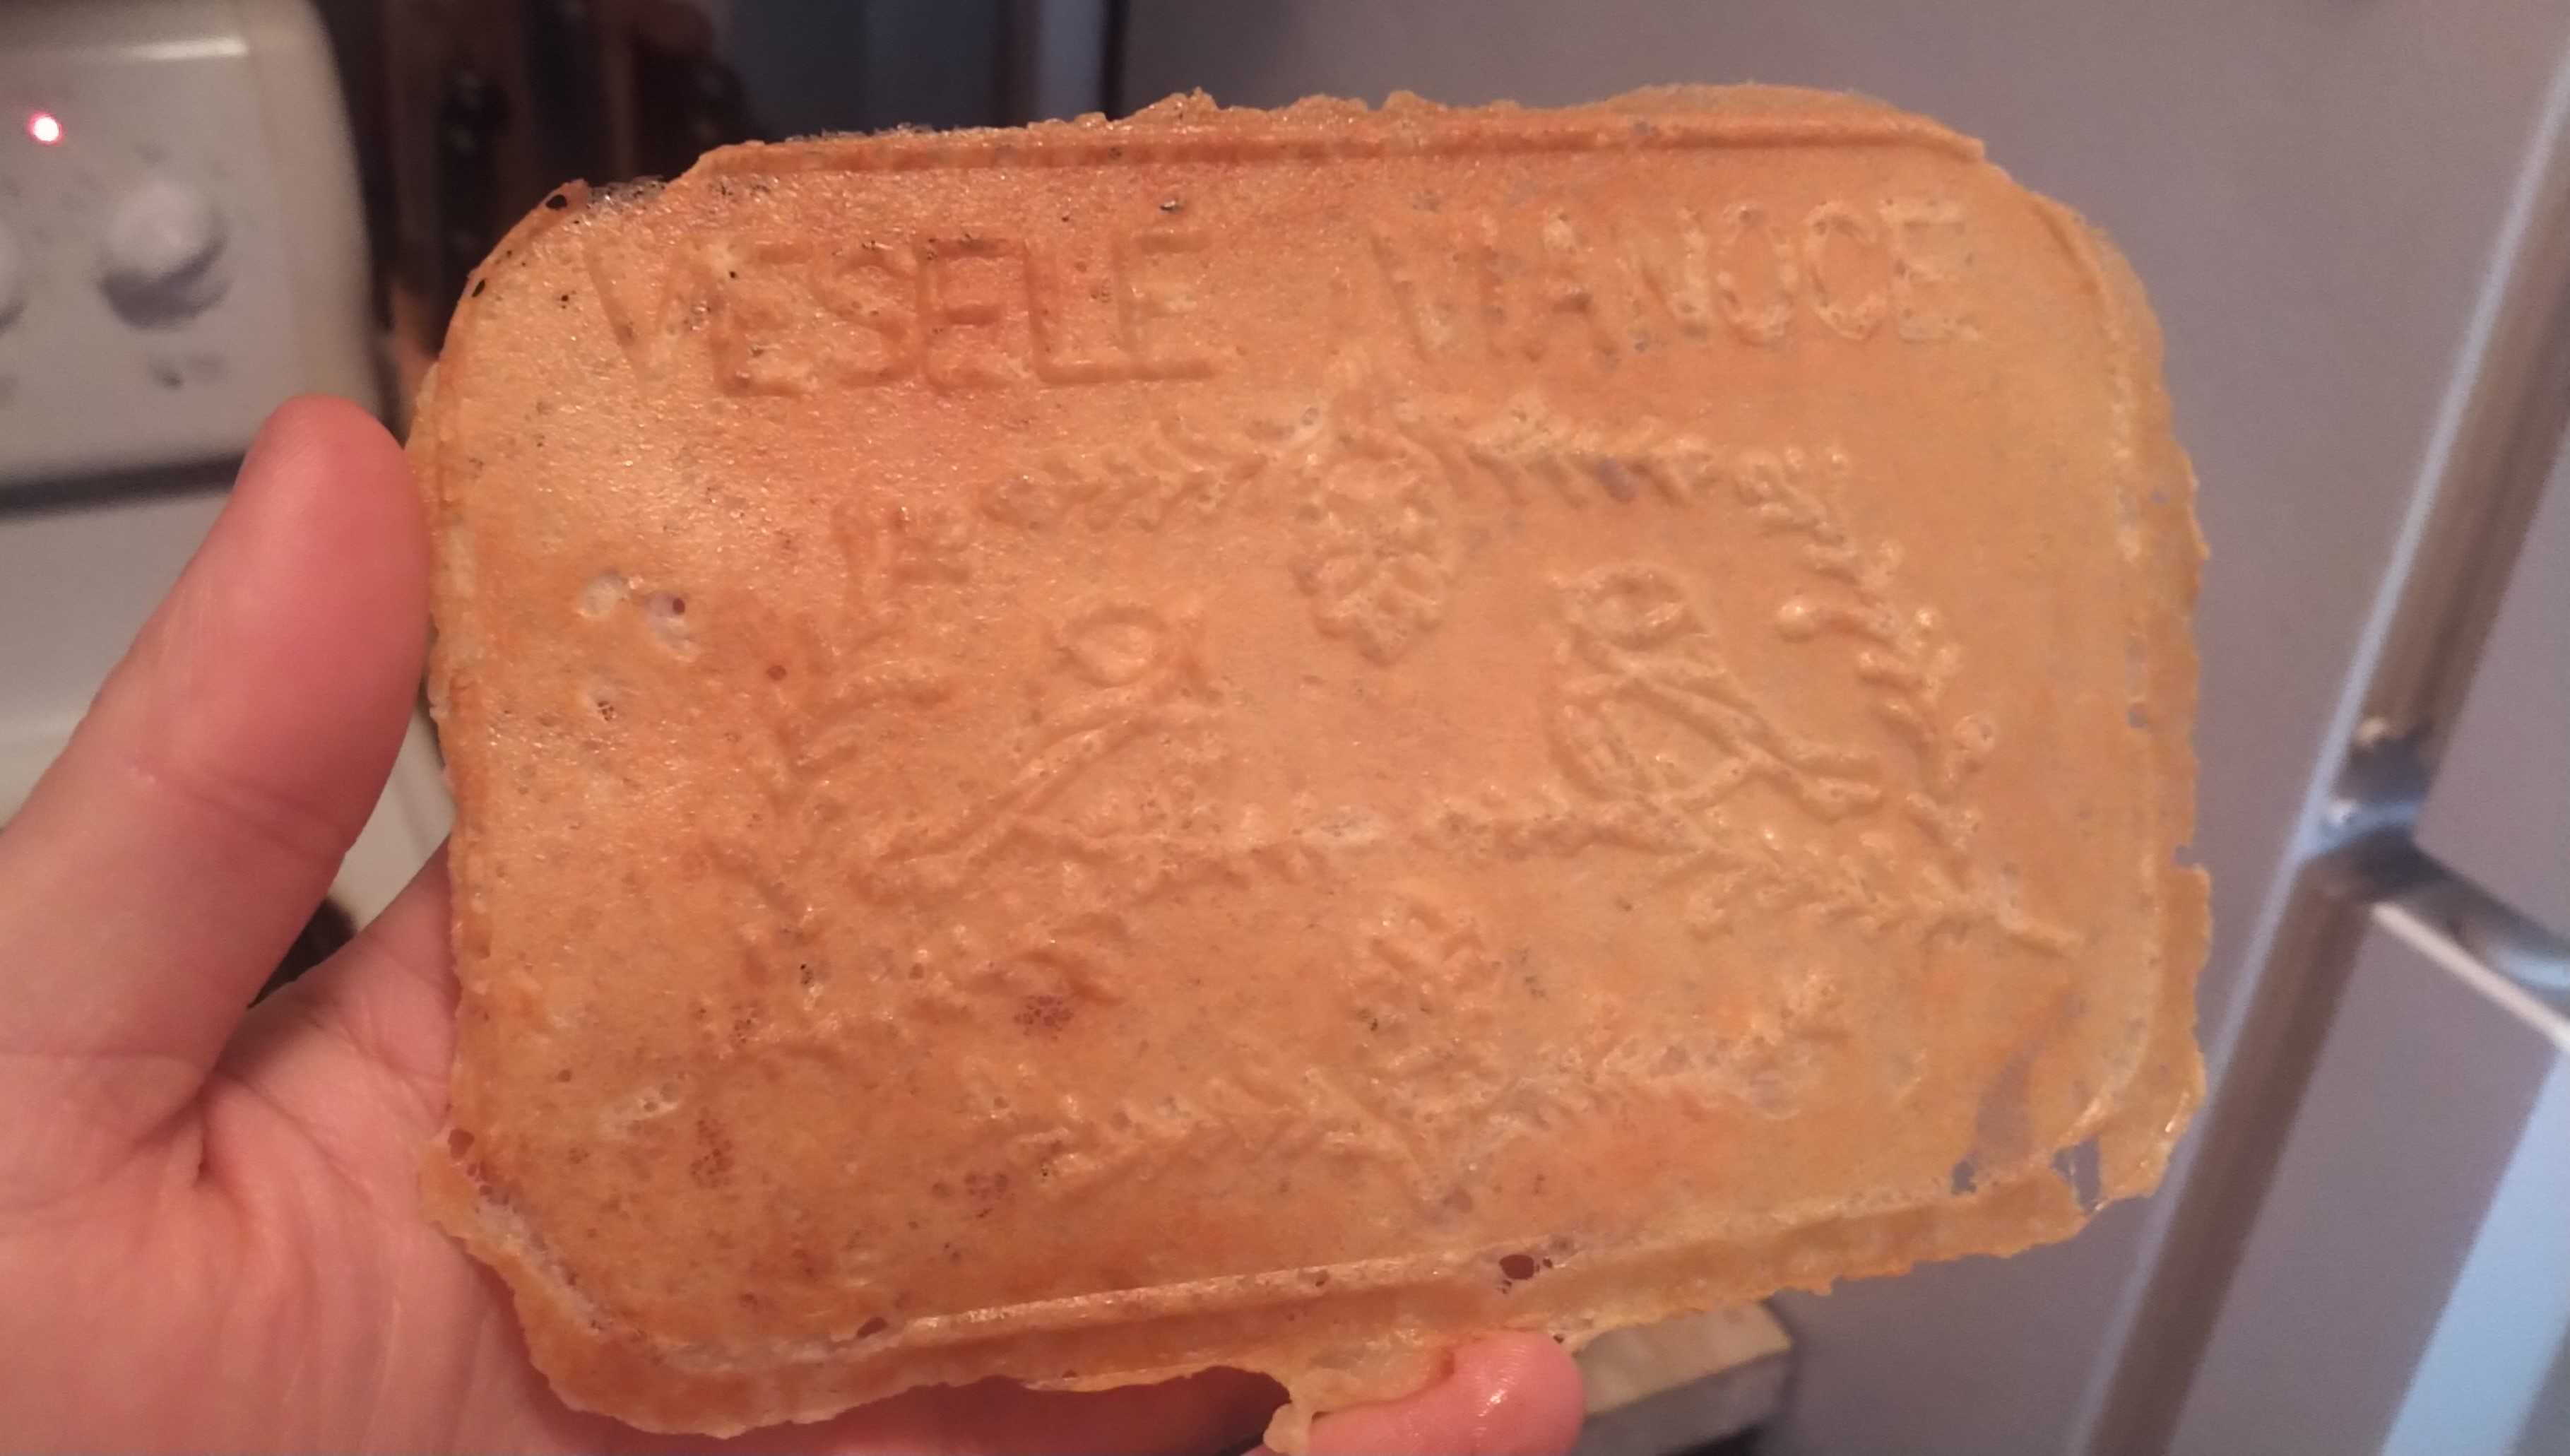
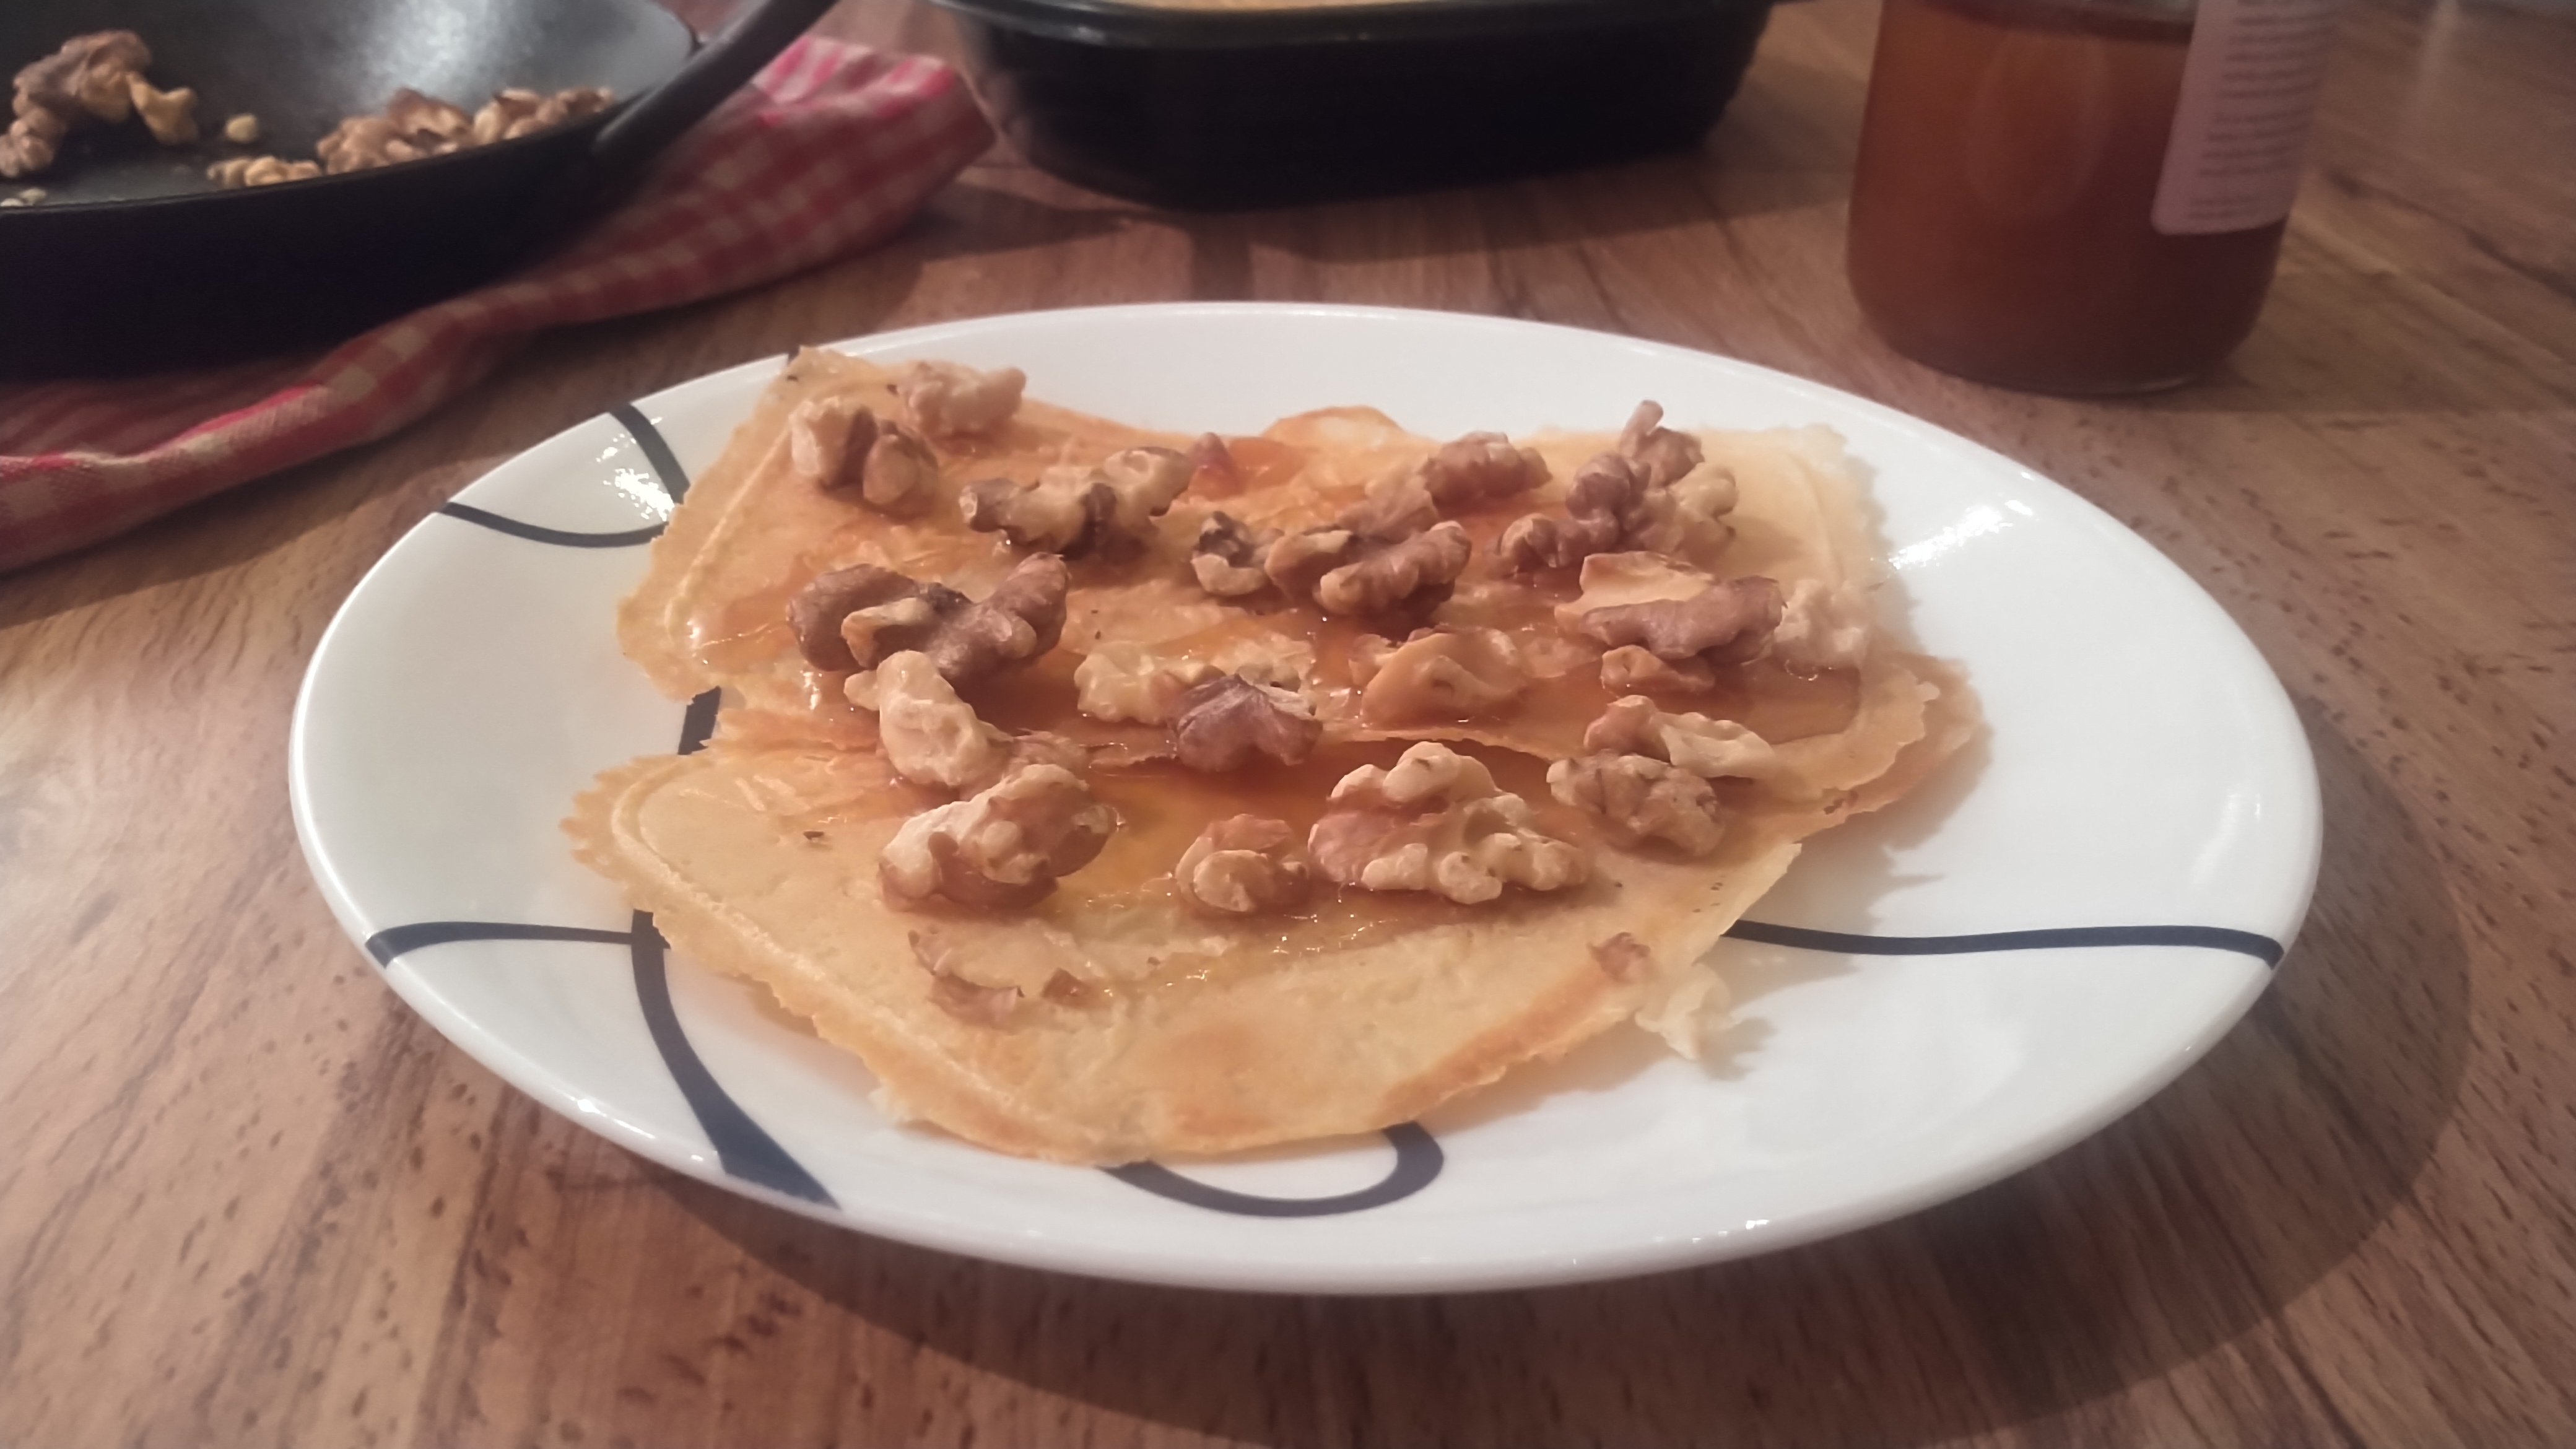
Wafers!
They're a lot of work, but these wafers are awesome! They're very good paired with honey and walnuts, but even on their own they're really tasty.
I got my recipe from here, but I cut it in half because otherwise I'd have been making oblátky all week. I'm very excited to make some of these before Christmas to share with my friends and family.
Making oblátky

-