An assortment of 3D printed figurines I've made (from scratch!) and how I made them.
Download .obj files here!-
3D Printed Figurines

Three 3D prints
-
Sculpting & 3D Modeling
While constraint based CAD programs like SolidWorks and NX excel at designing traditionally manufacturable parts, I prefer using Blender, a mesh based program, for more artistic models.
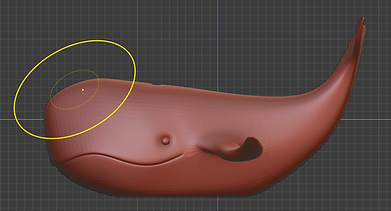
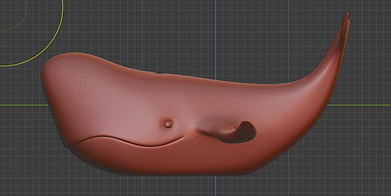
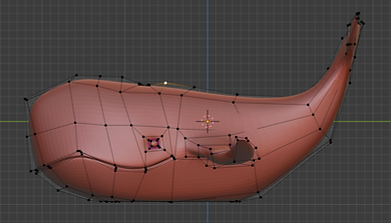
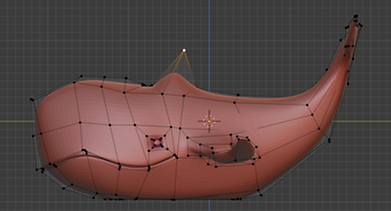
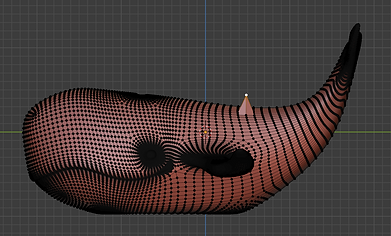
One advantage this offers is the ability to freely deform models through sculpting, use of wire cages, and "point pulling," demonstrated at left.
Top to Bottom: Deforming the model by sculpting, deforming the model with its wire cage, deforming the model by "point pulling"
-
-
Rigging & Posing
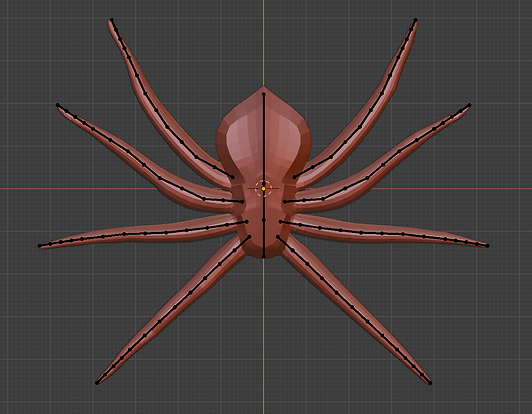
I find it easiest to construct models in simple, symmetrical poses, so I can better see what I'm doing (and so I can mirror the model and do half the work).
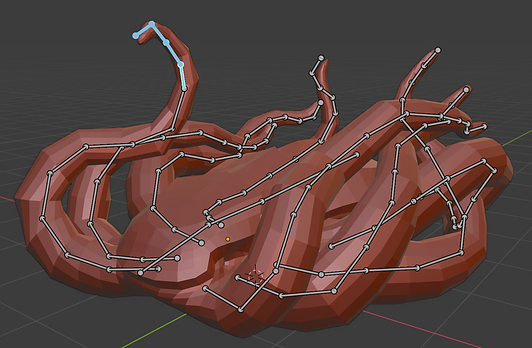
After creating an initial model, I rig it with a posable armature and get it looking the way I want.
Following this, I touch it up one last time, merge all intersecting parts to create a solid mesh, and export to a .obj file.
A rigged, unposed model (Top), the model, posed (Bottom)
-
-
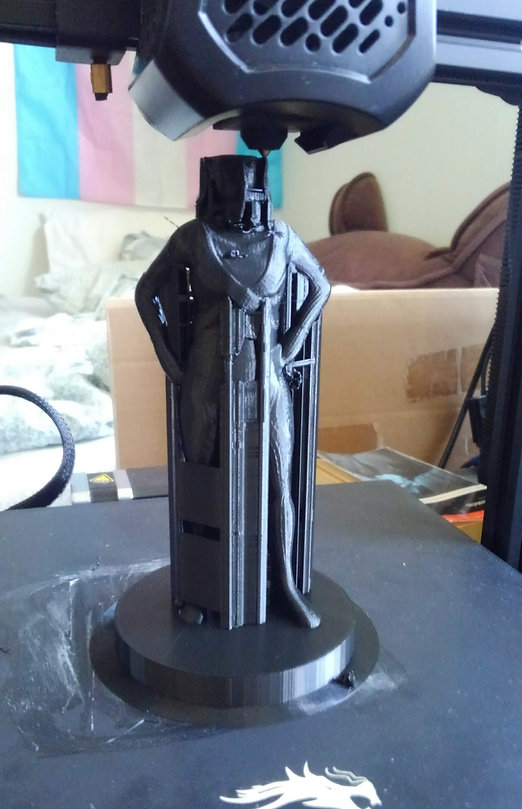
Slicing & Printing
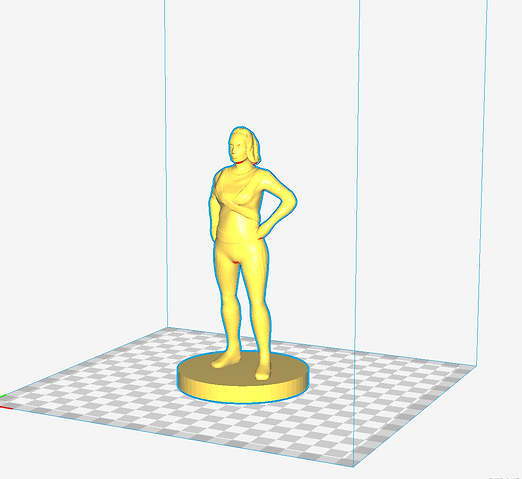
To generate G-code the printer can understand, I slice my models in Cura. After setting the configurations, I let Cura process the model, make adjustments as necessary, and send it to the printer to print.
After breaking off support material and extra filament, the print is done!
A model imported into Cura (Left) and the model, mid-print (Right)

-